Cockpit Enclosure

The other major project we sought to accomplish on Florida’s west coast was a new cockpit enclosure, plus sun shades and all new cushions inside and out (on the way, stay tuned). Since we had a few structural modifications in mind (as one does), we connected again with our friend Pat who recommended Artful Canvas Design. They combine metalwork with canvas work.
Our goals for a cockpit enclosure were:
all-around visibility
good airflow
a weather-proof option when all zipped up that seconds as a “pilot-house” when sailing
comfort/head room at the helm and bench seats
improved ergonomics of daggerboard, sail and line-handling at all of the [many] winches
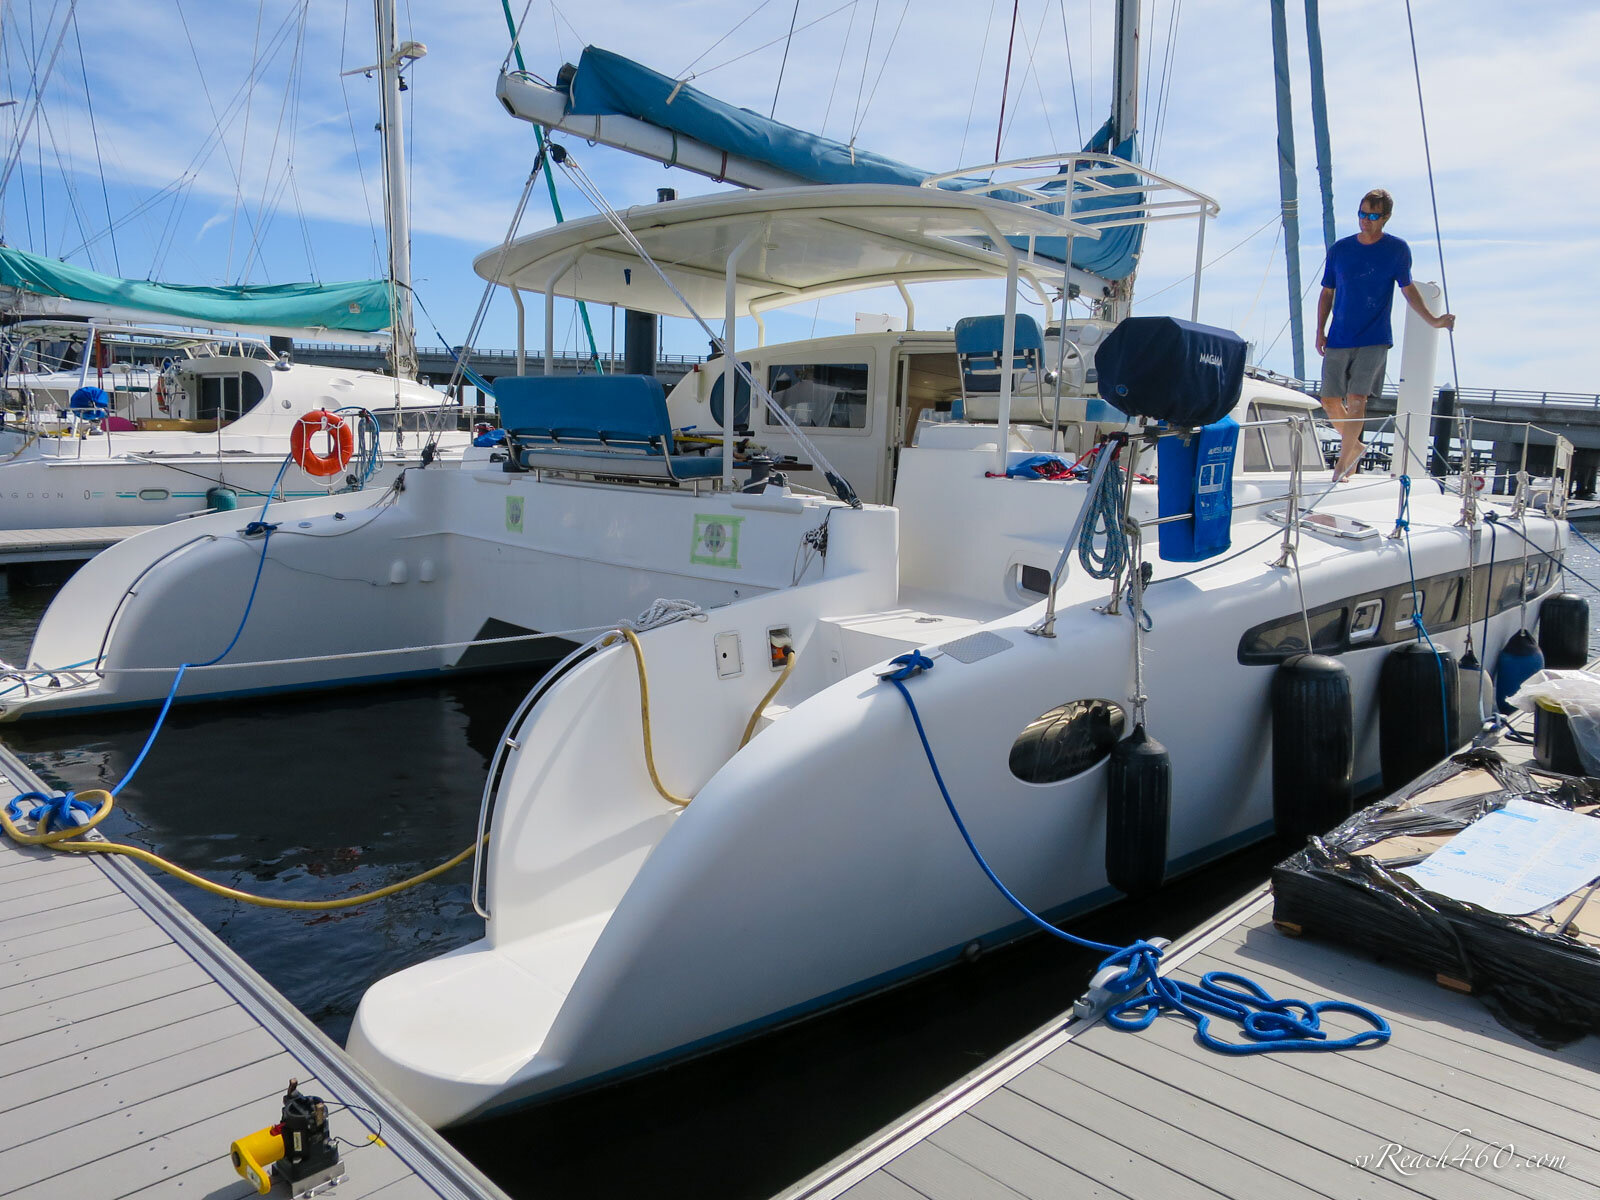
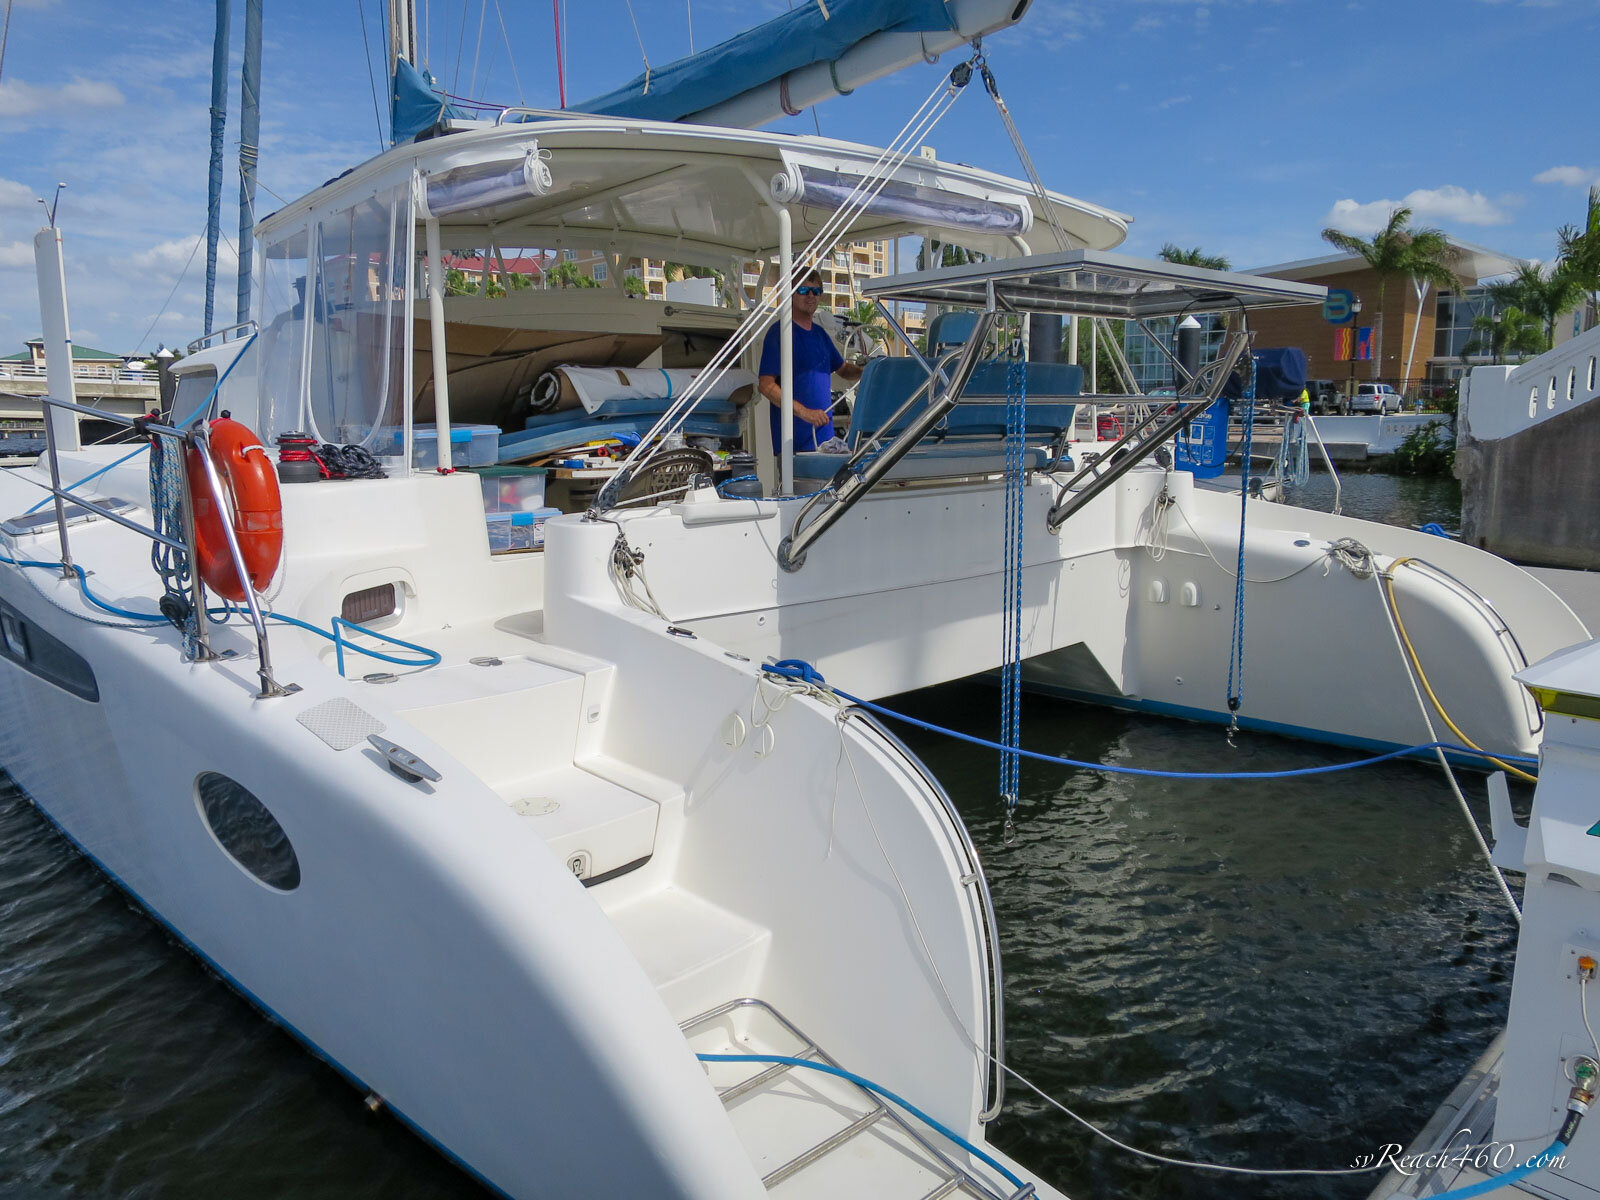
The Dolphin 460 hardtop was a good start for shade and covers most of the cockpit.
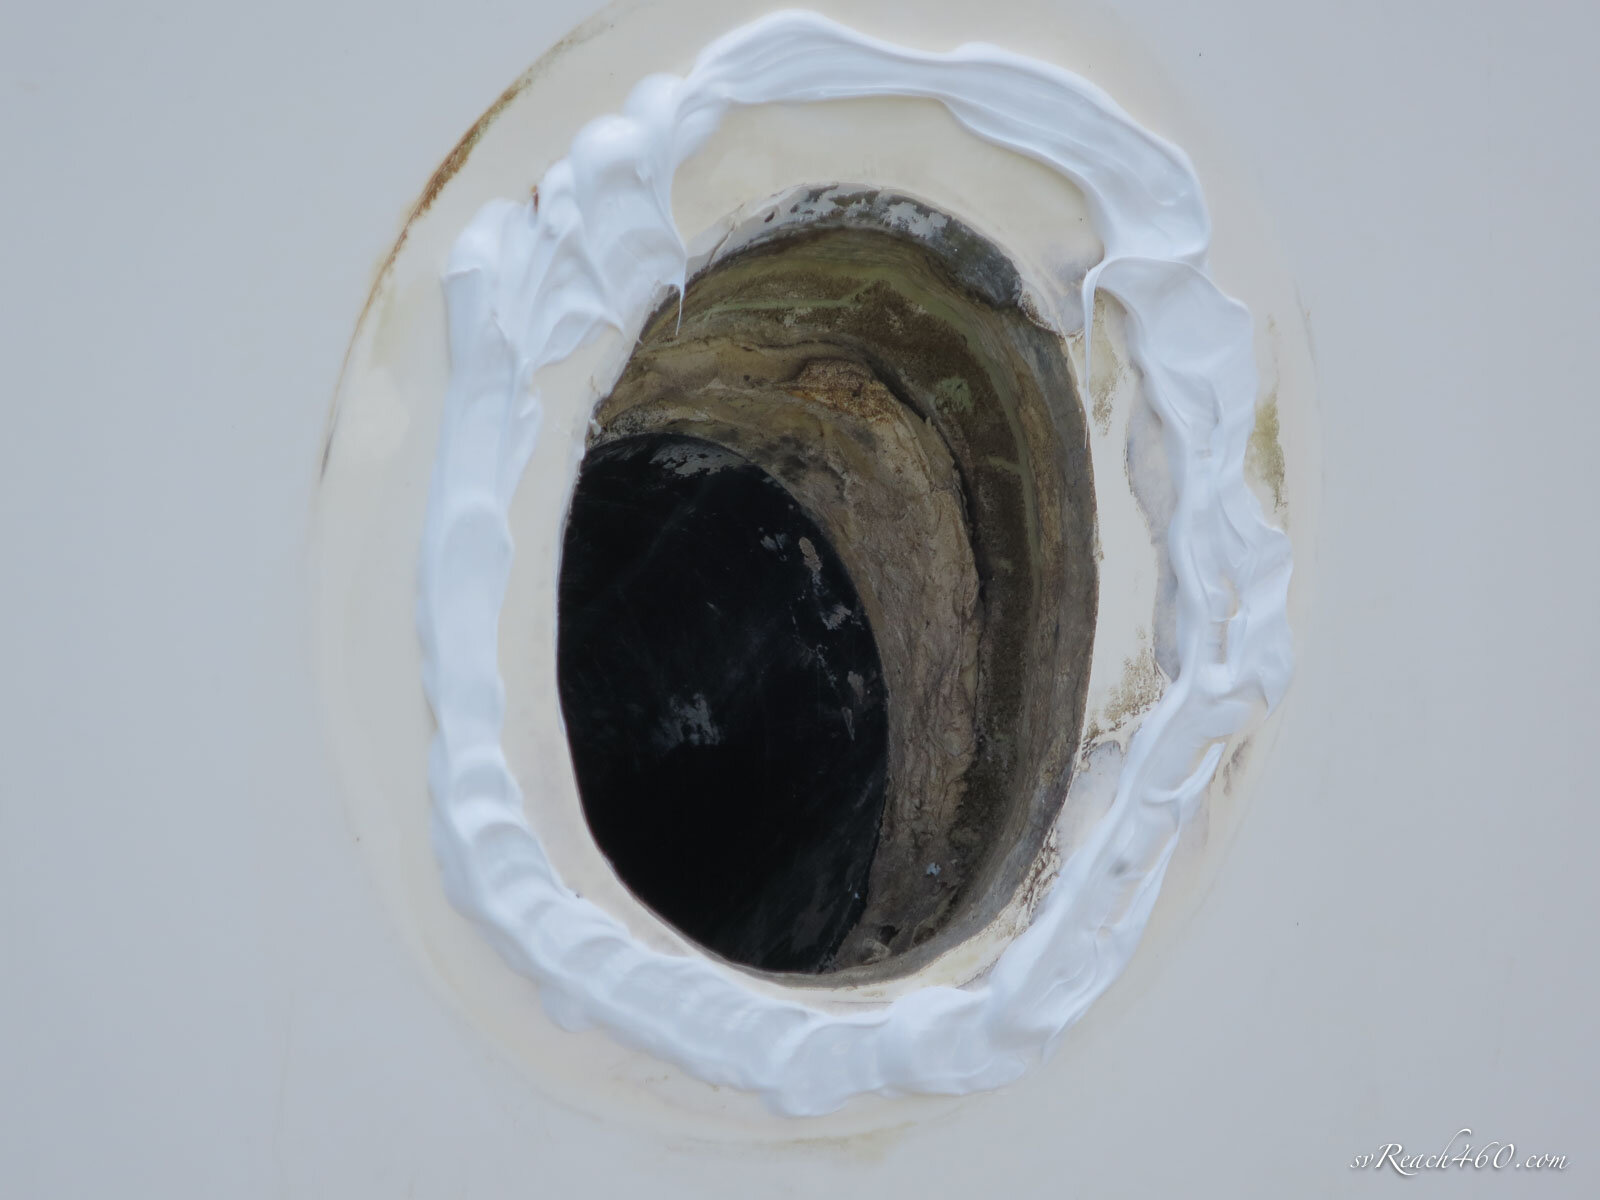
The old enclosure was canvas with vinyl forward and Textilene around the sides and back, which let in just enough sun to be annoying and offered little to no visibility when down.
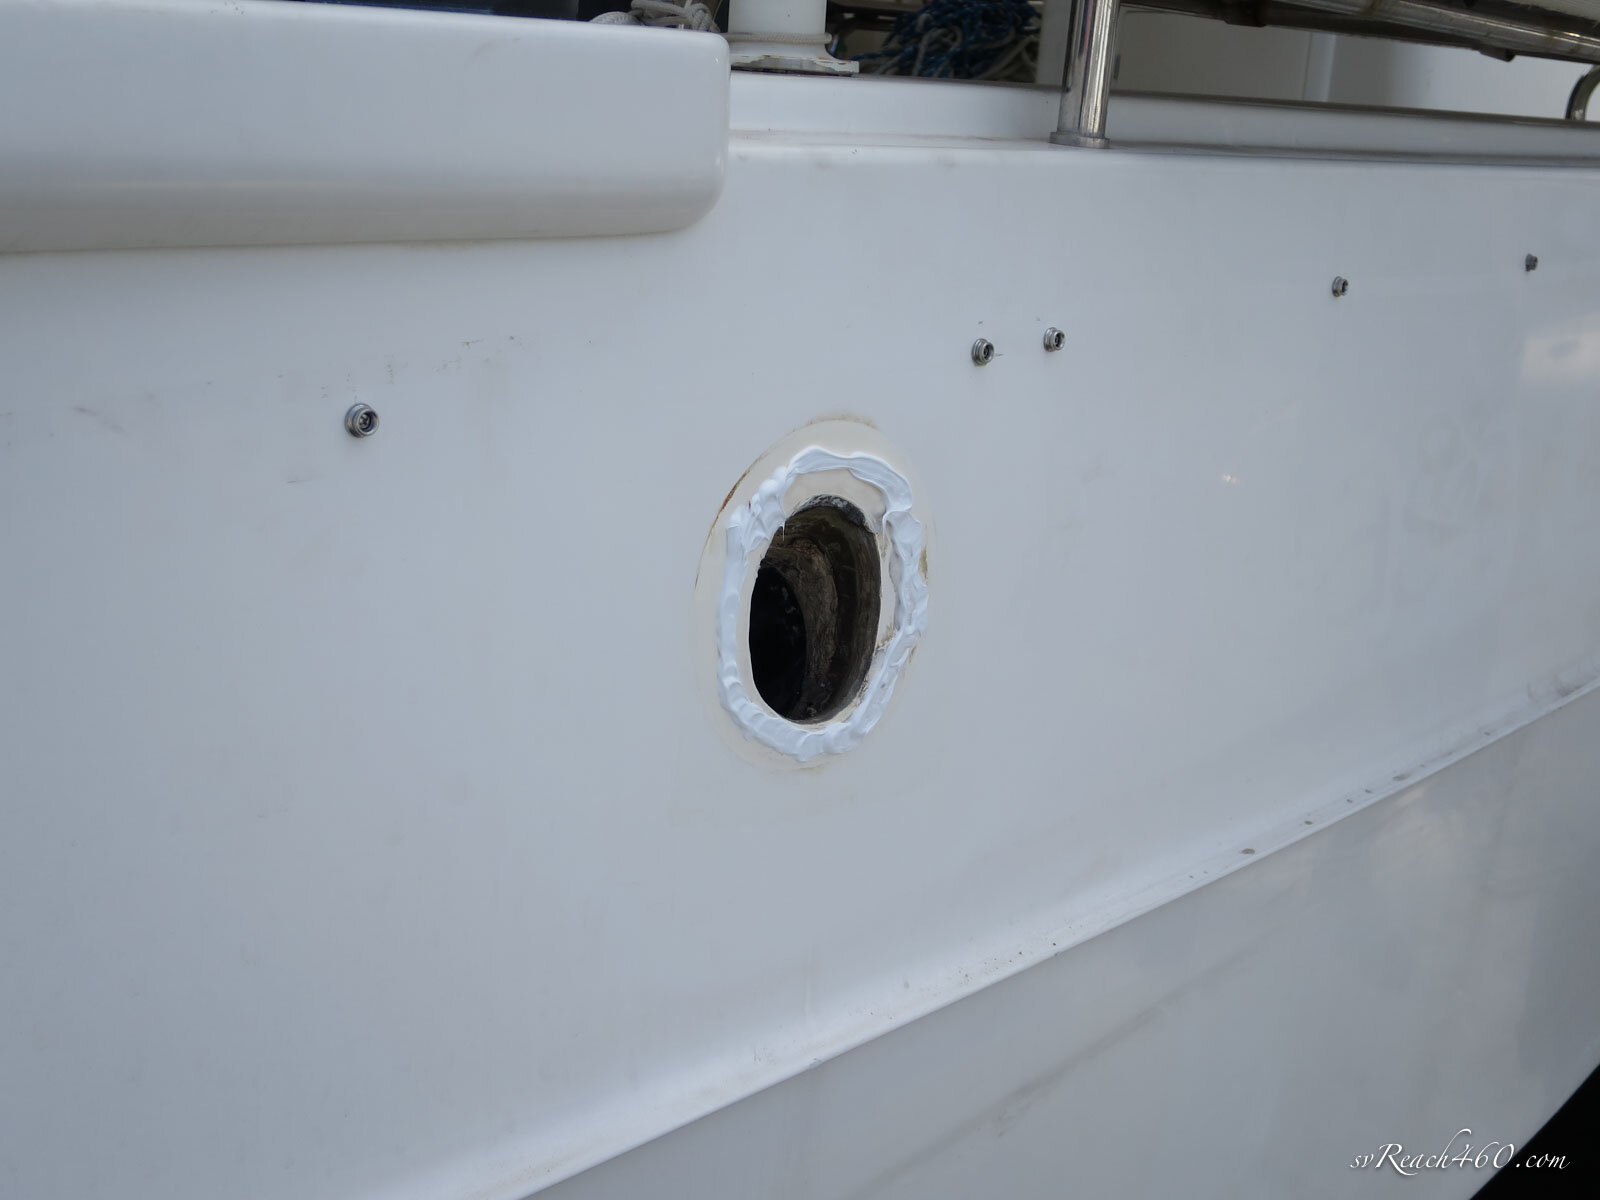
The other issue was that the connection points on the side deck took away the first part of the flat walkway to go forward. This always felt dangerous underway.
Starting with a full enclosure of clears, we can keep out the wind and rain when needed and still have full visibility. Sun shades will be added as a supplement and do their job of providing full shade.
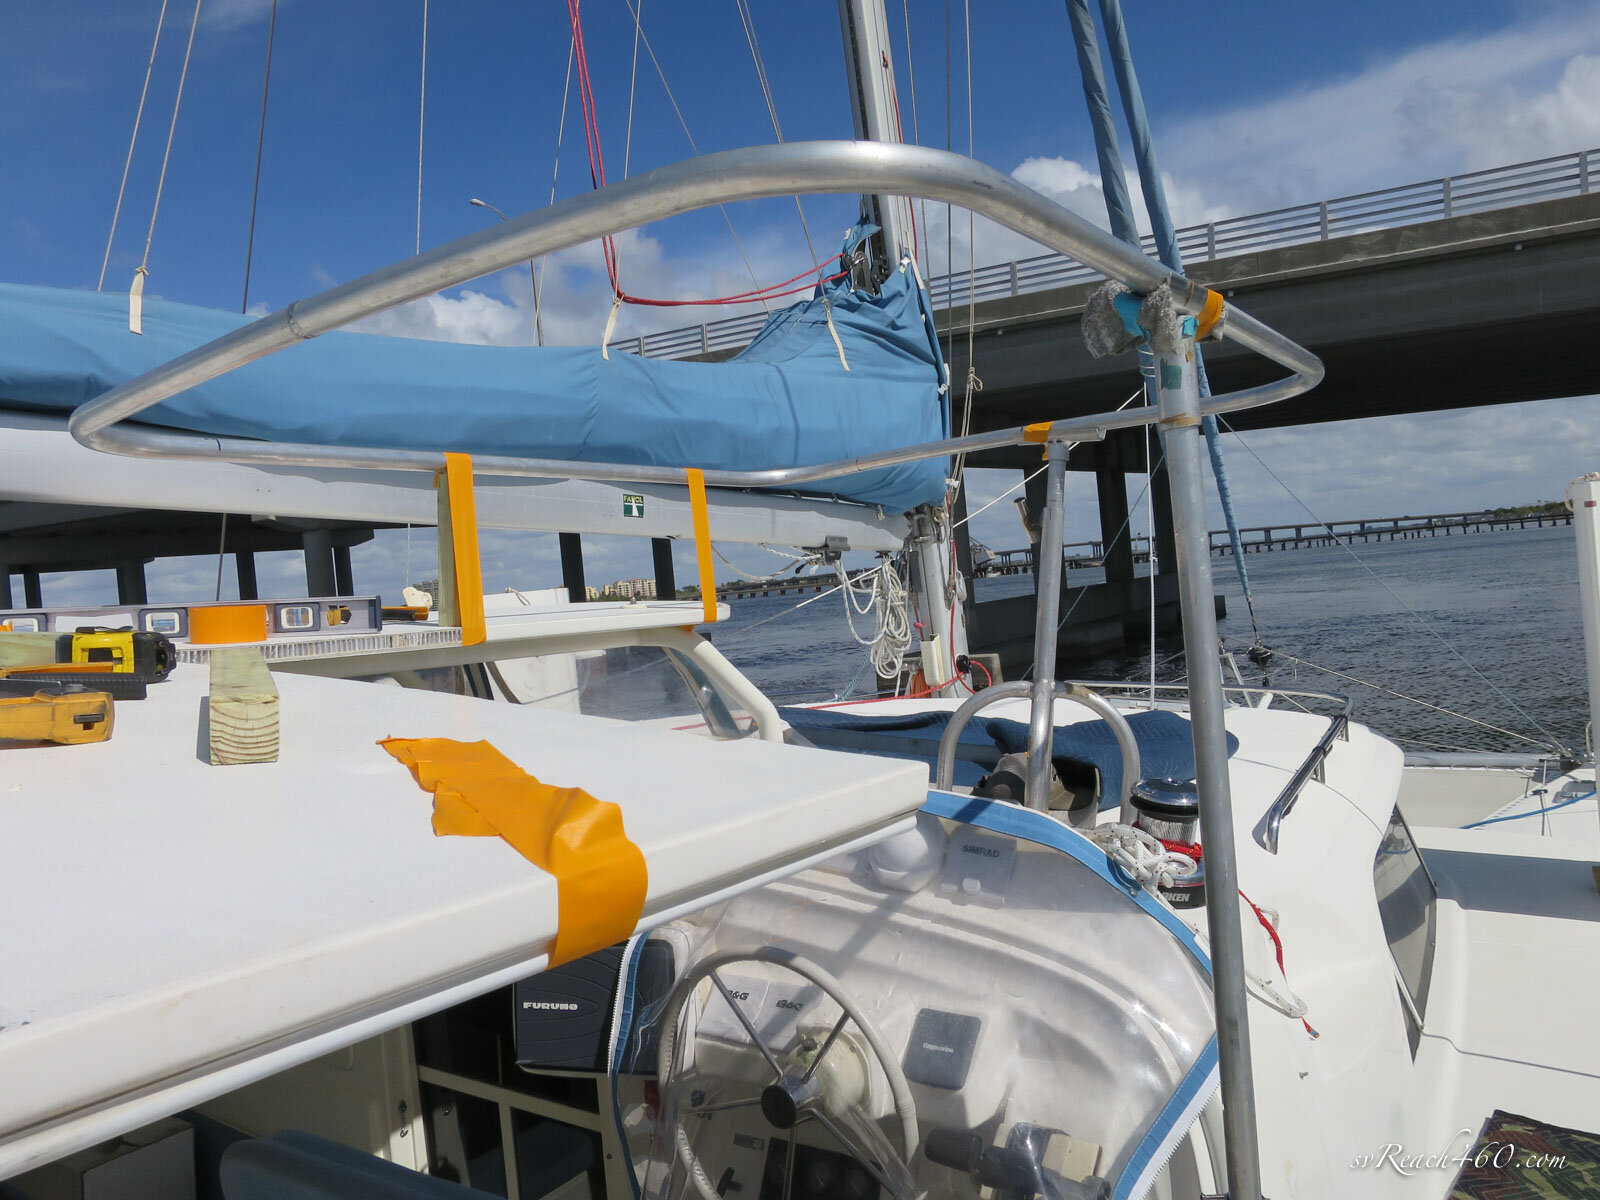
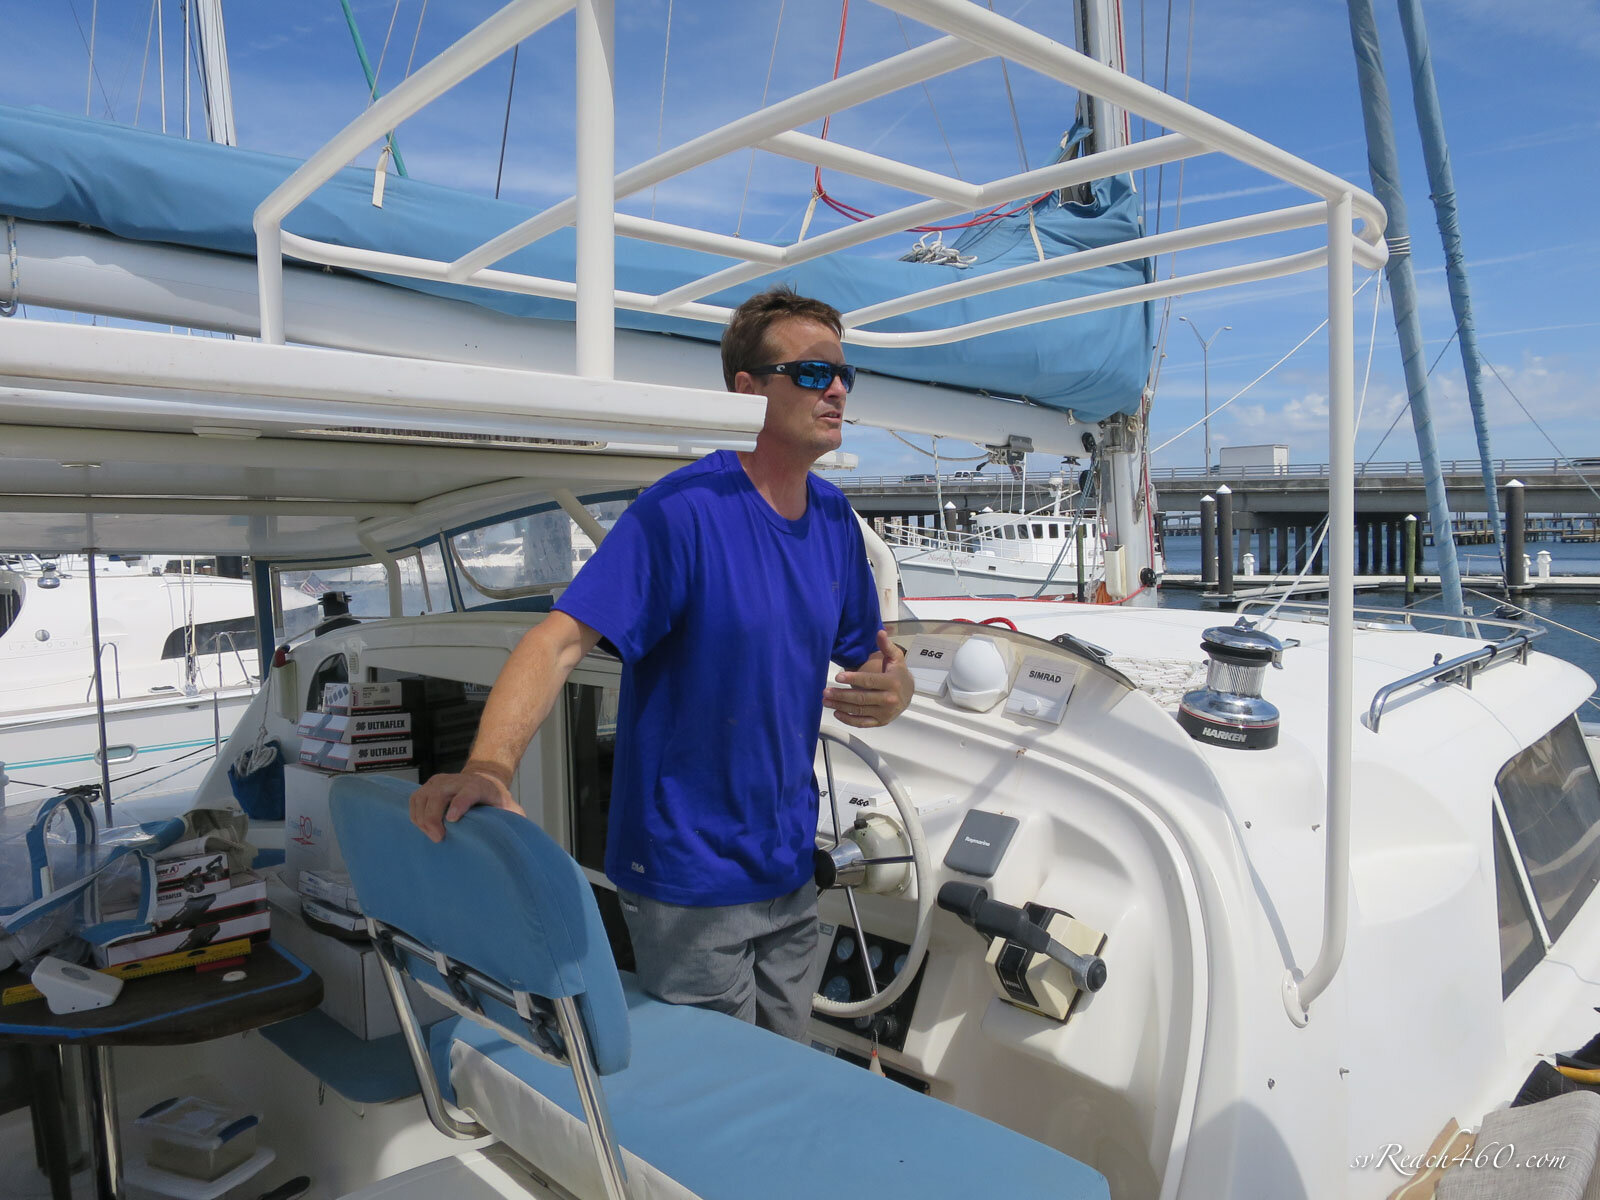
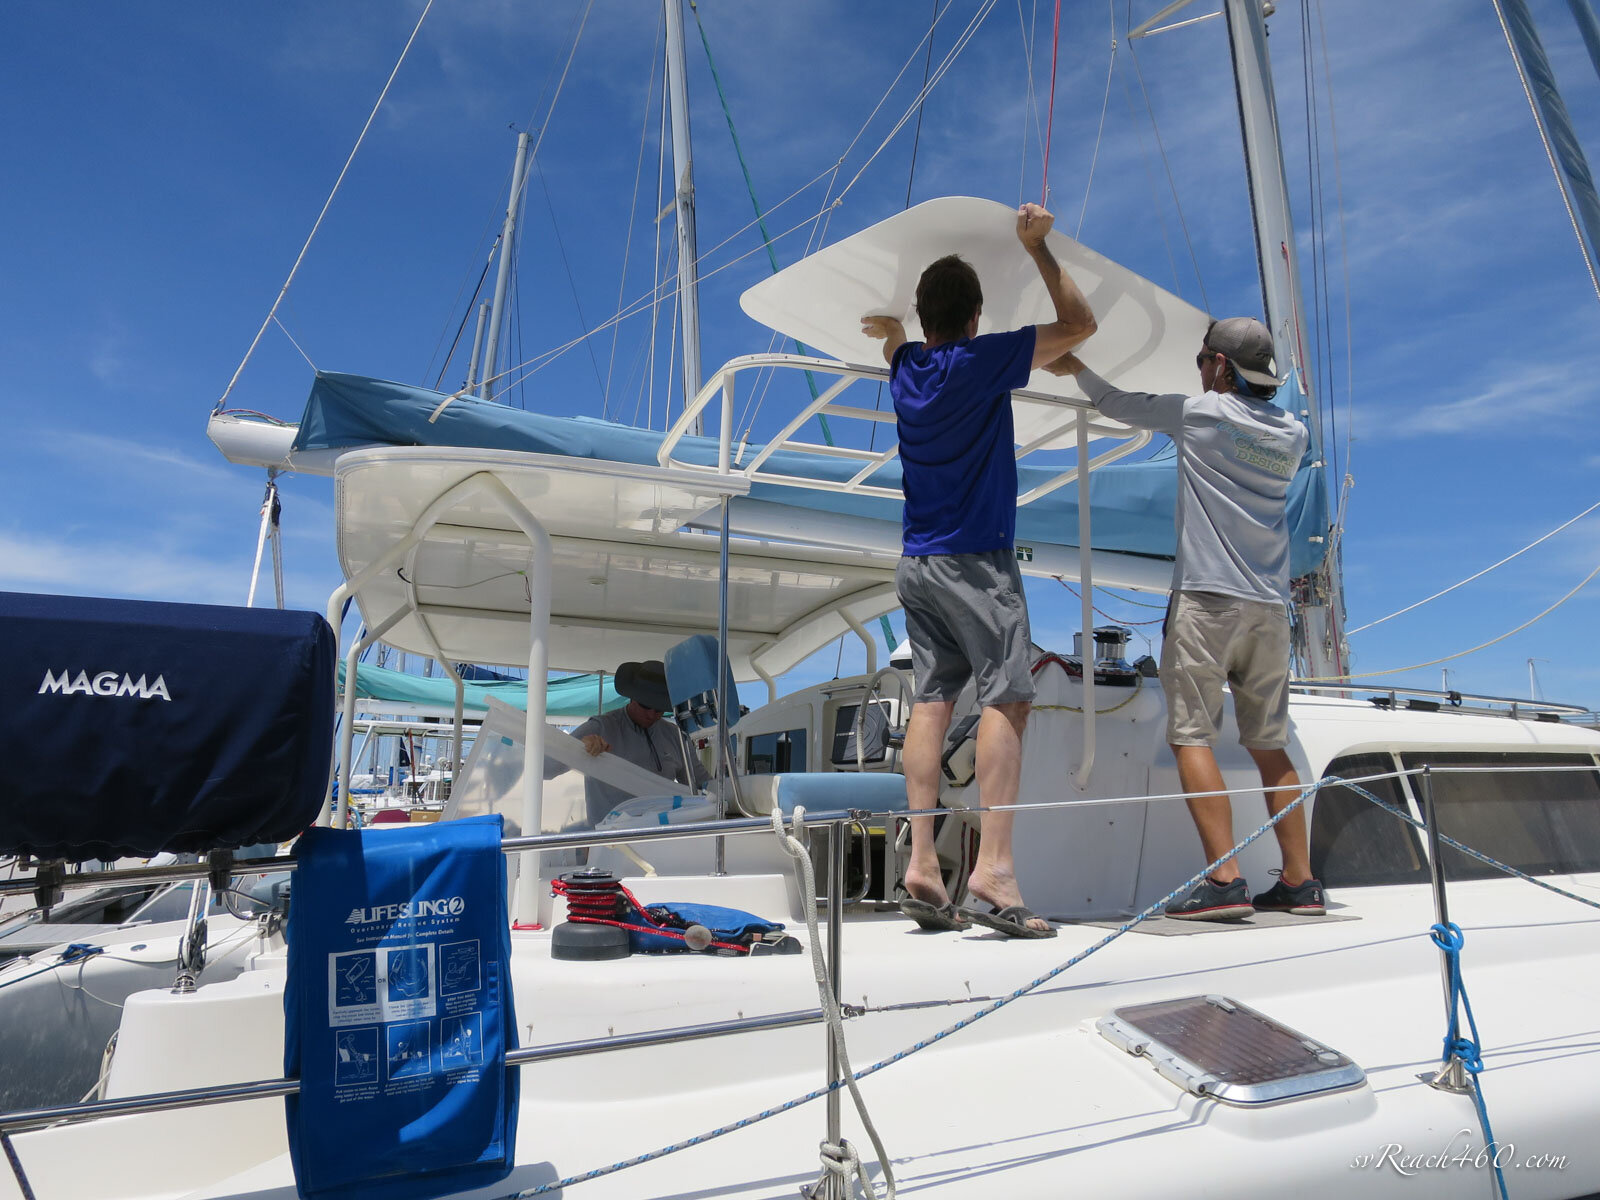
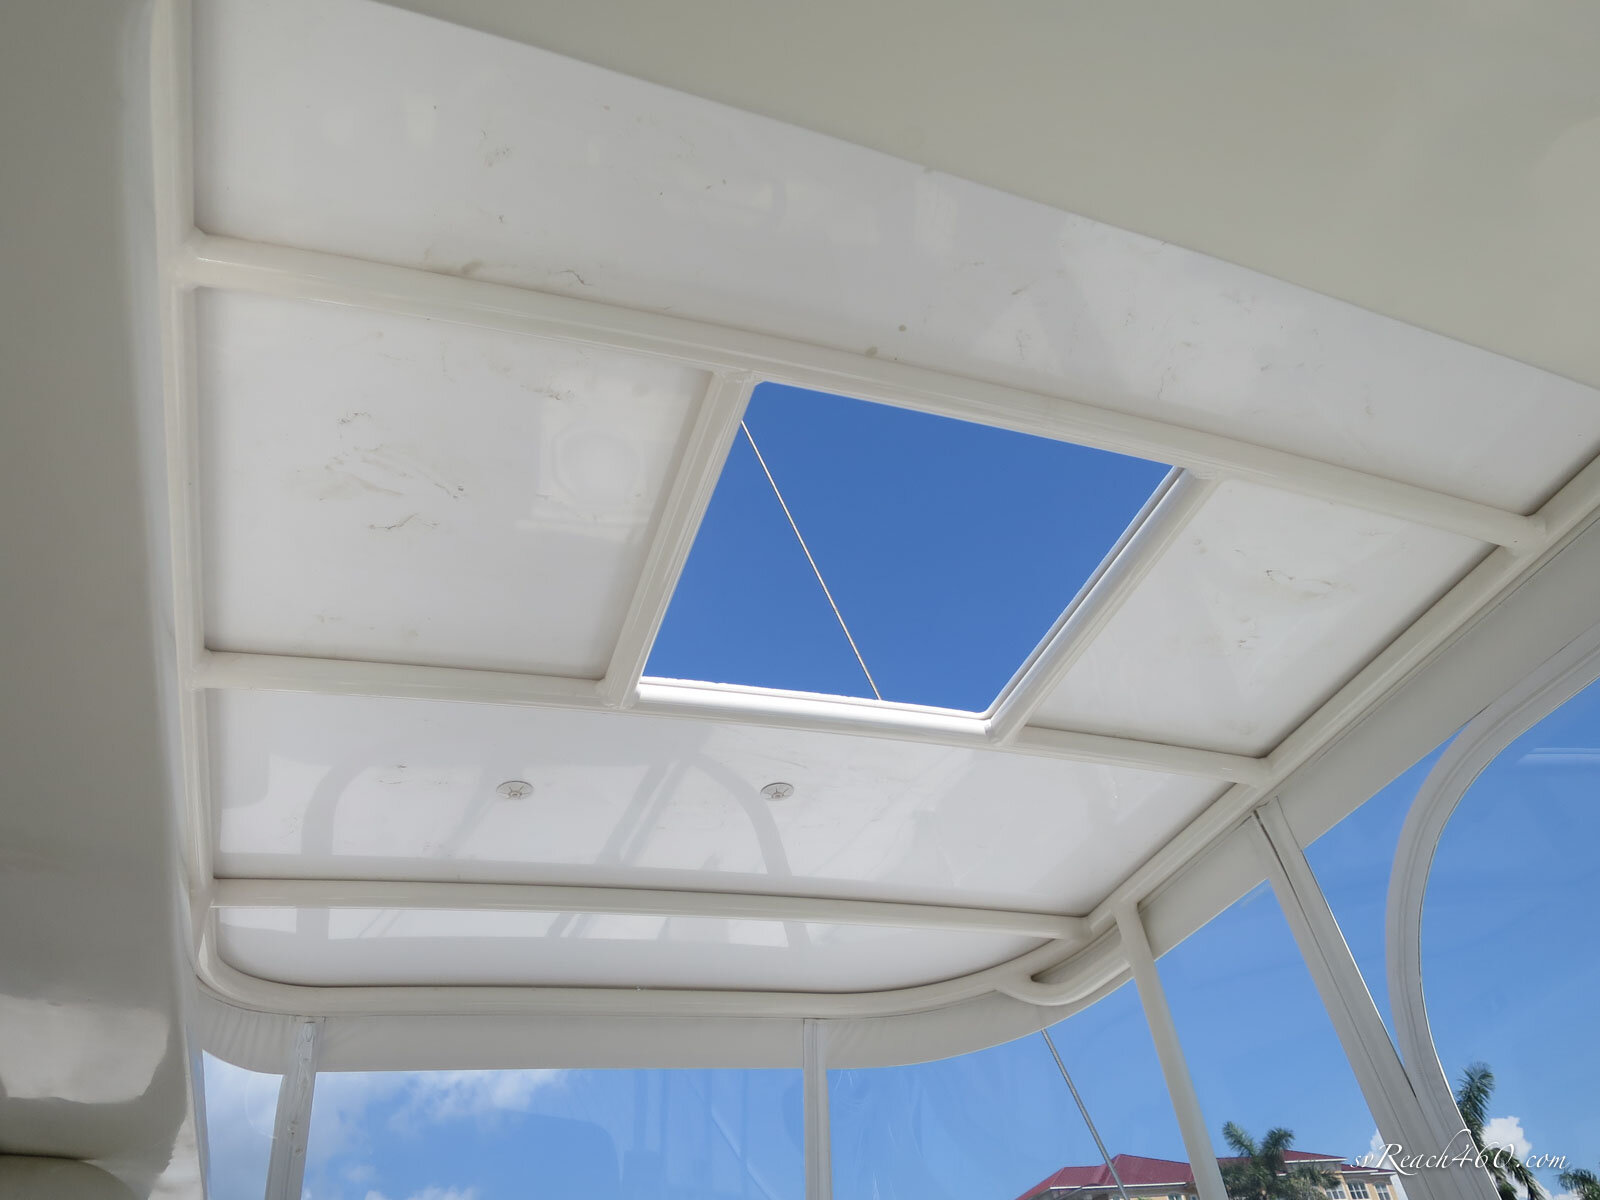
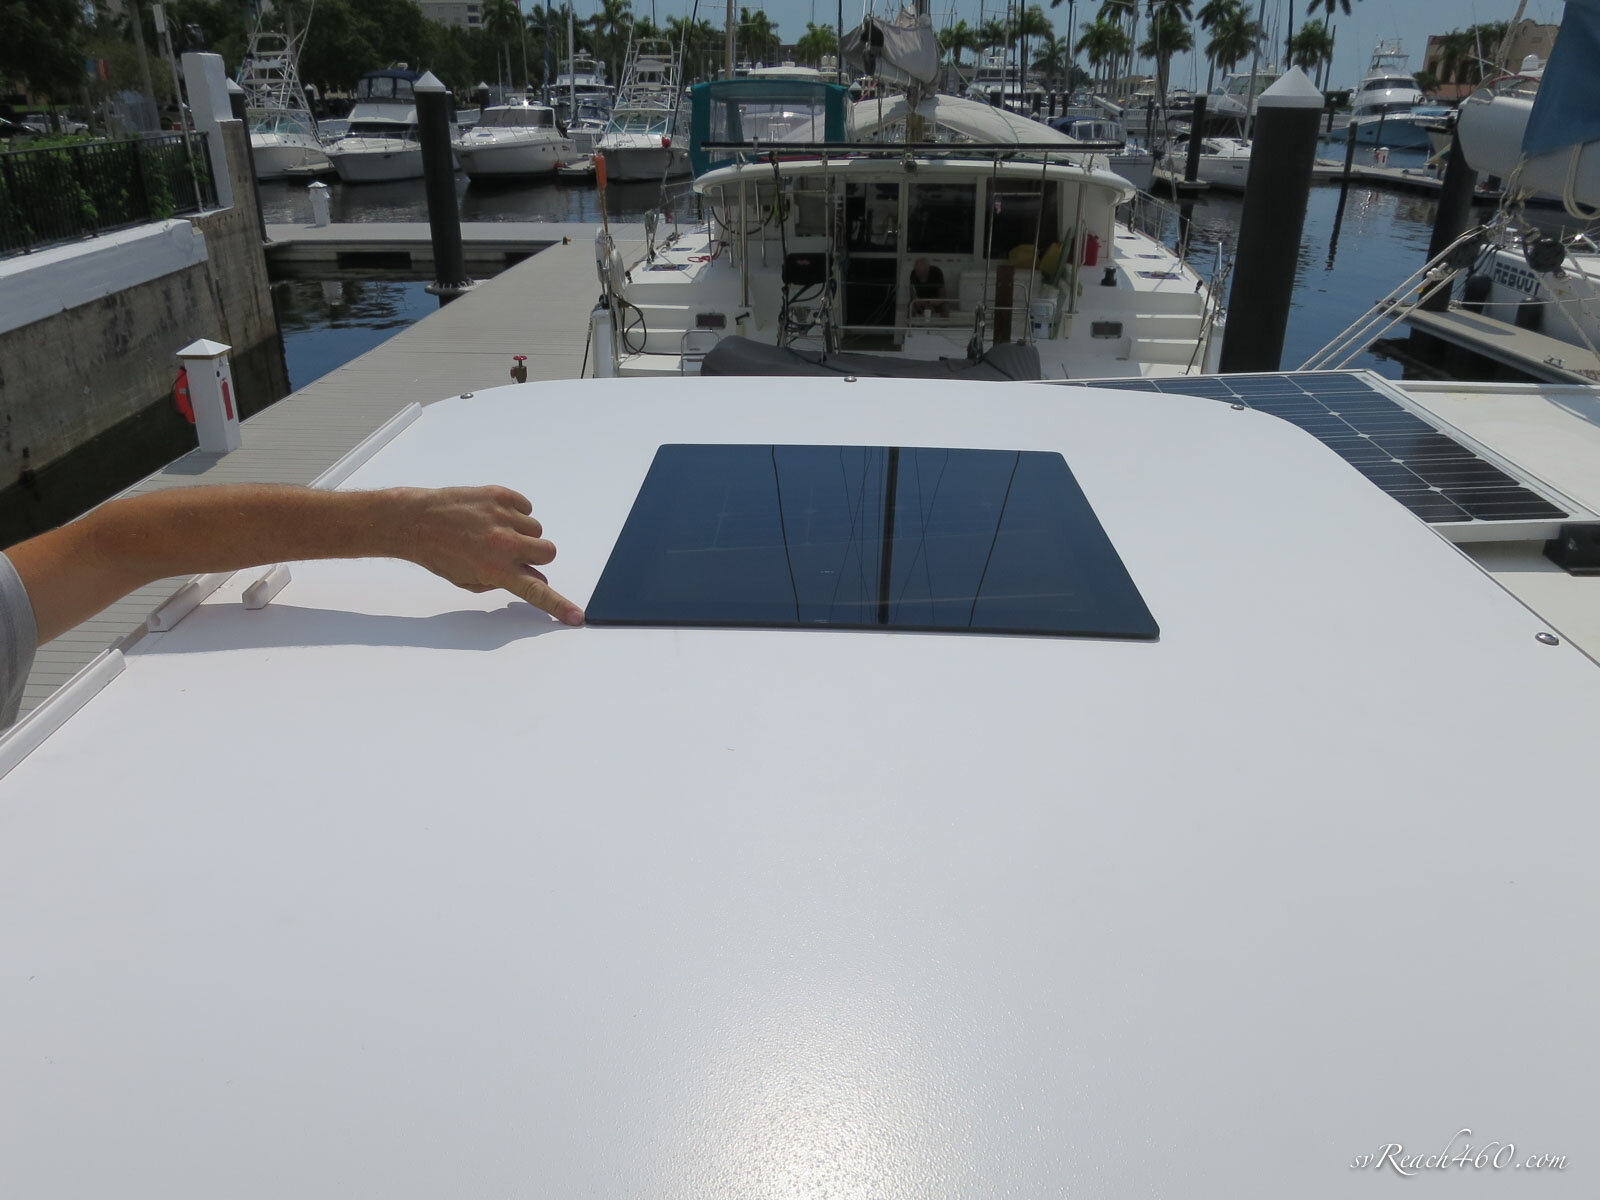
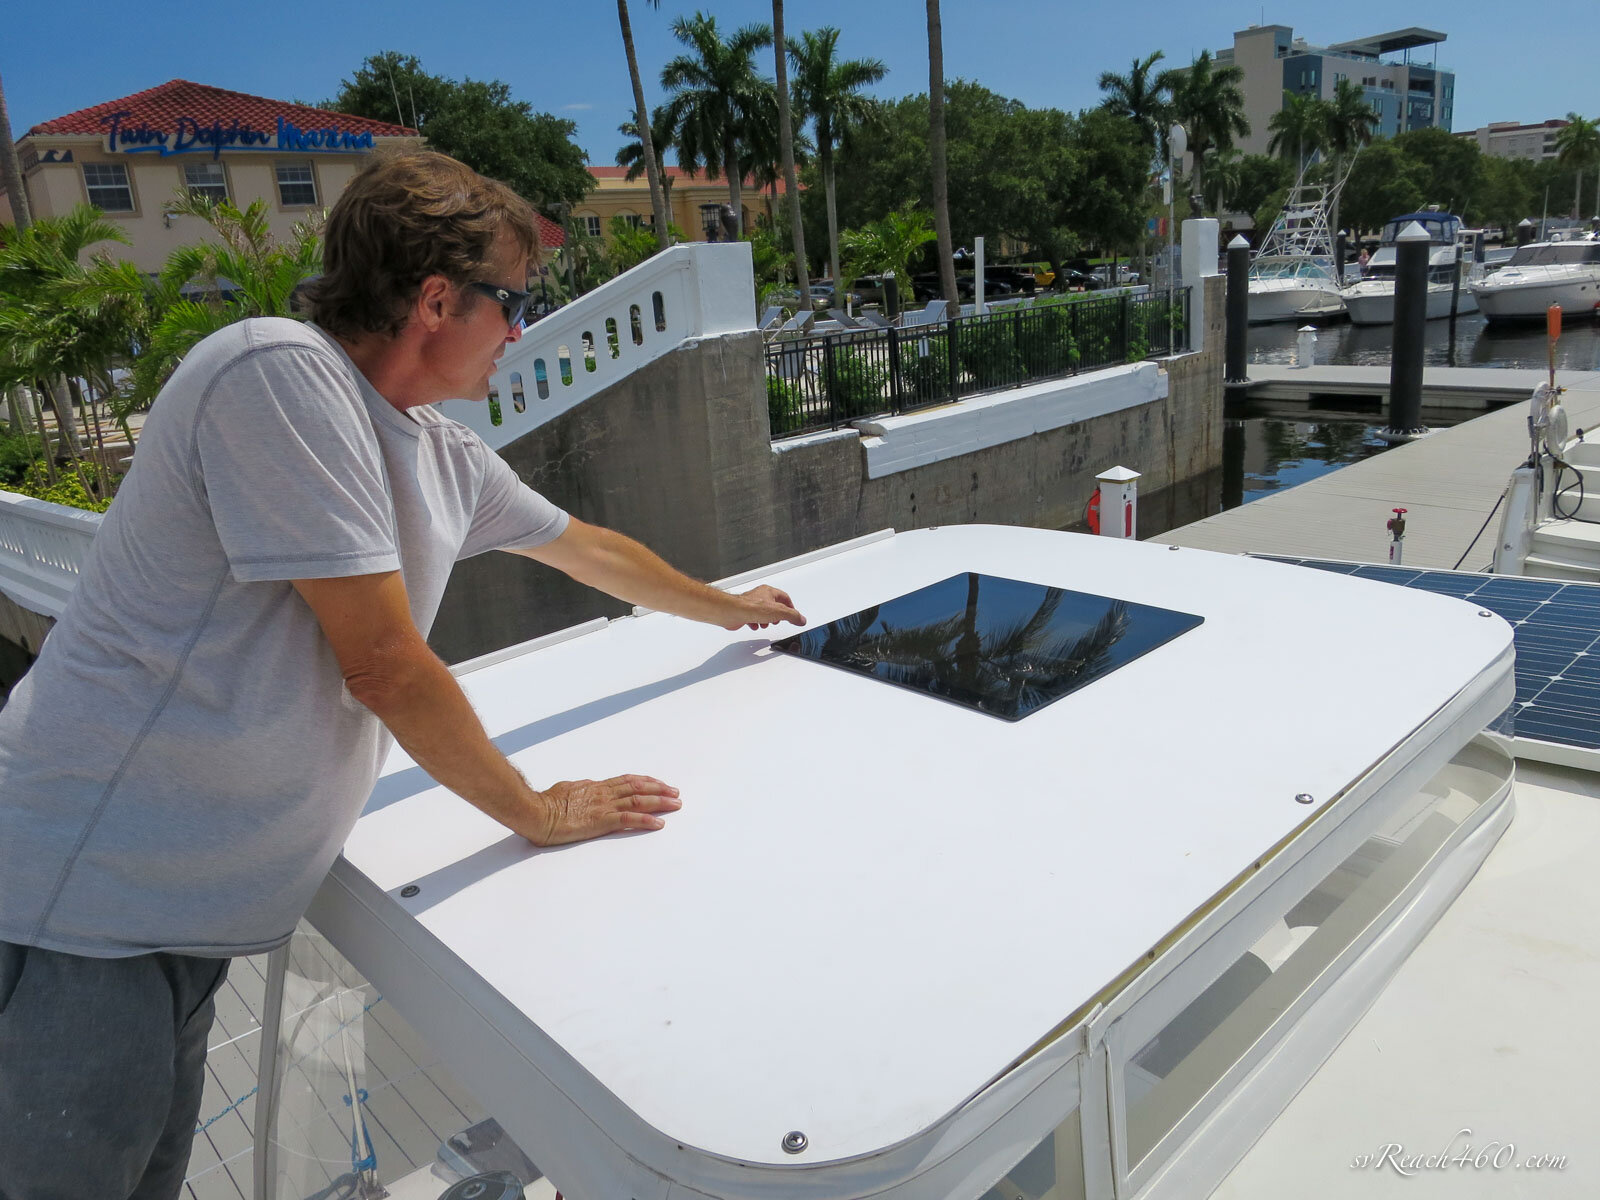
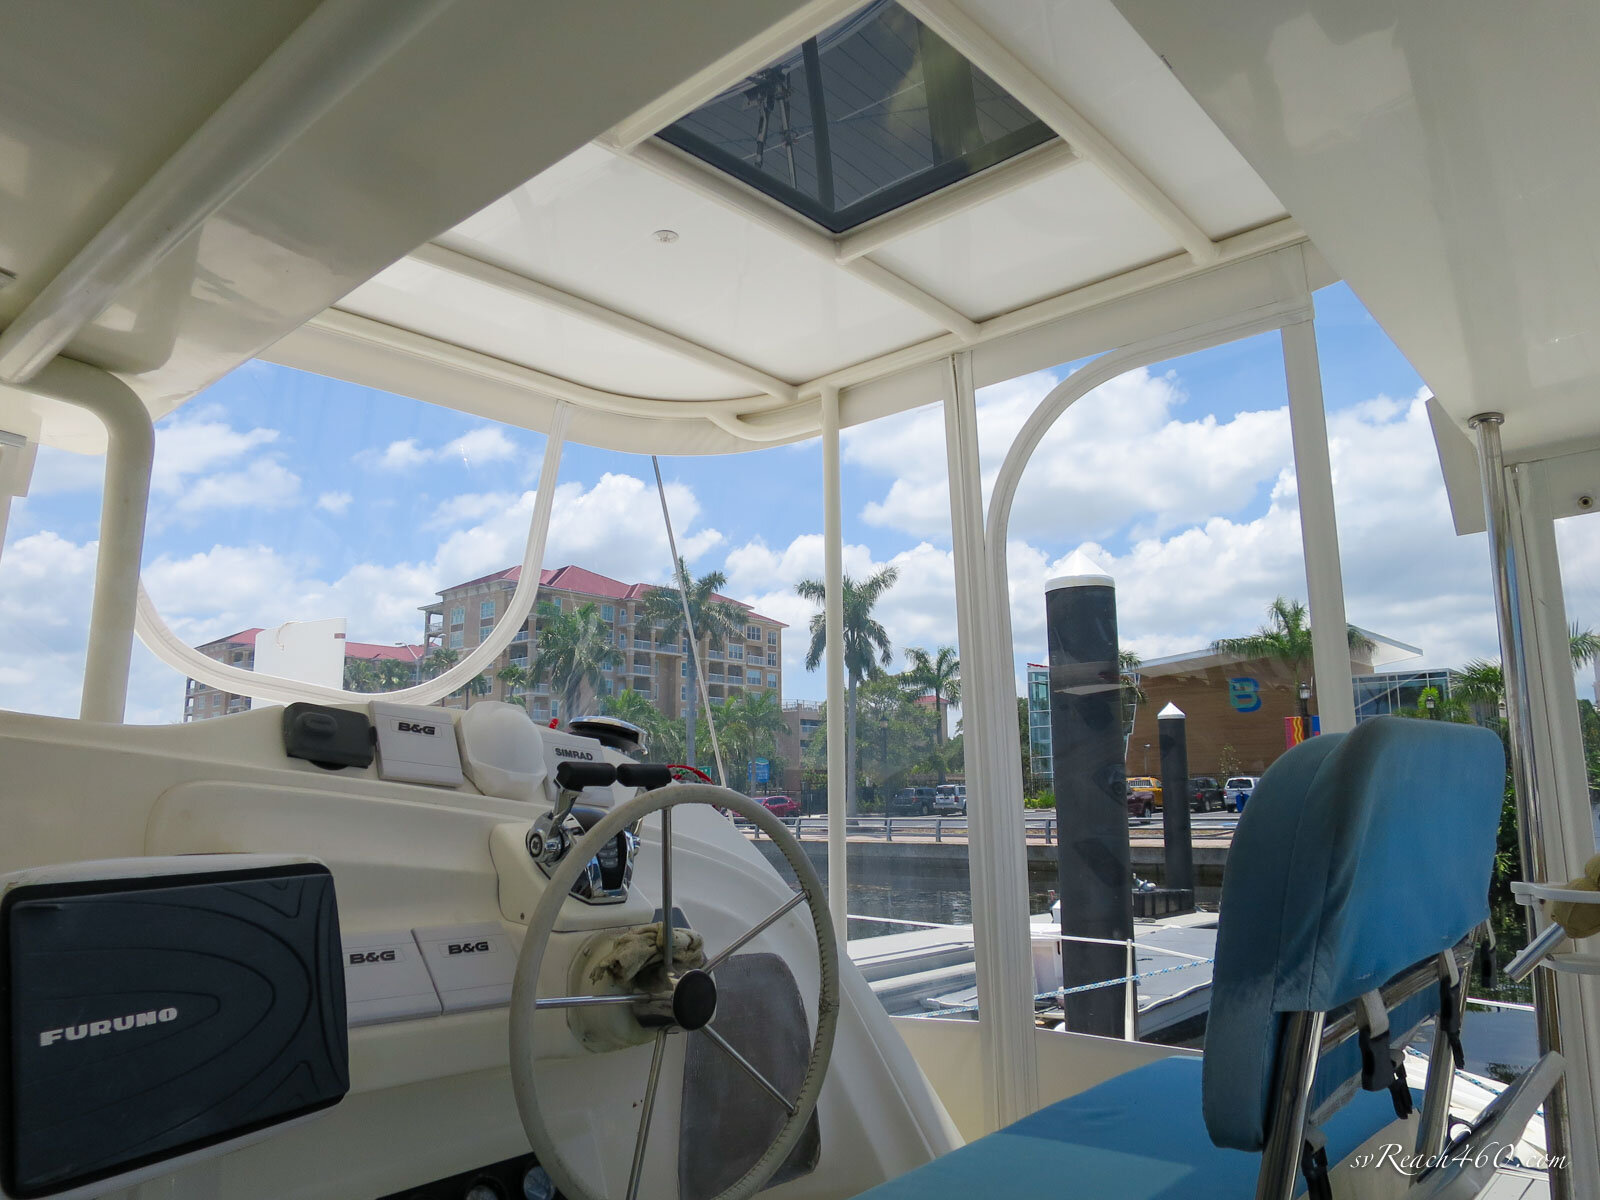
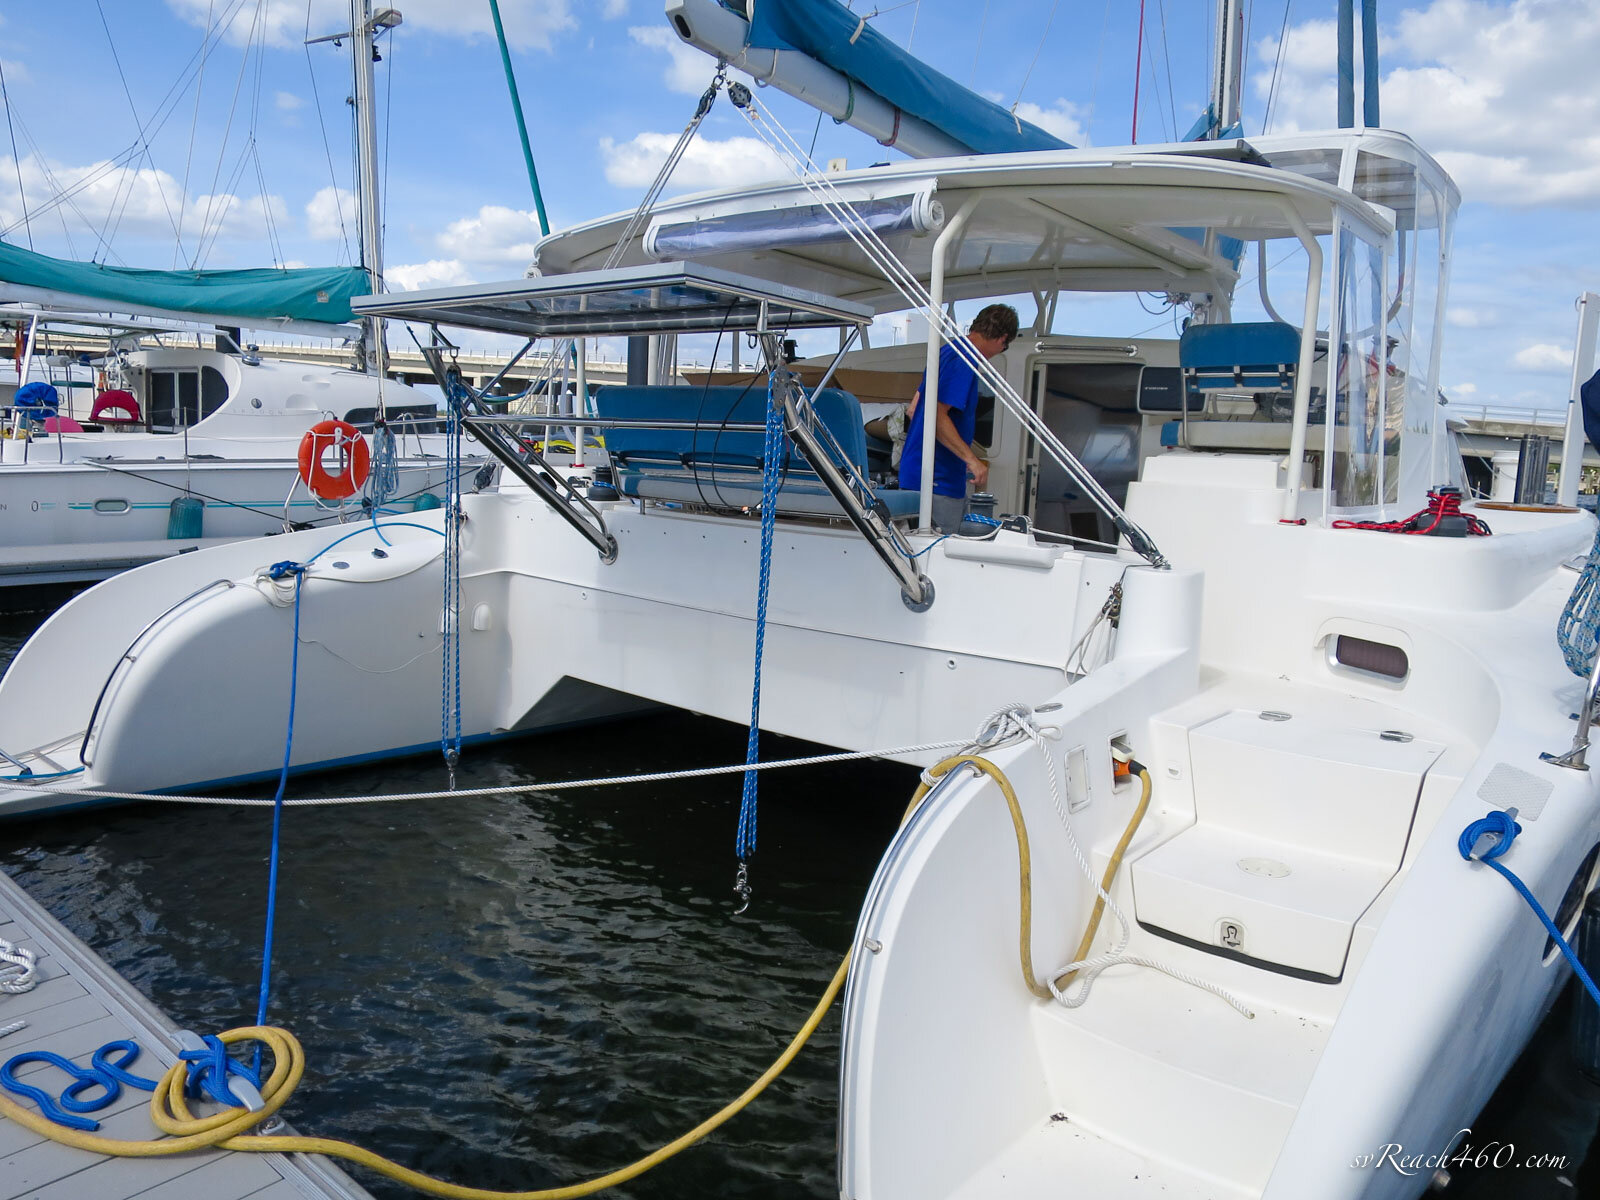
Before patterning the enclosure, we needed to redesign the helm station. The original hardtop had a open cutout here that many owners have covered for weather. However, when seated there is a minimal amount of headroom, no more than an inch or two.
Looking forward, the field of view is small. To stand and work with the winch, halyards/sheets, or throttles, you quickly got limited in space and sometimes needed to stick your head above the hardtop. No thanks!


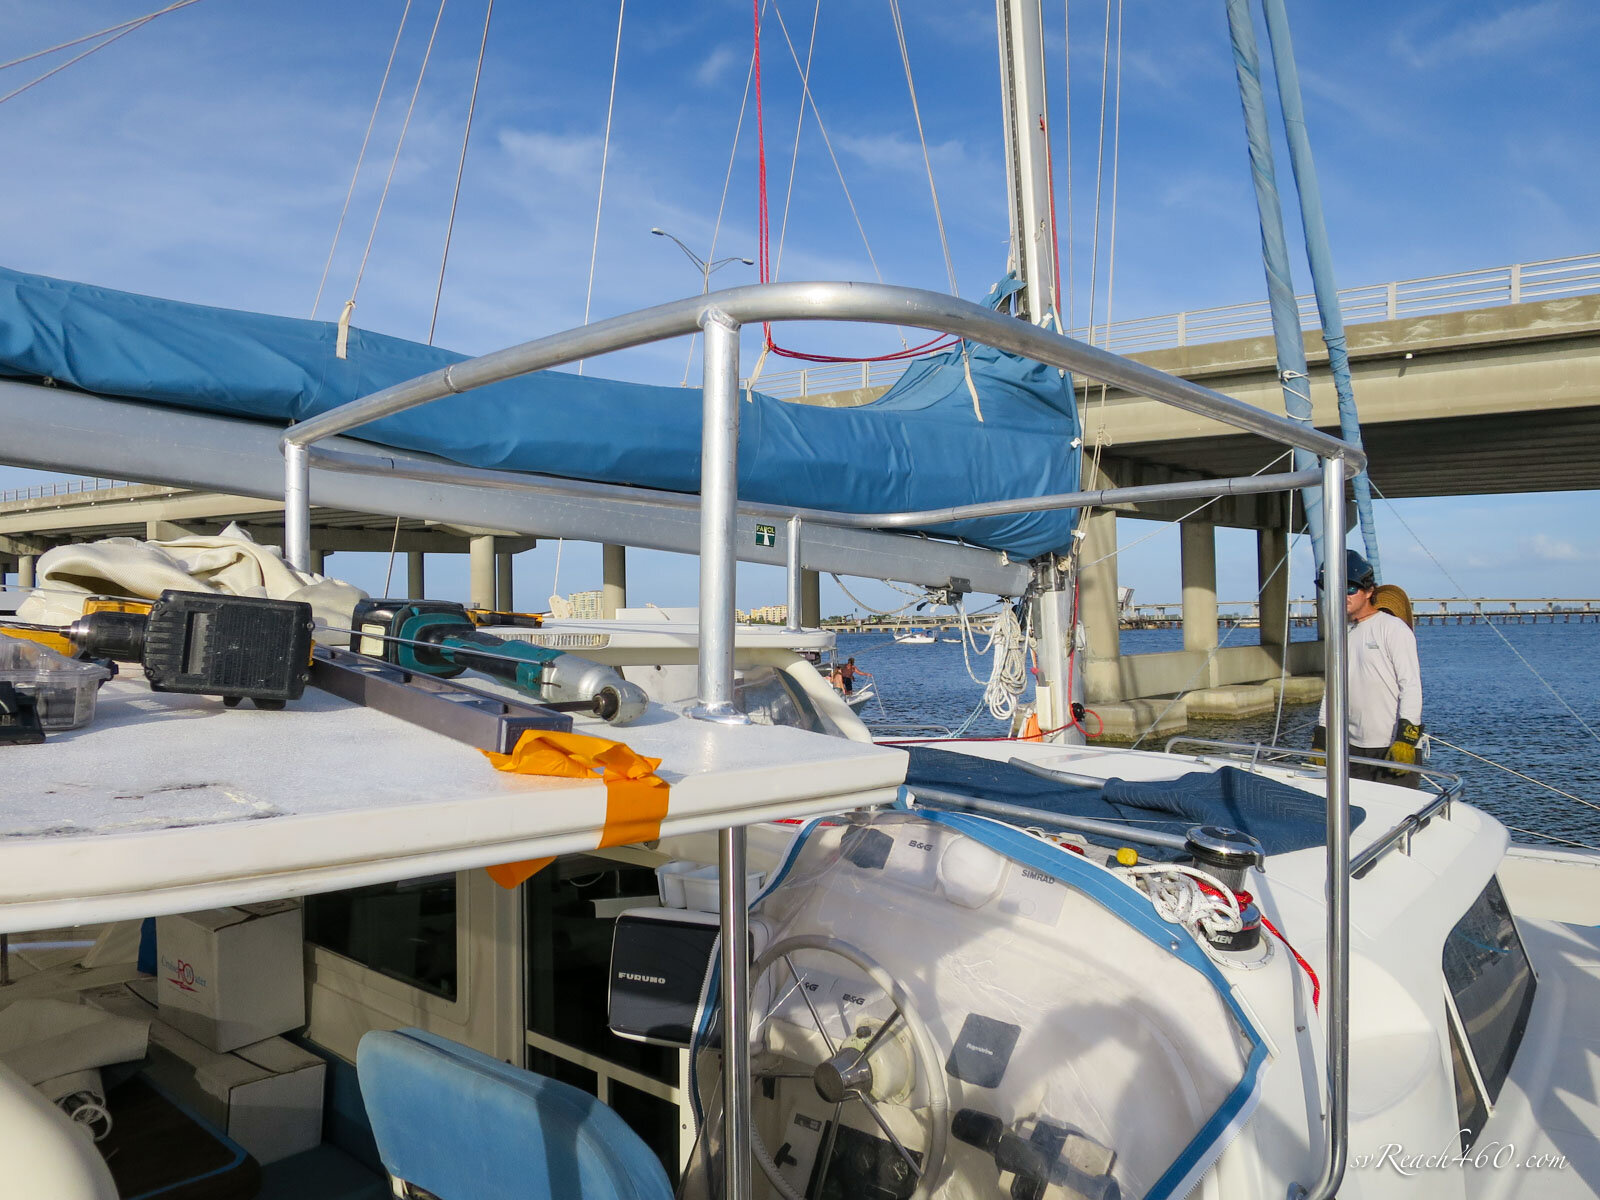
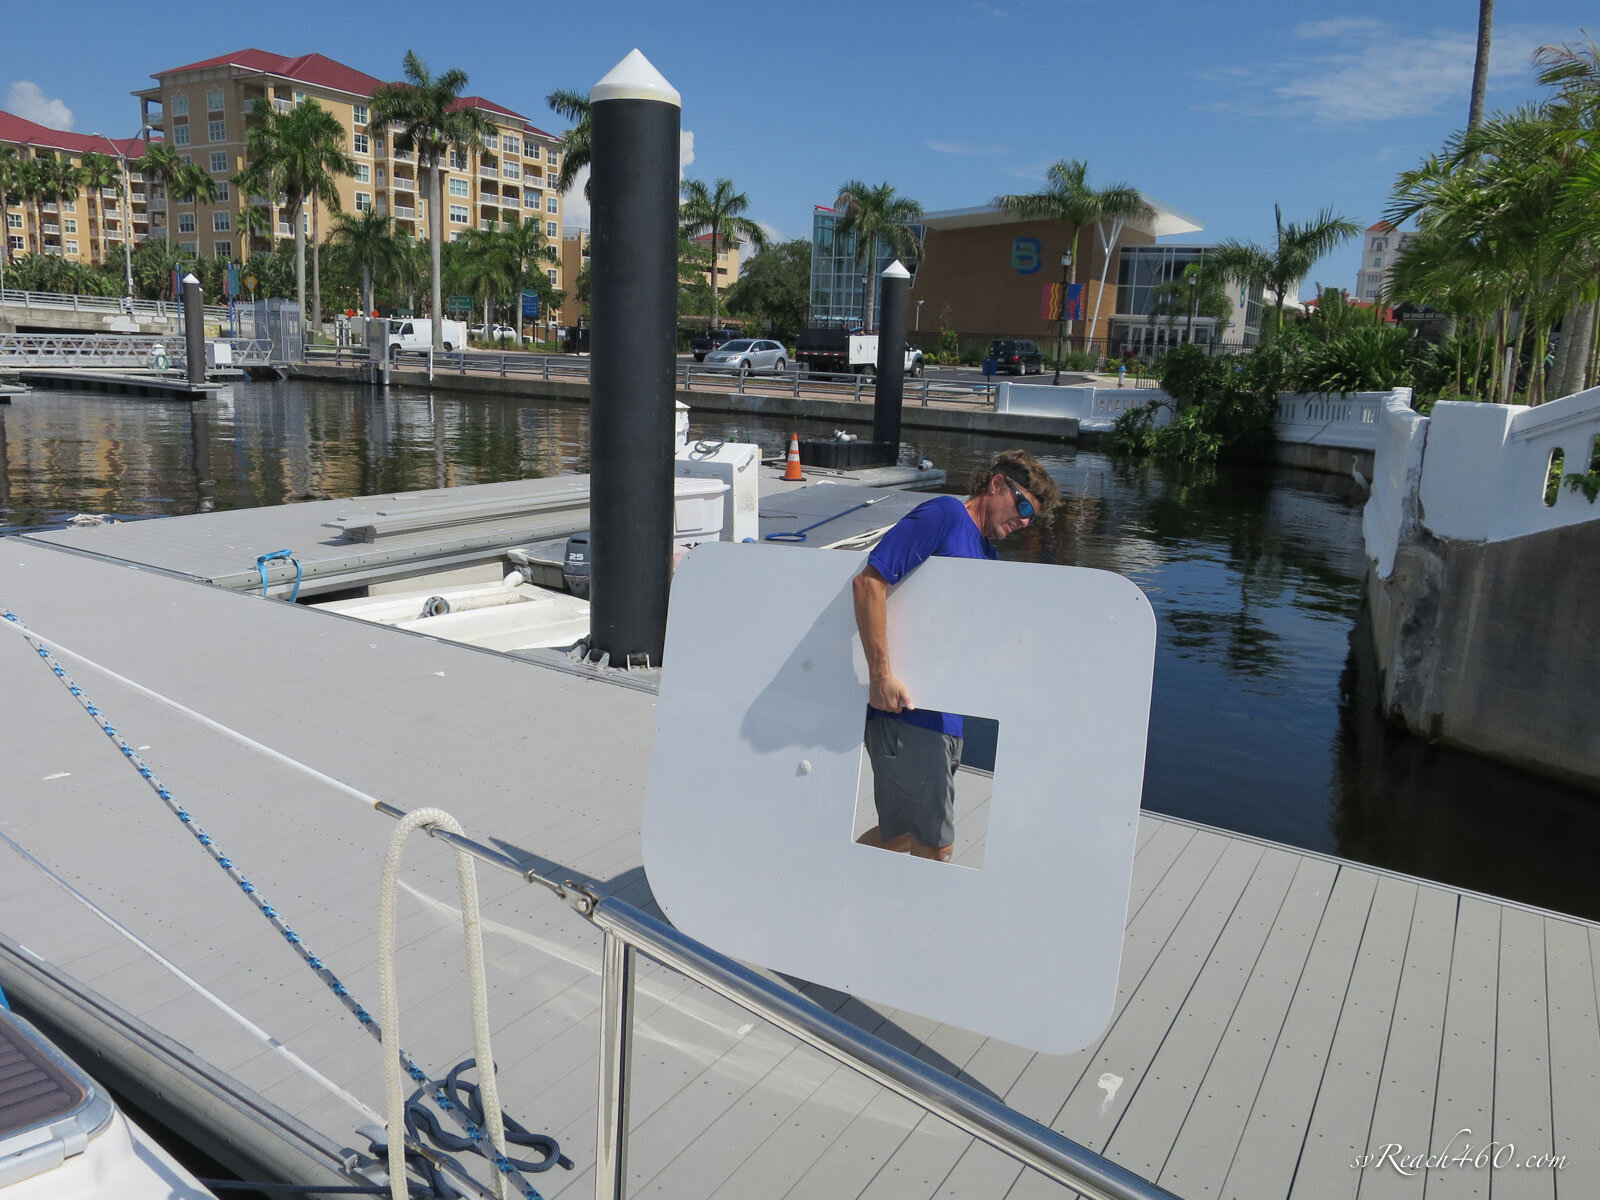
Mark had calculated that we had 10-12 inches more headroom to play with and still clear the boom. Another foot or so was removed from the original hardtop by Rian (Mondo Marine). This cutout was needed to open that area directly above the helm seat, where our head and necks currently felt very scrunched.


We worked with Geoff (Artful Canvas Design) to design an aluminum bimini structure with its own hardtop. He did an amazing job getting a nice shape to match the camber of the current hardtop.
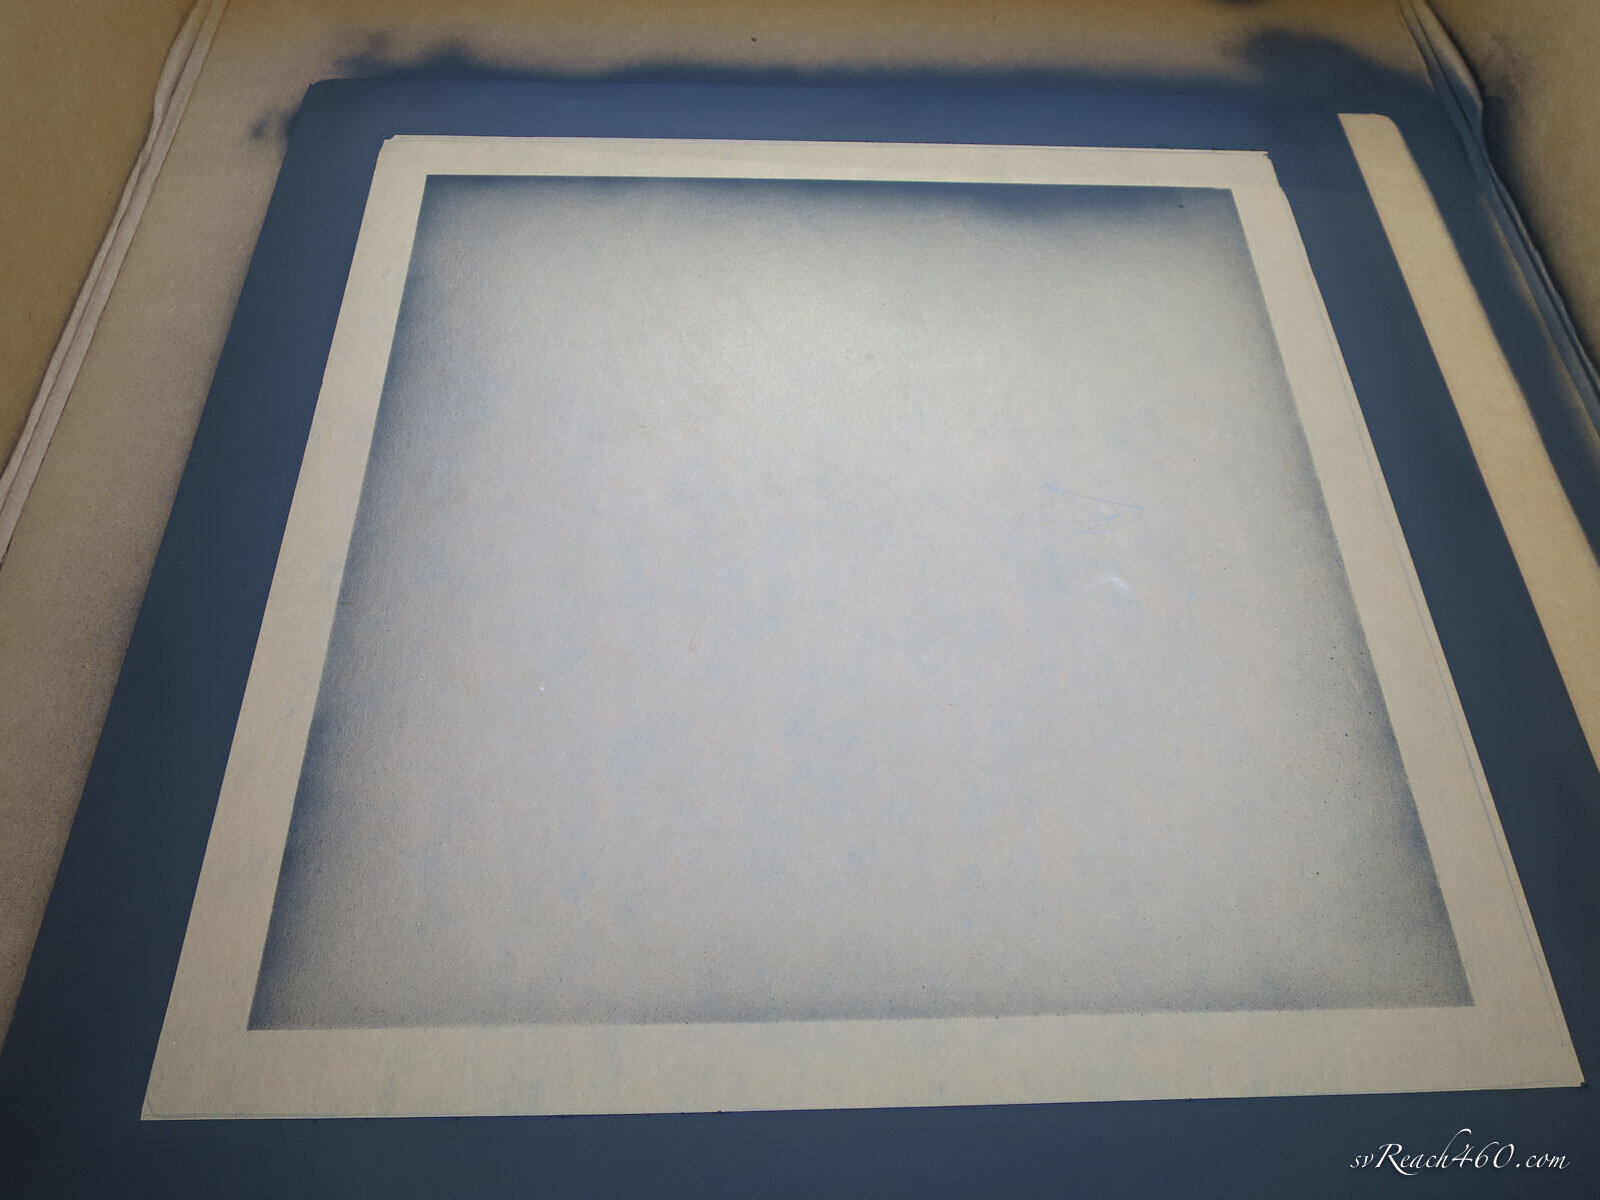
Once tack-welded in place, Geoff took it back to the shop to finish and powder coat. Mark later installed a tinted sight window and did a nice job with curving edges and painting a frame to protect glue layers.
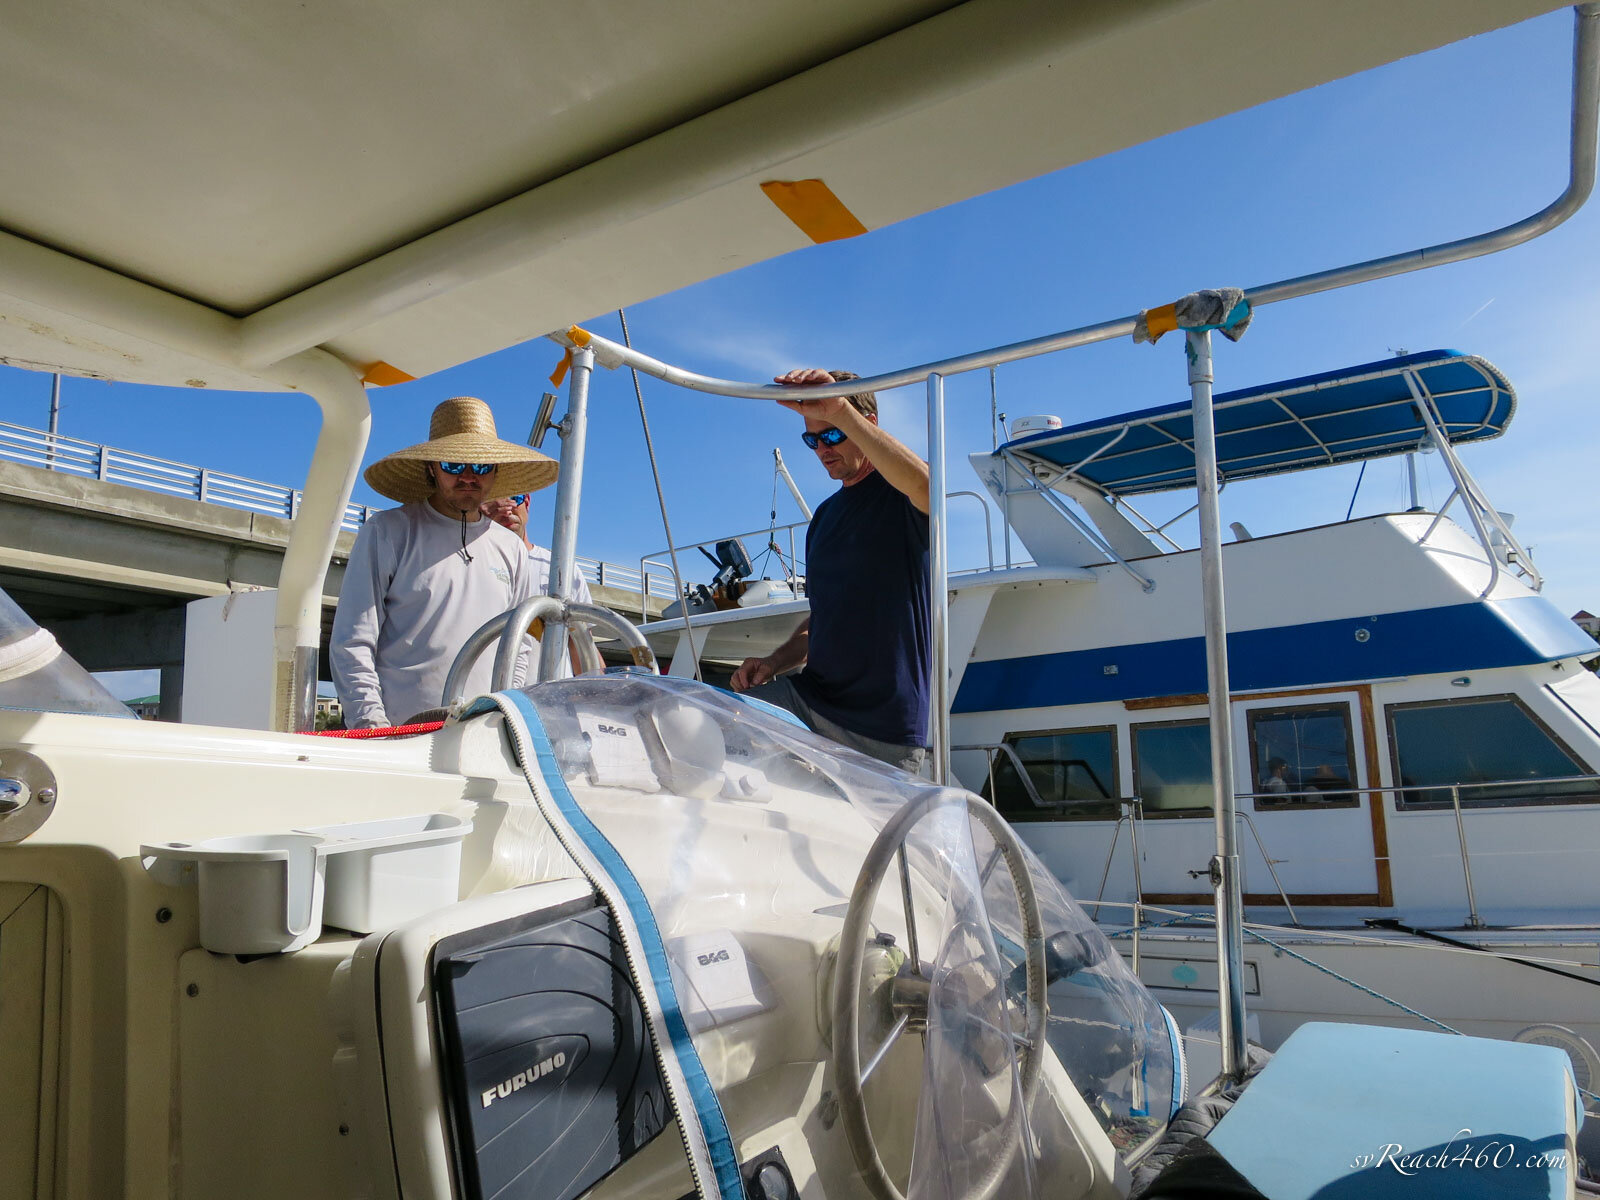


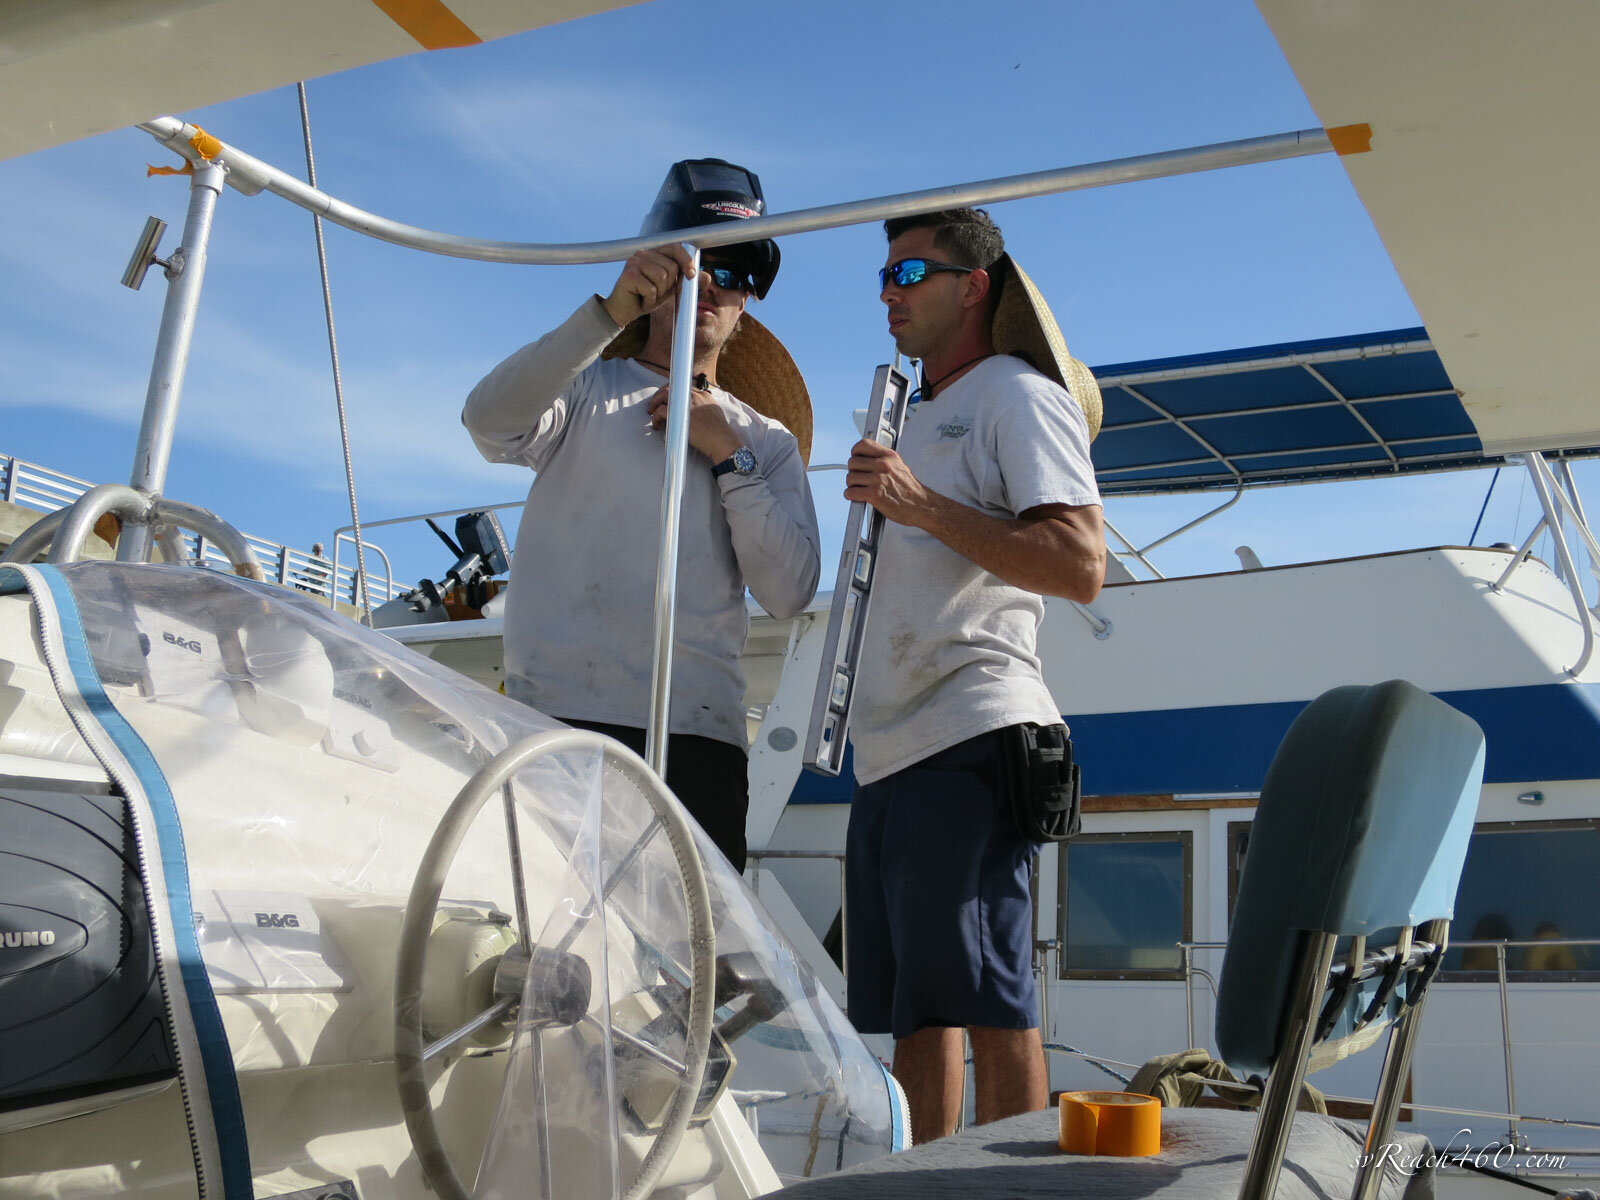
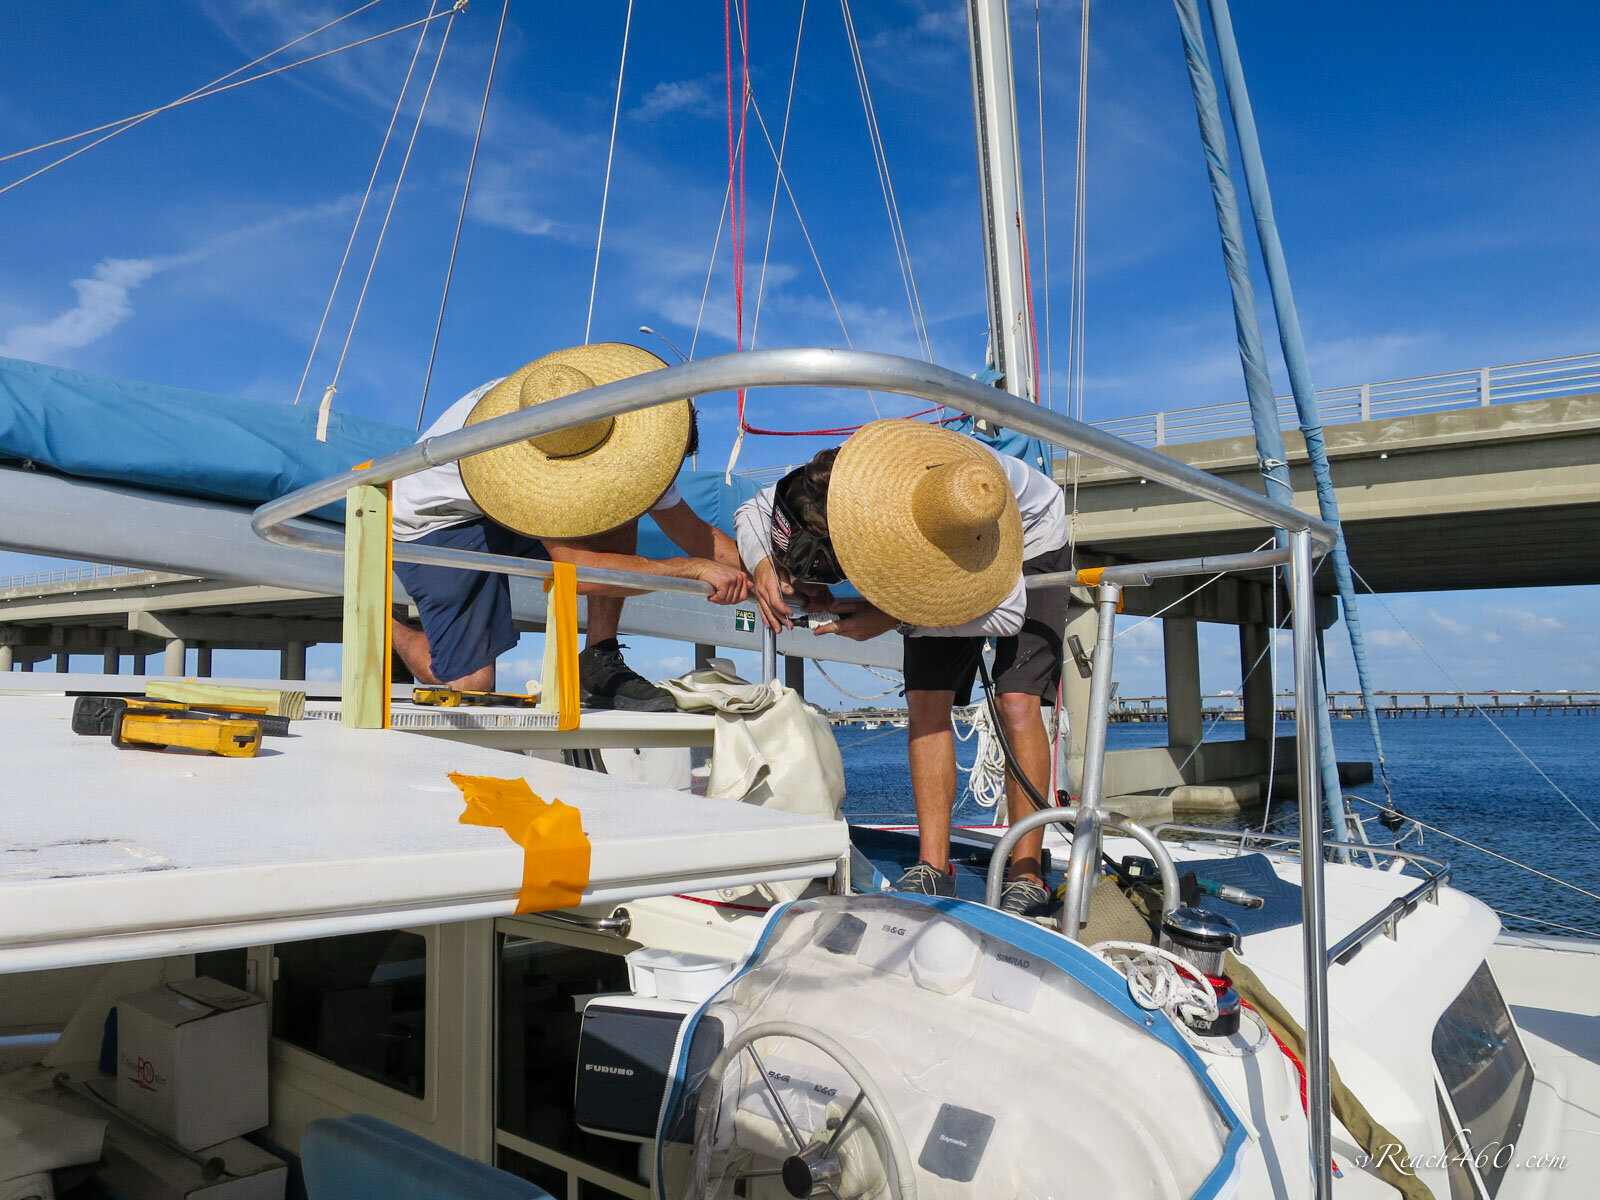
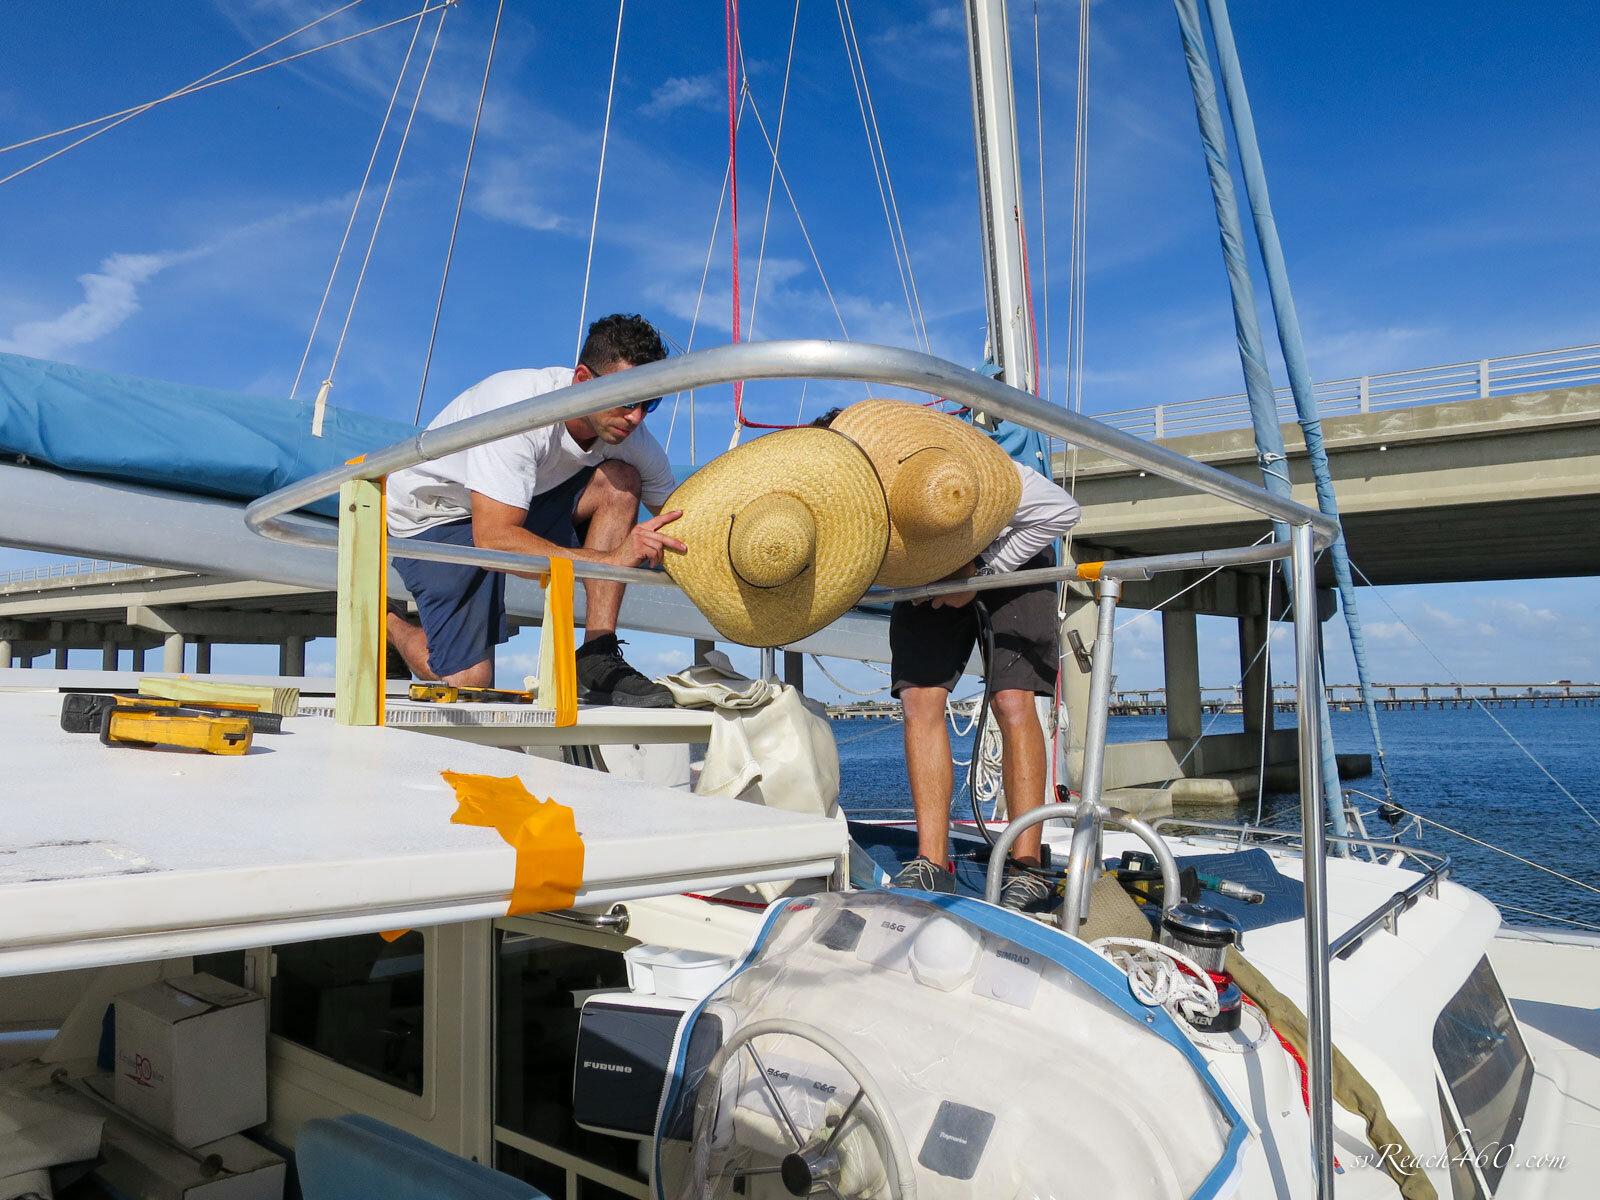

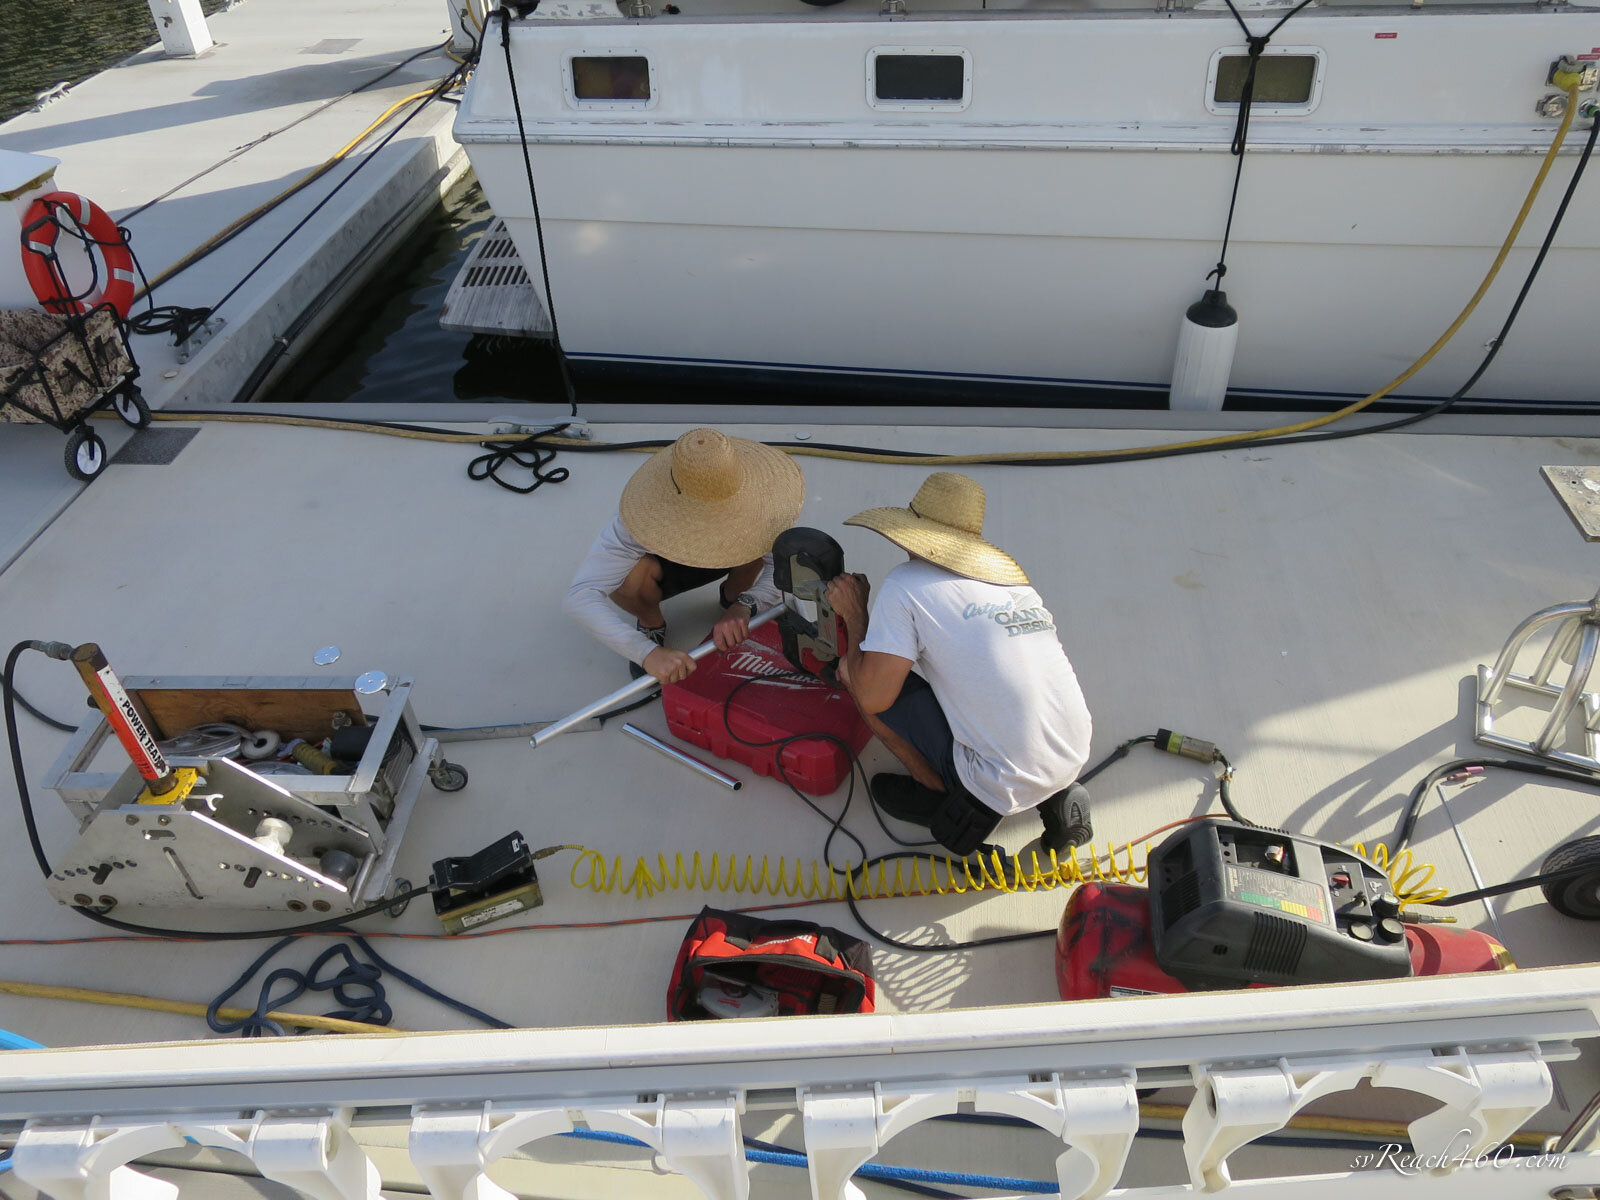

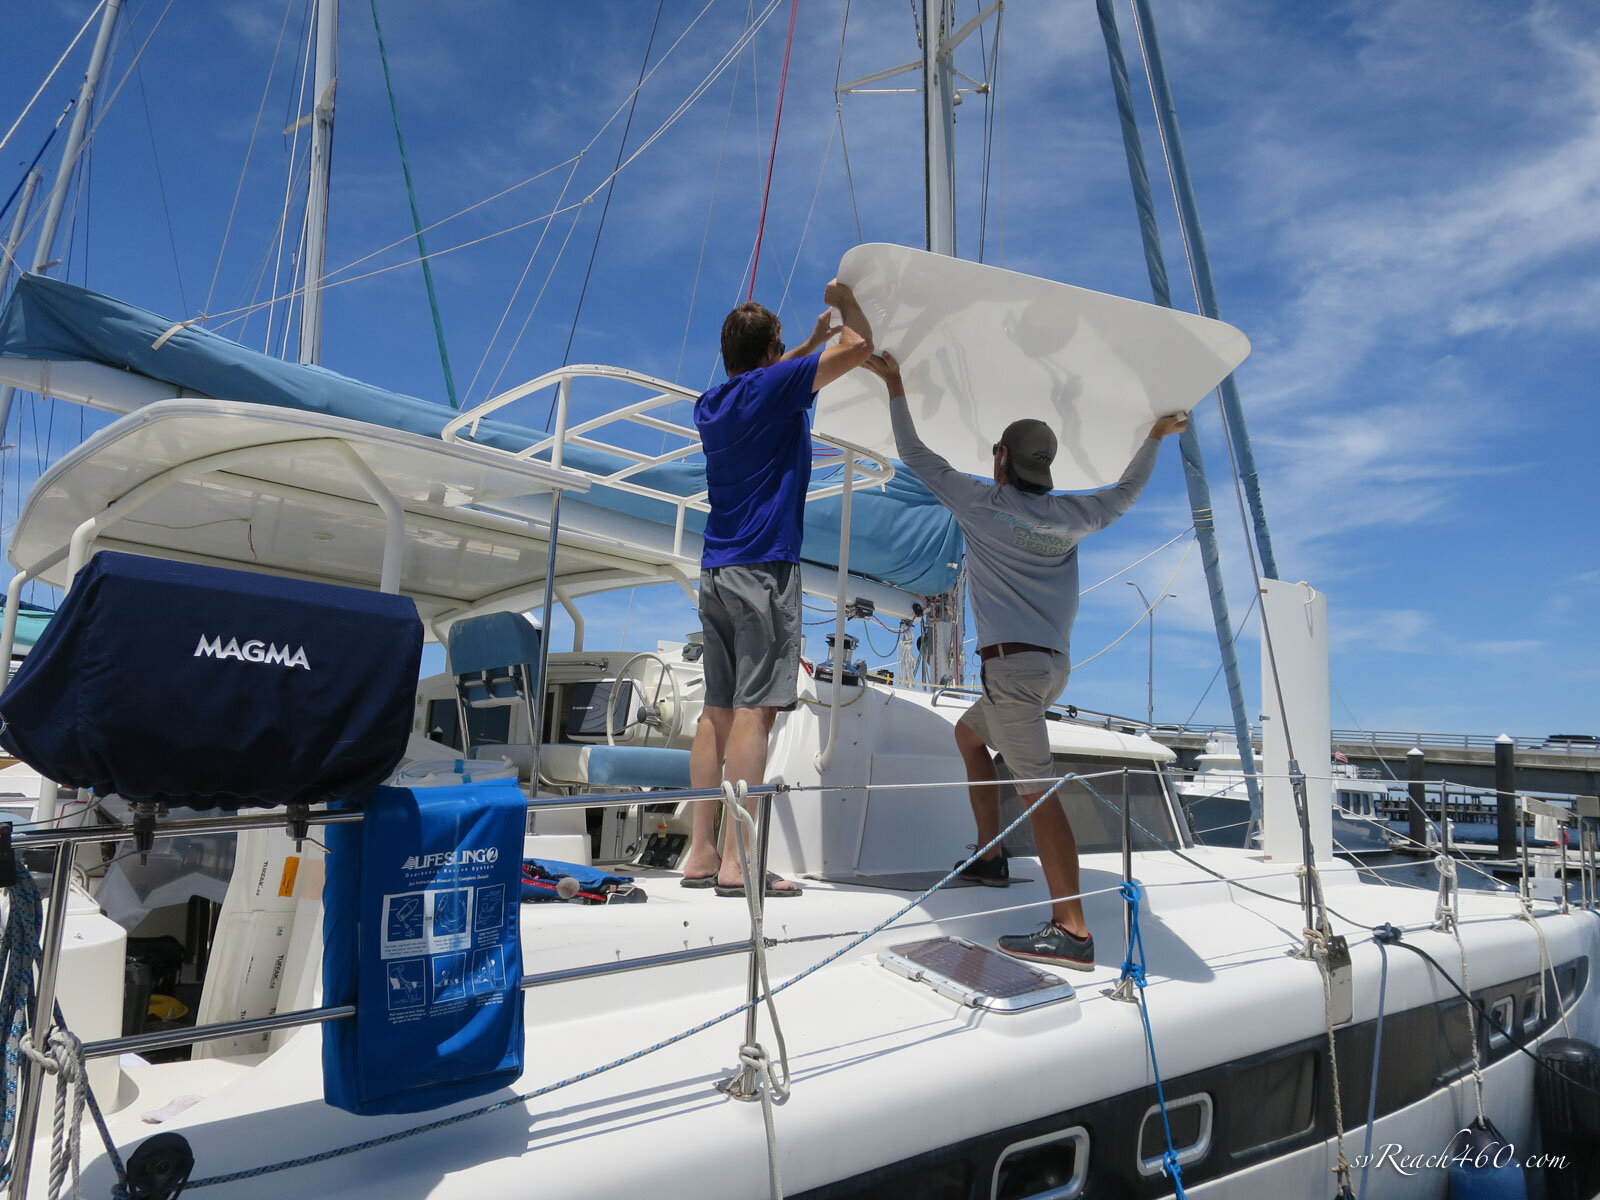
At this point, we were ready to pattern with Geoff and his brother, Jake.
Tracks were laid in to guide the pattern with plastic.
We chose white Stamoid for the enclosure.
There were a few key decision points to make regarding sail ergonomics.


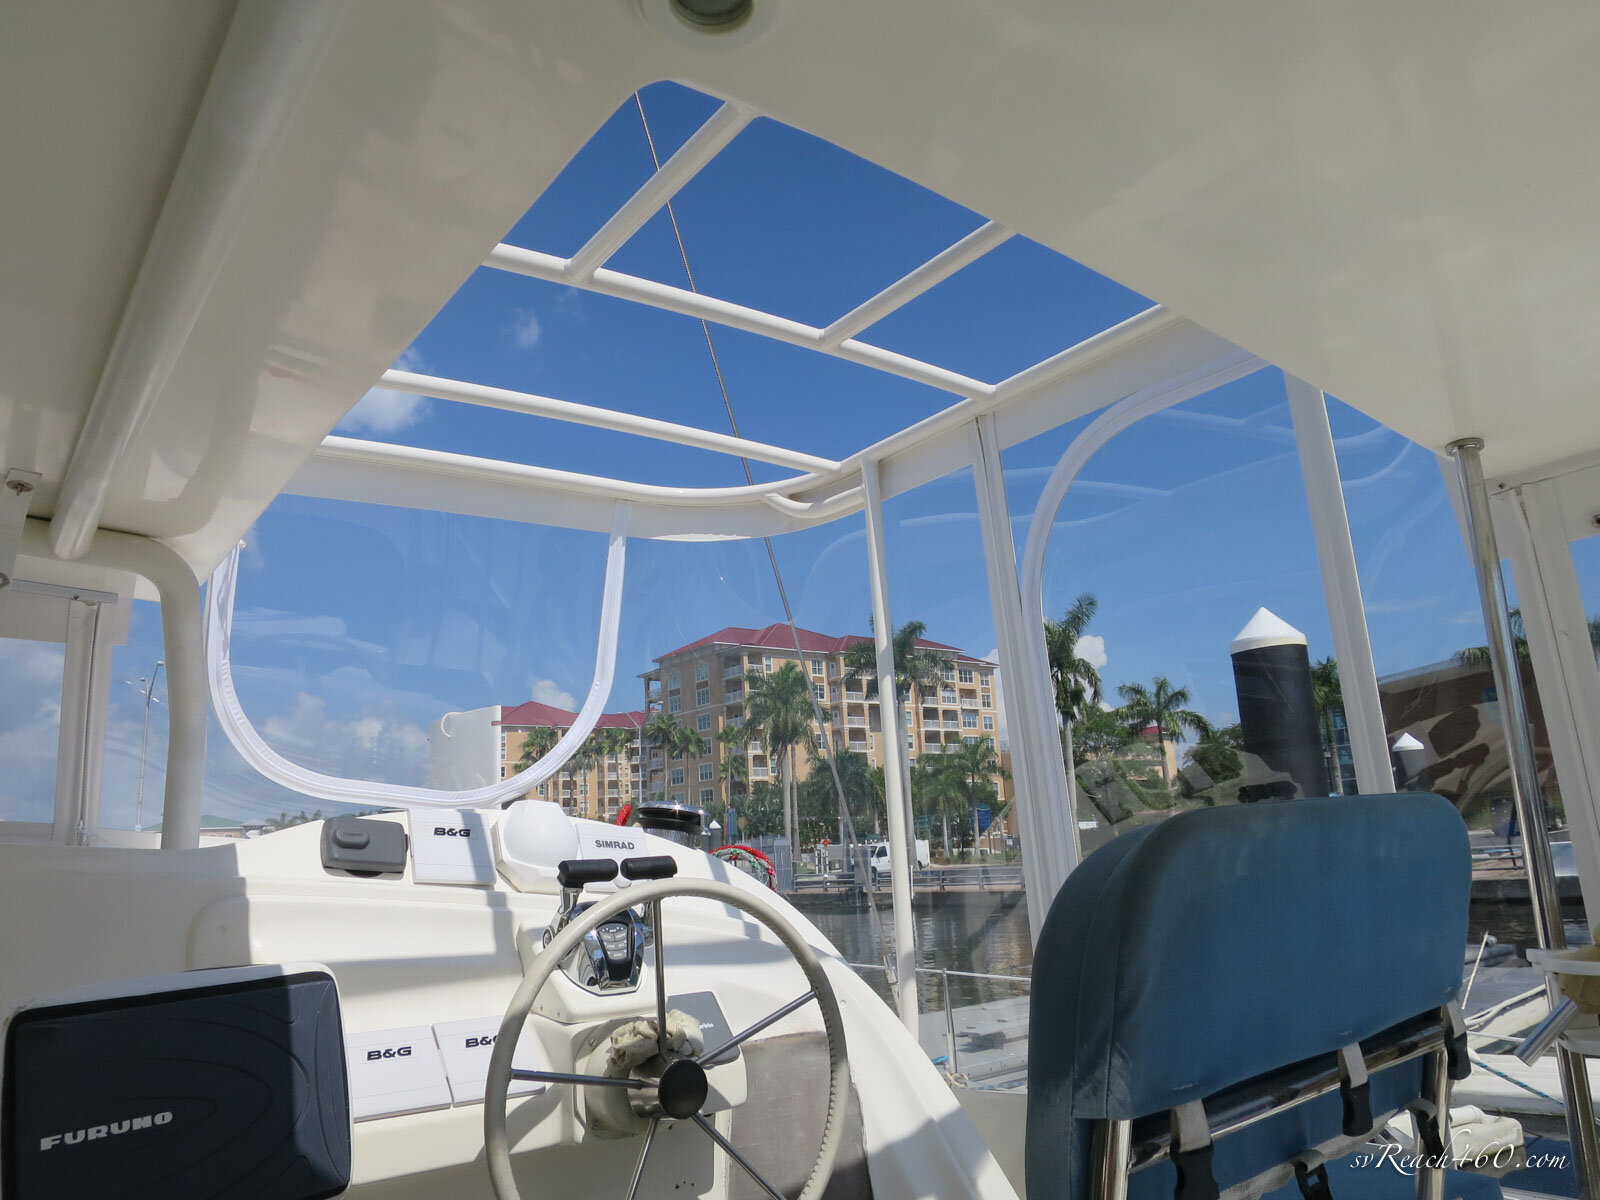
Helm station: Pat and Artful Canvas Design suggested a J-door instead of a u-zip at the helm for ease of going on deck. We liked this option and were interested to learn that it could be made of Lexan and work like a “real” door.
The rest of the helm was patterned to make sure that you could swing a winch handle and still clear the side step up onto the cabin top.


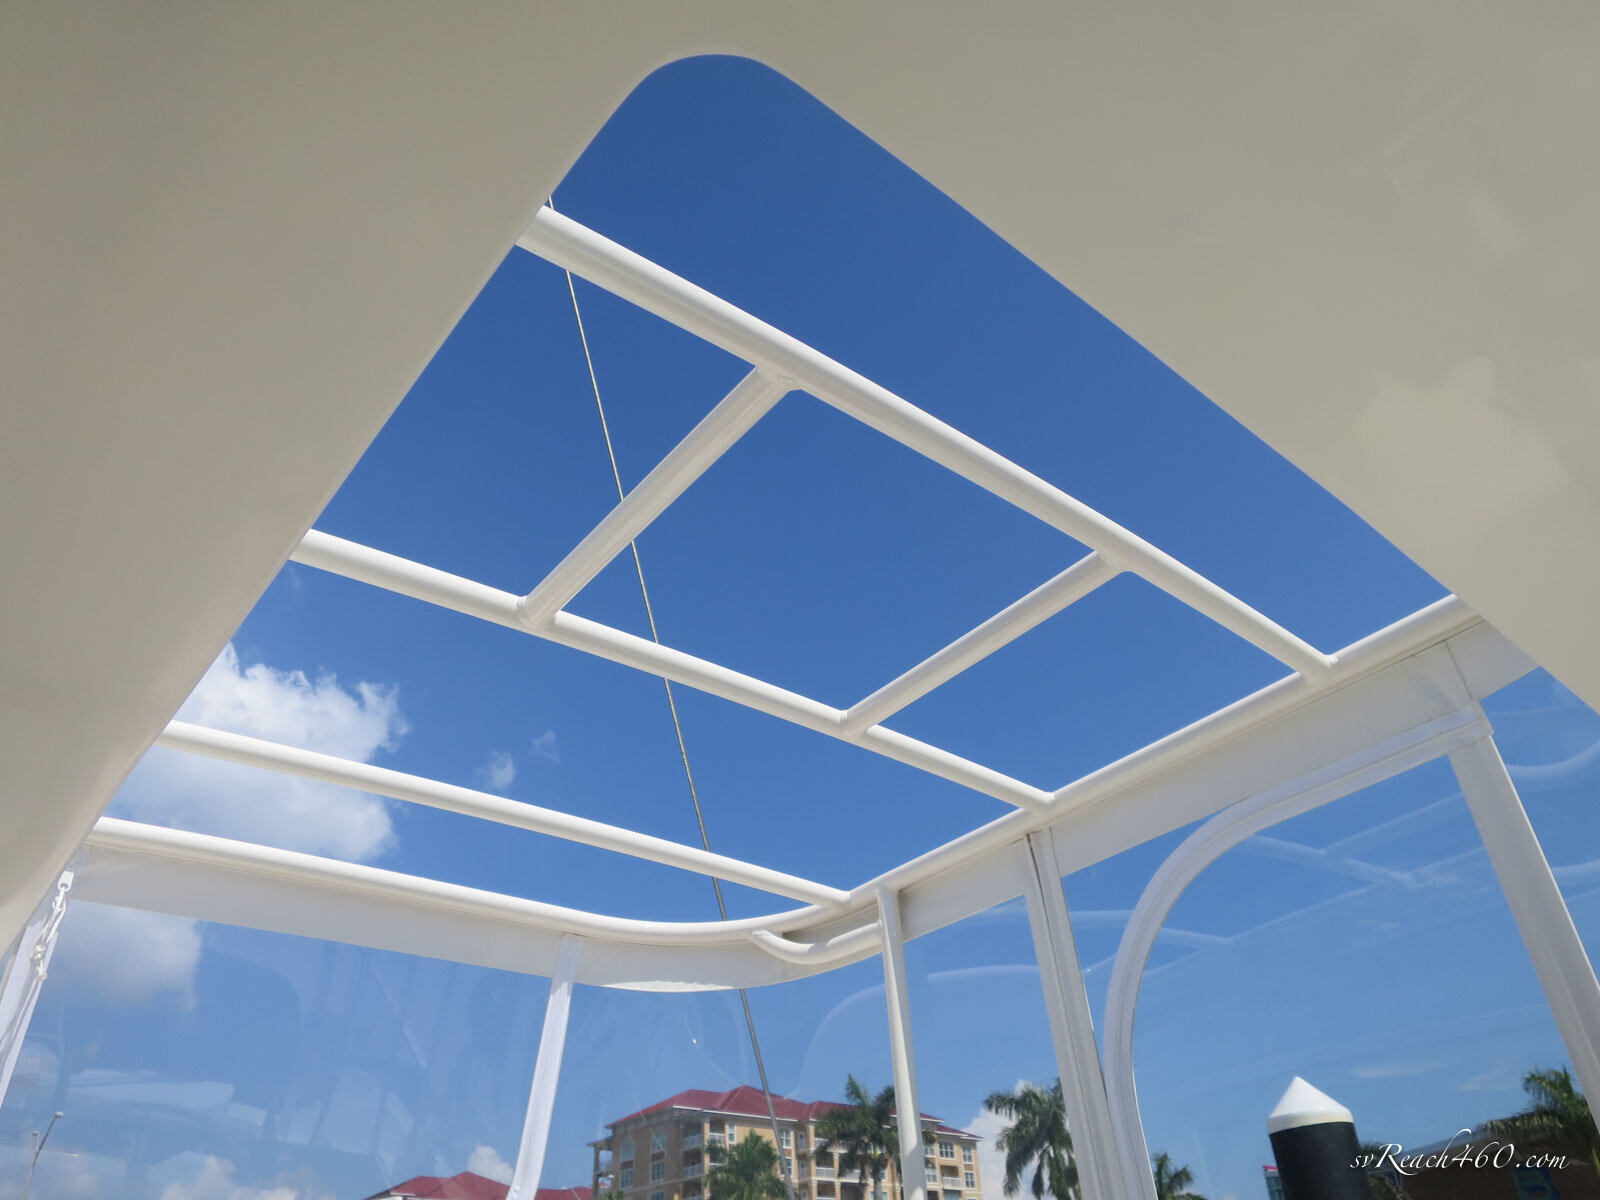
Forward panels: All forward panels, including the helm station, were made of acrylic. Sections were designed to hinge up for airflow (too stiff to roll). These were recommended to provide excellent visibility, where rain water falls right off. They are supposed to be more durable, UV resistant and keep their clarity longer than vinyl or even Strataglass. So clear!
We were impressed with special details of Artful Canvas Design’s work; for example, pull-tabs on zipper bases at the track, velcro reinforced closures in the front panels, and their super-tight construction to keep panels from flapping in the wind.


Side panels & Walk-ways: Starting at the sides and going aft, Strataglass was used for the clears. Each first section continues the dodger aspect followed by a side panel with u-zip for air flow.
Our walk-through sections each have a small panel that will mostly stay rolled up or removed, but can be deployed for wet weather at anchor if desired.


Aft panels: This was a tricky section for two reasons. One is the bench seat that sits aft. The old enclosure went over this seat at an awkward angle, since the hardtop ends right above the seating area. This was always awkward when down since your head hit the Textilene when seated here. If it was up, then you lost your shade.
The second reason is the dual main sheets. When at anchor these are fixed and out of the way, but when sailing the leeward sheet crosses right over the bench seat. You can still sit there, with the sheets mostly overhead, but may have to move to one side or another. (FWIW, we have grown to love this sailing configuration and control, beyond a traveler configuration).
Any all-weather enclosure while sailing would need to allow these sheets to be used throughout their range. If we kept a panel going over the back of the bench seat, the main sheets would hit the enclosure on certain points of sail (plus we’d still have the head-room issue). So, we decided to make the enclosure follow the nature line straight down to the stern and leave the back of the bench out.
This worked out nicely for several reasons. One is that the bench seat itself is still usable with the enclosure down, even though we don’t need to use it on passage in a foul weather situation. The main sheets can swing free and we can see everything clearly out the back while sailing.
The three aft panels all have u-zips added for airflow at anchor, or can be fully rolled up. With the u-zips up, you can sit in the bench seat as if there were no panel there.
All zippers throughout the entire enclosure line up at poles. And finally, the canvas shades that will be added will go back to the dinghy davits and give plenty of shade and headroom for the aft bench seat when at anchor.


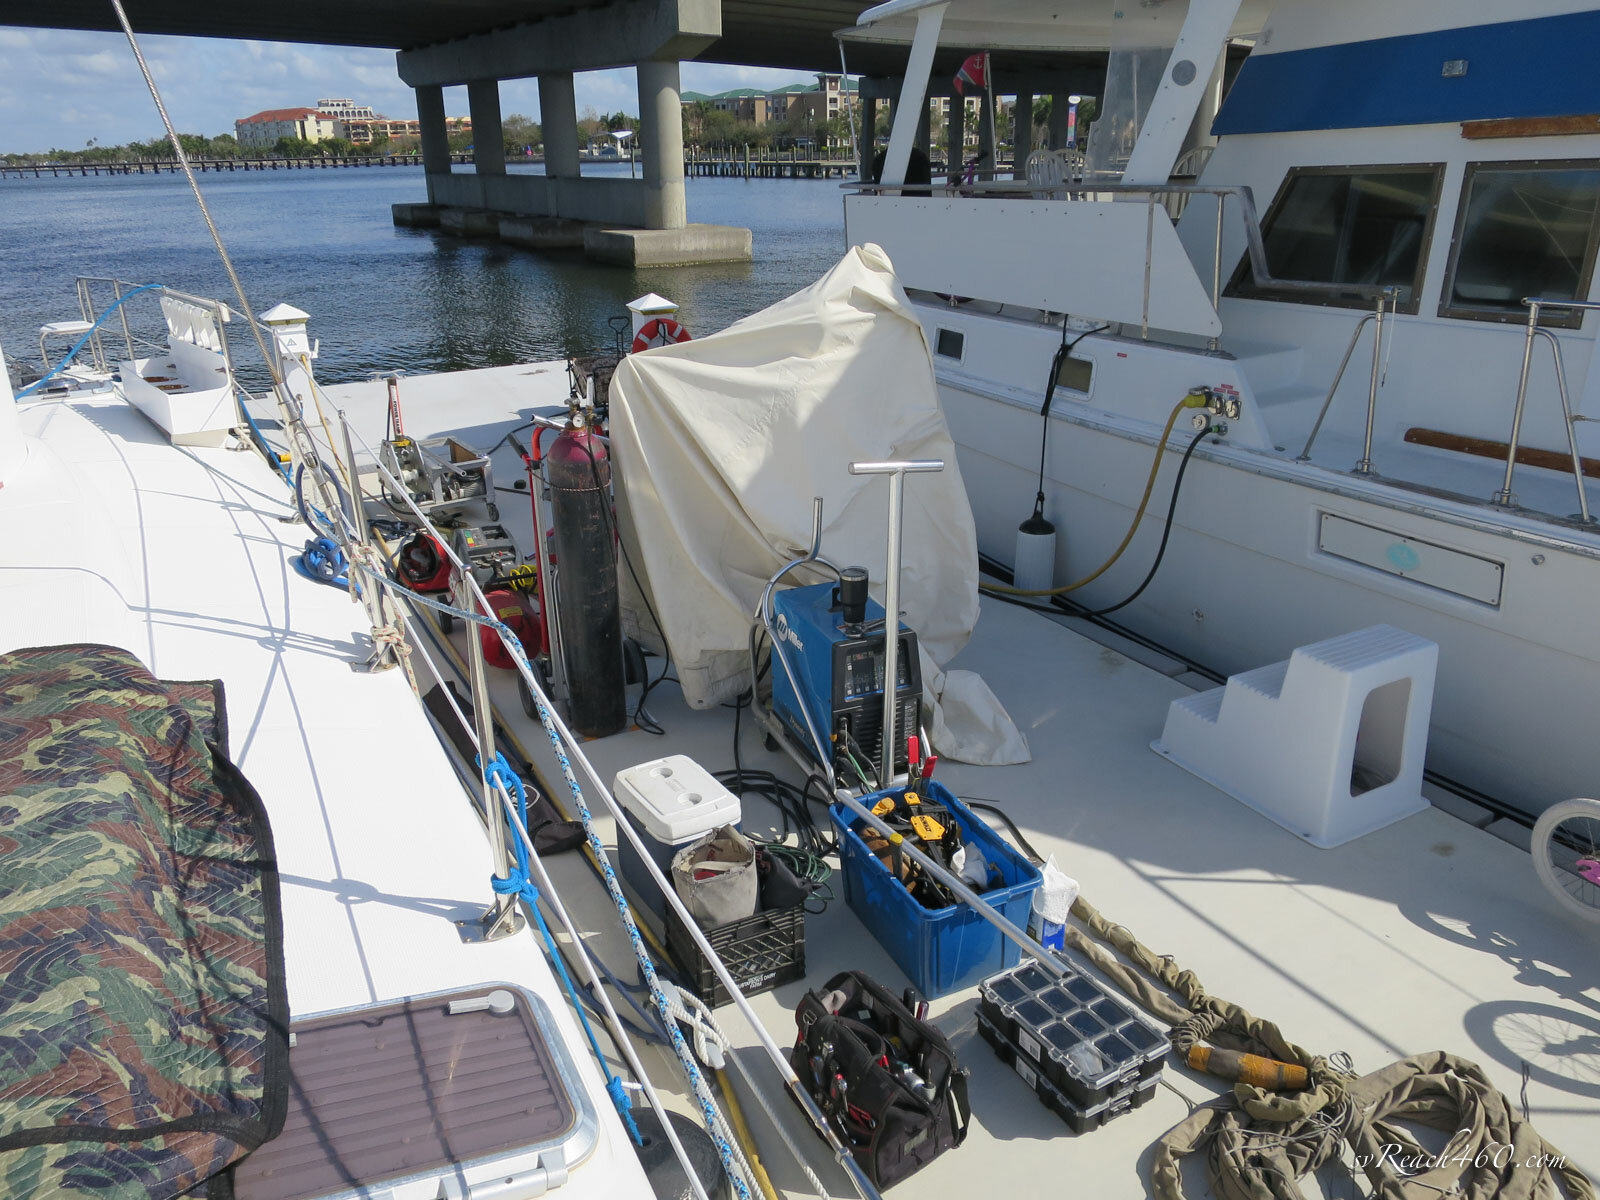
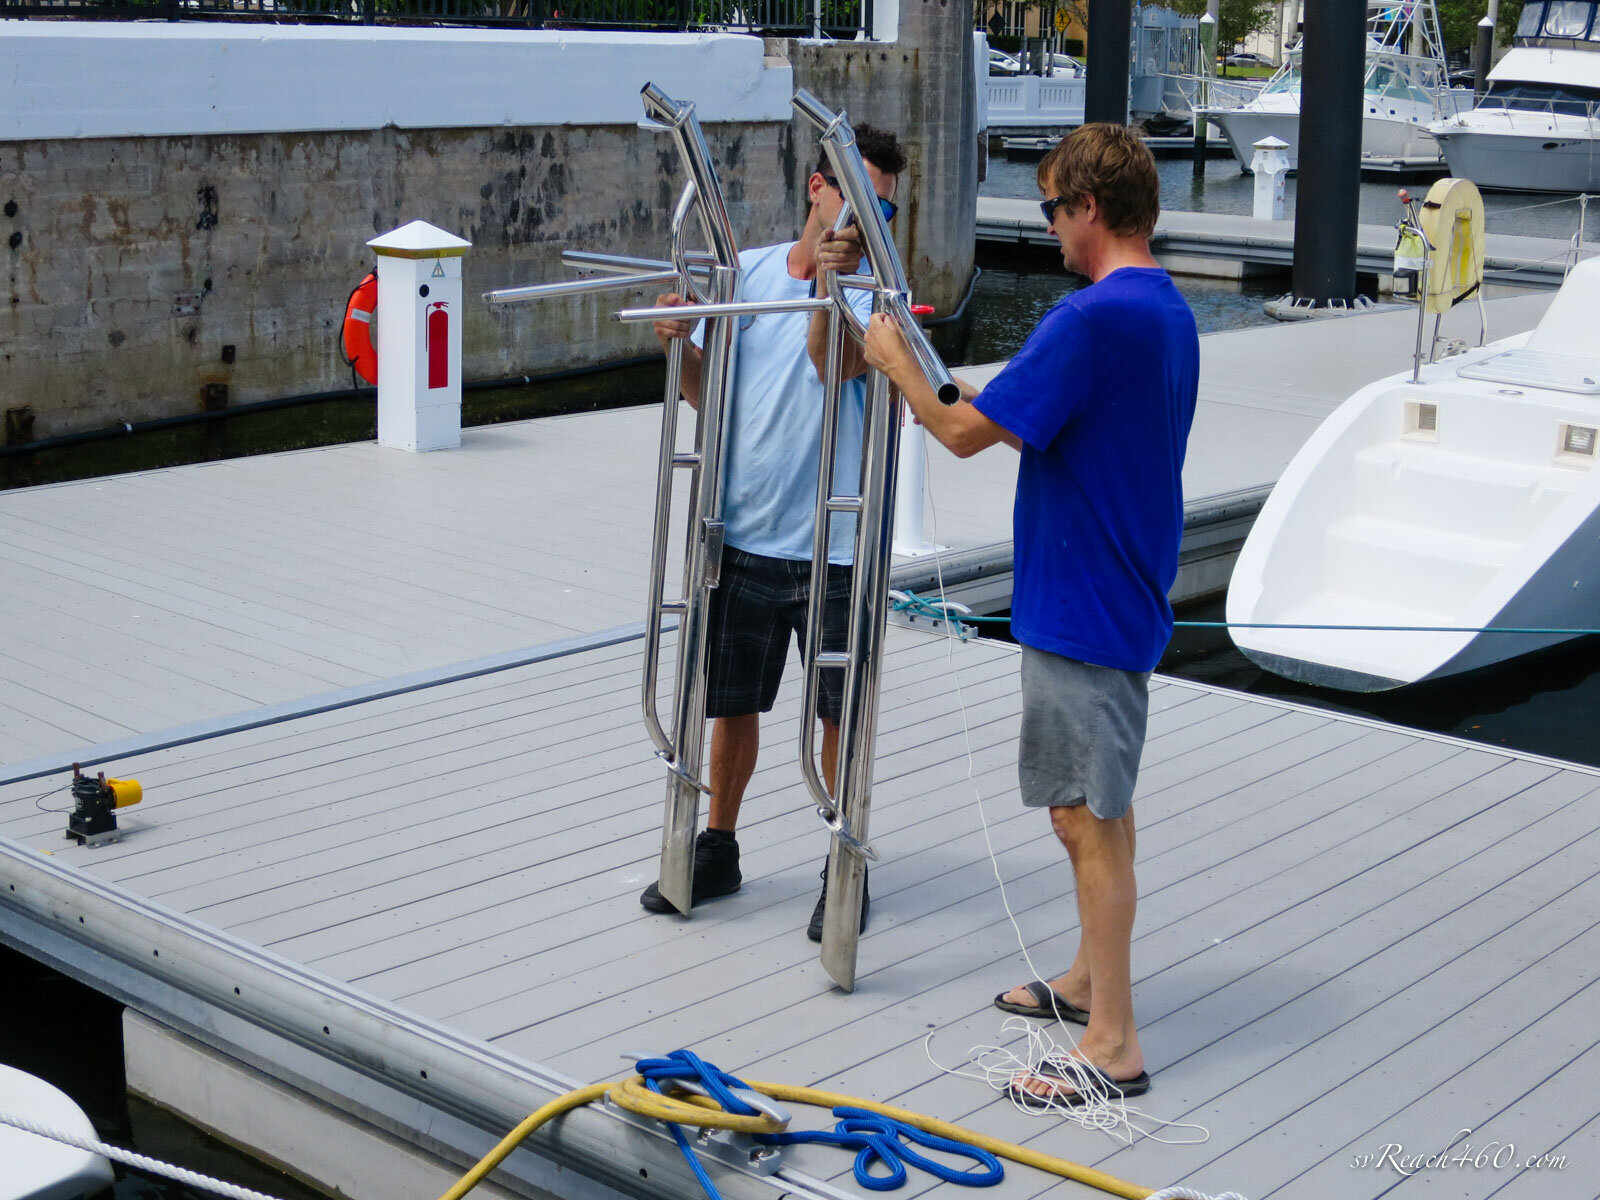
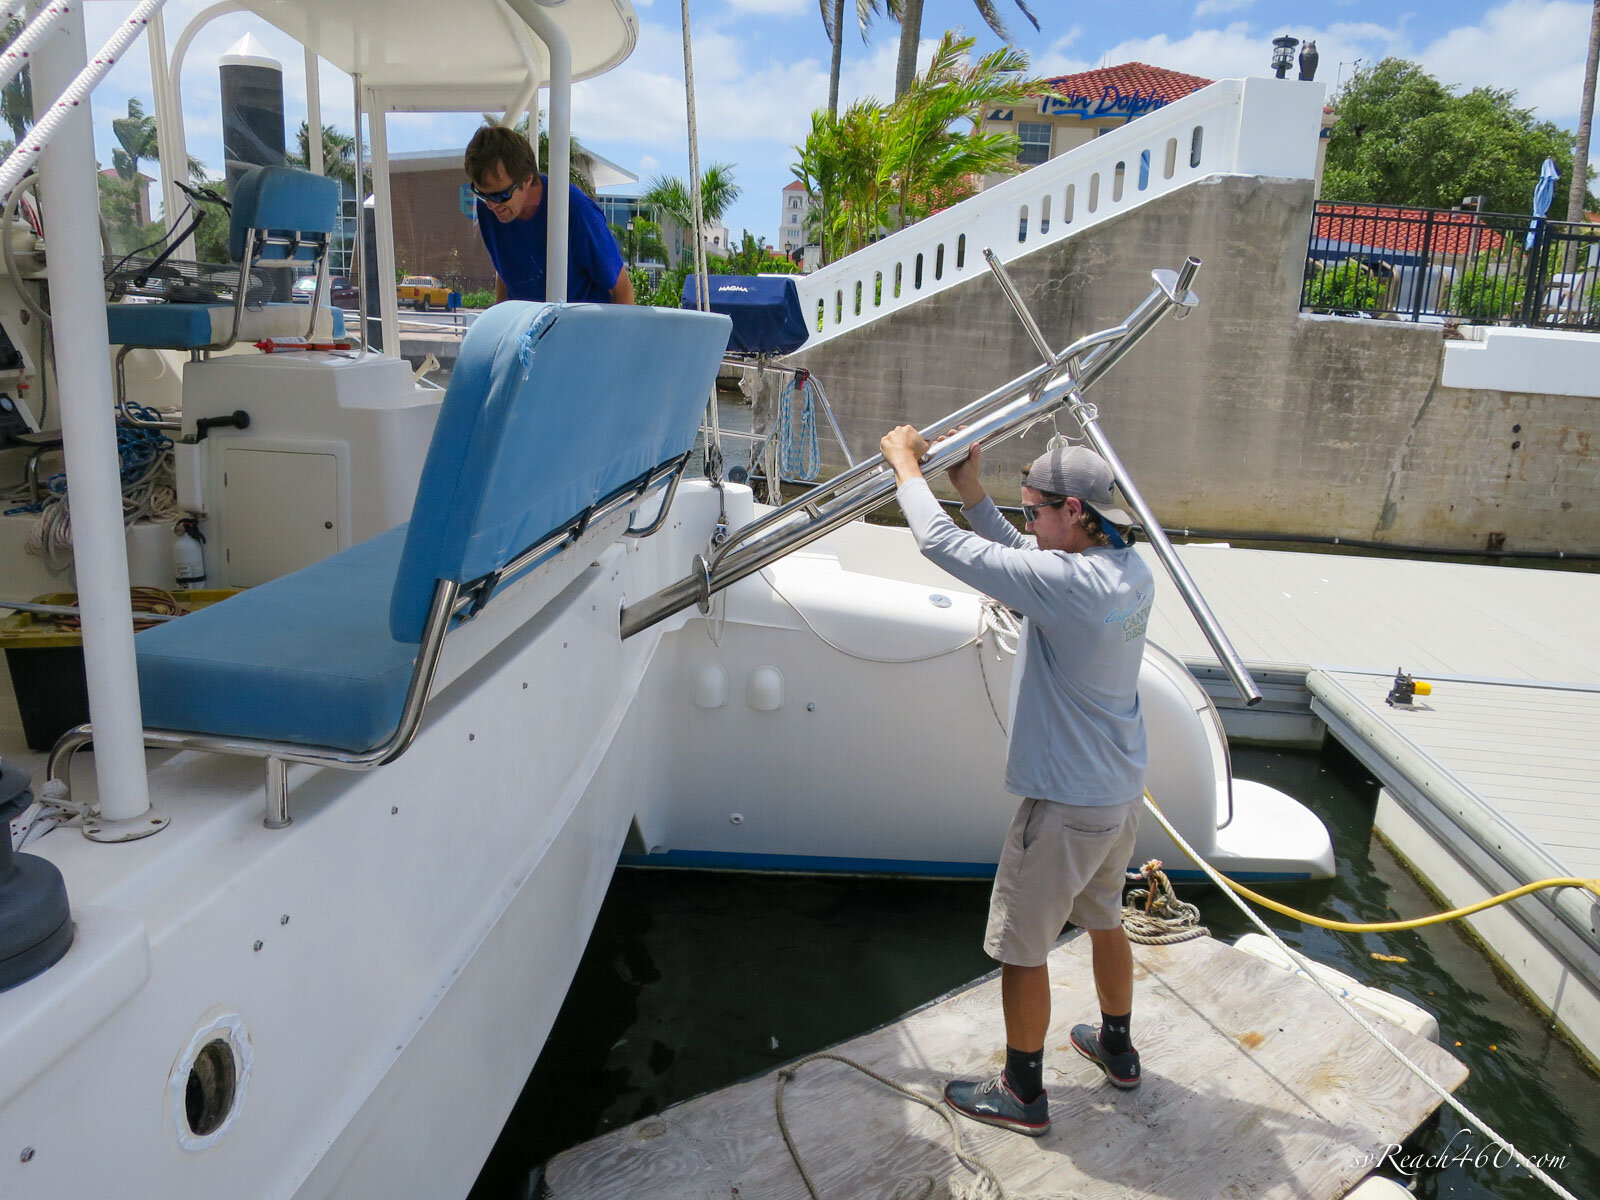
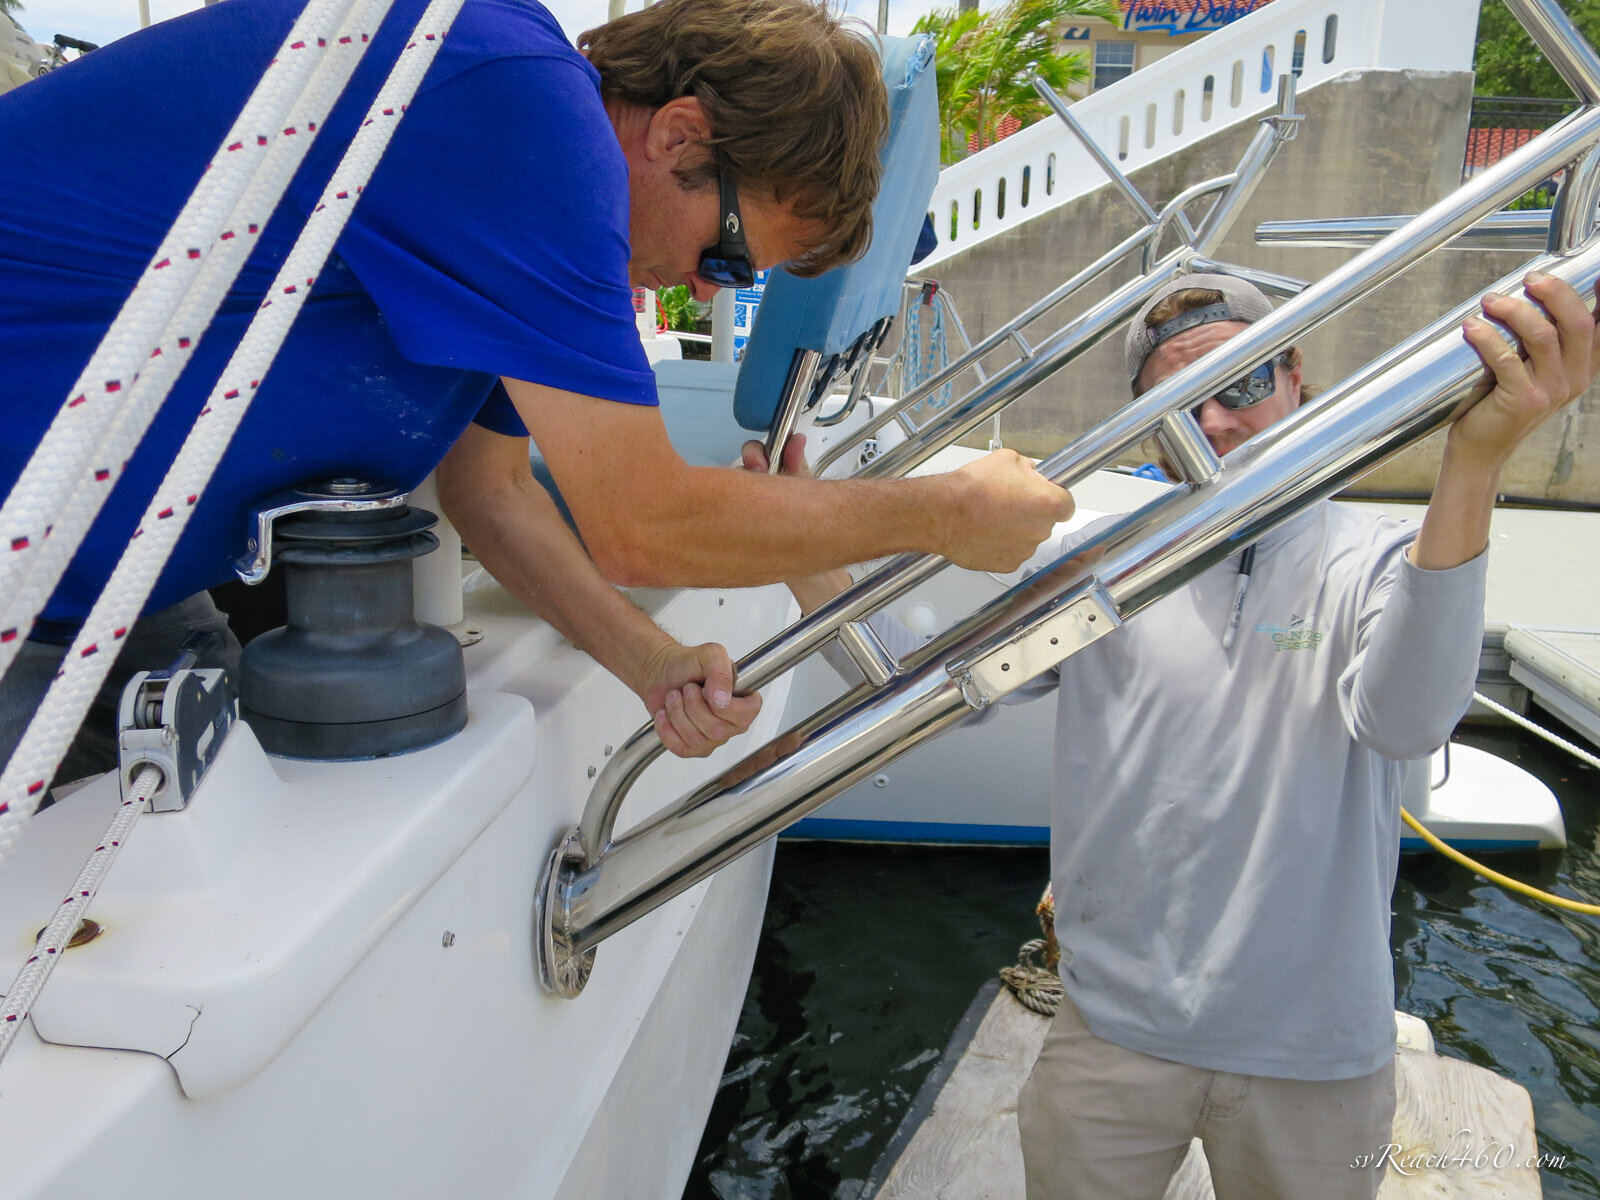
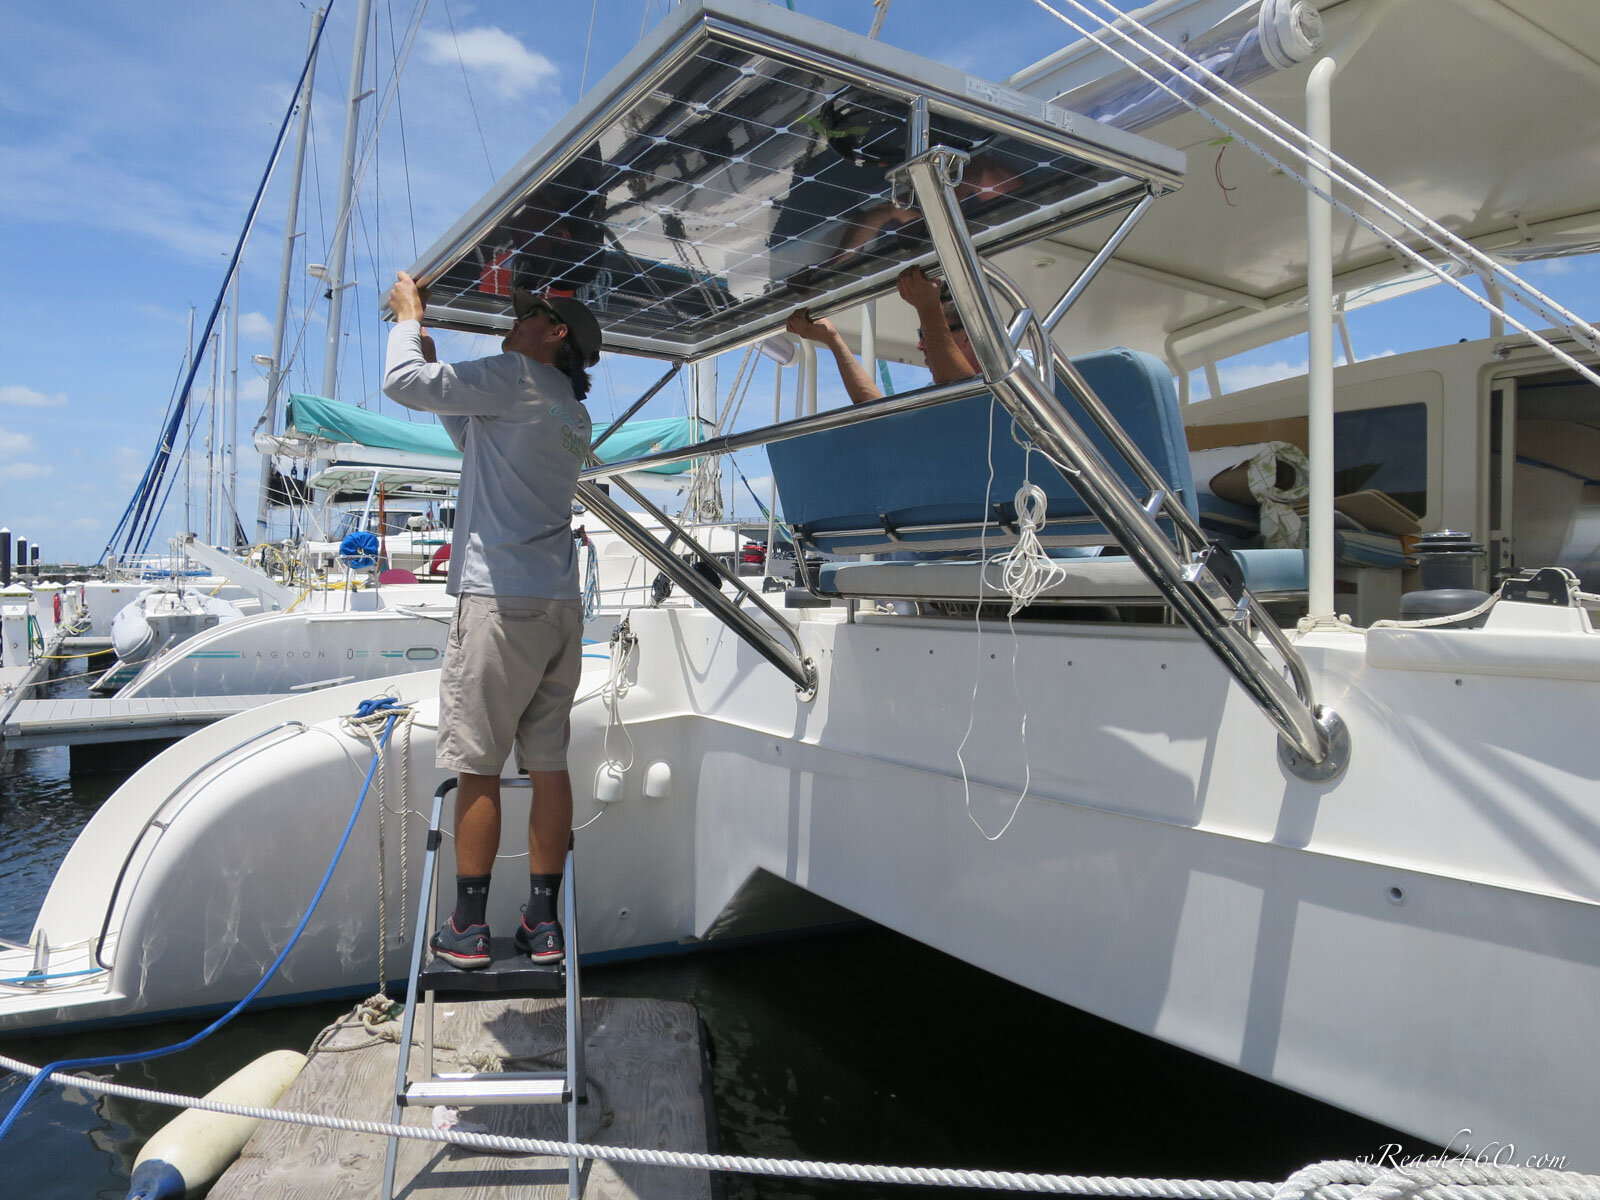
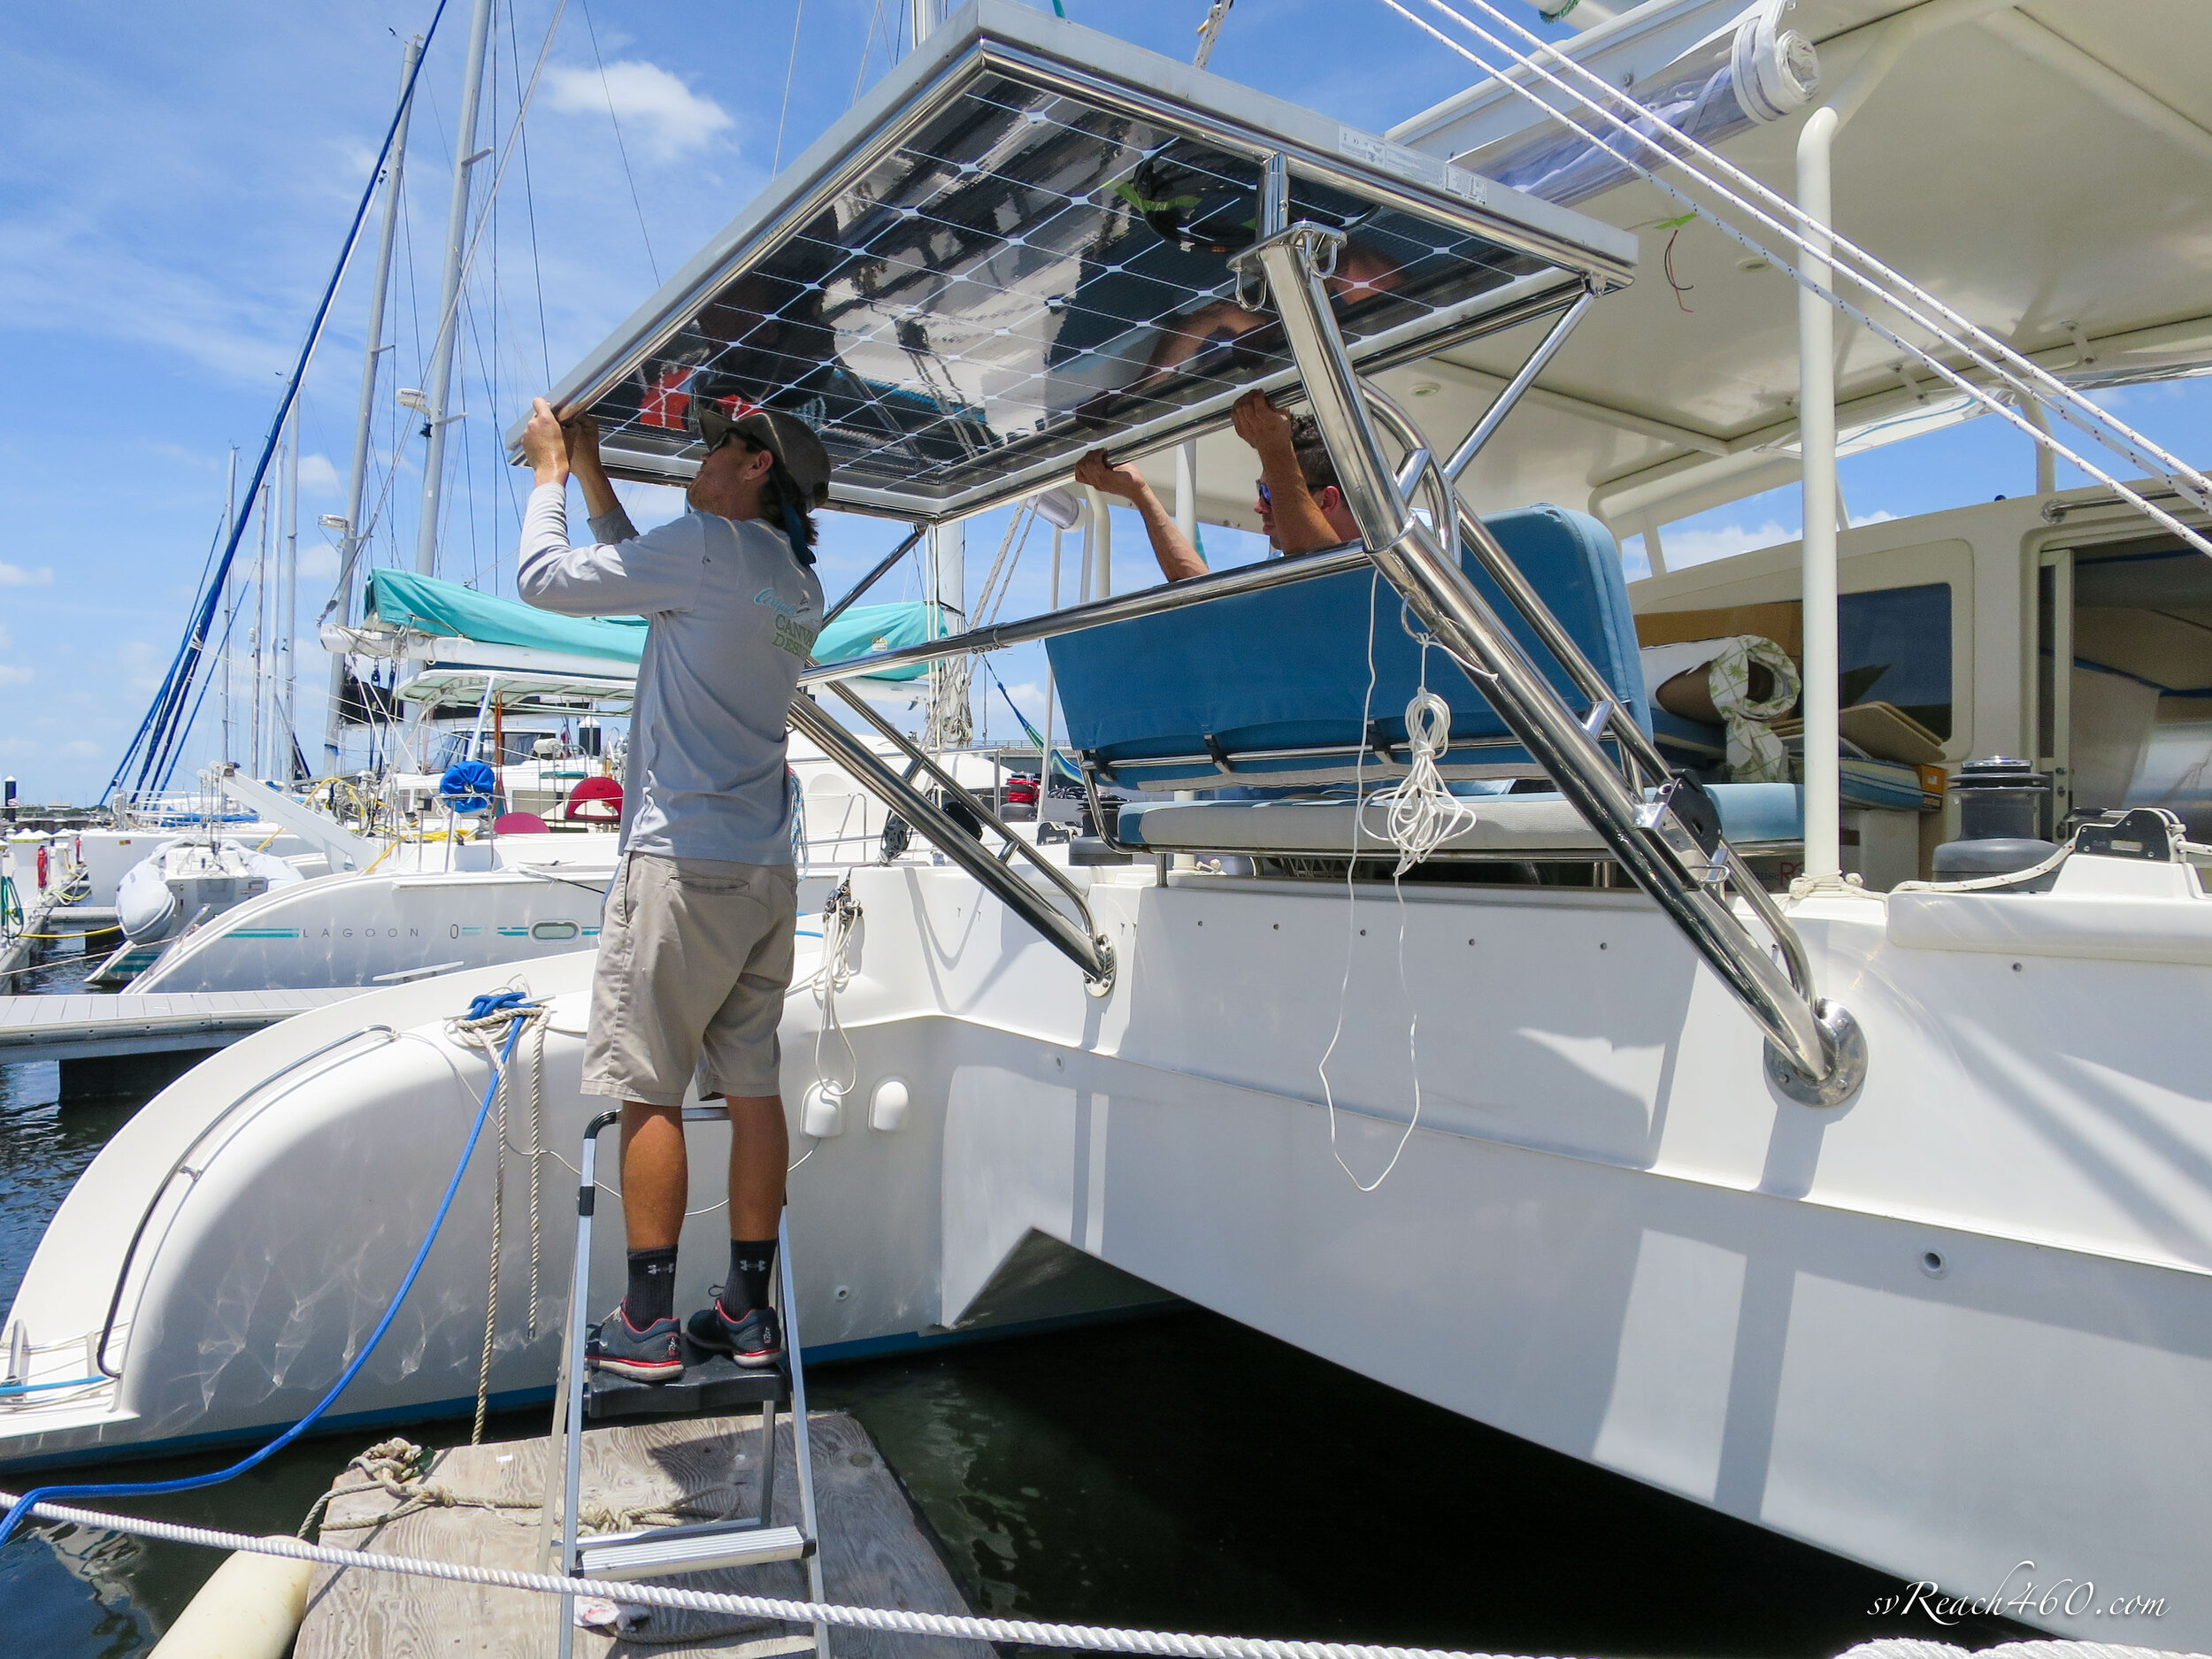
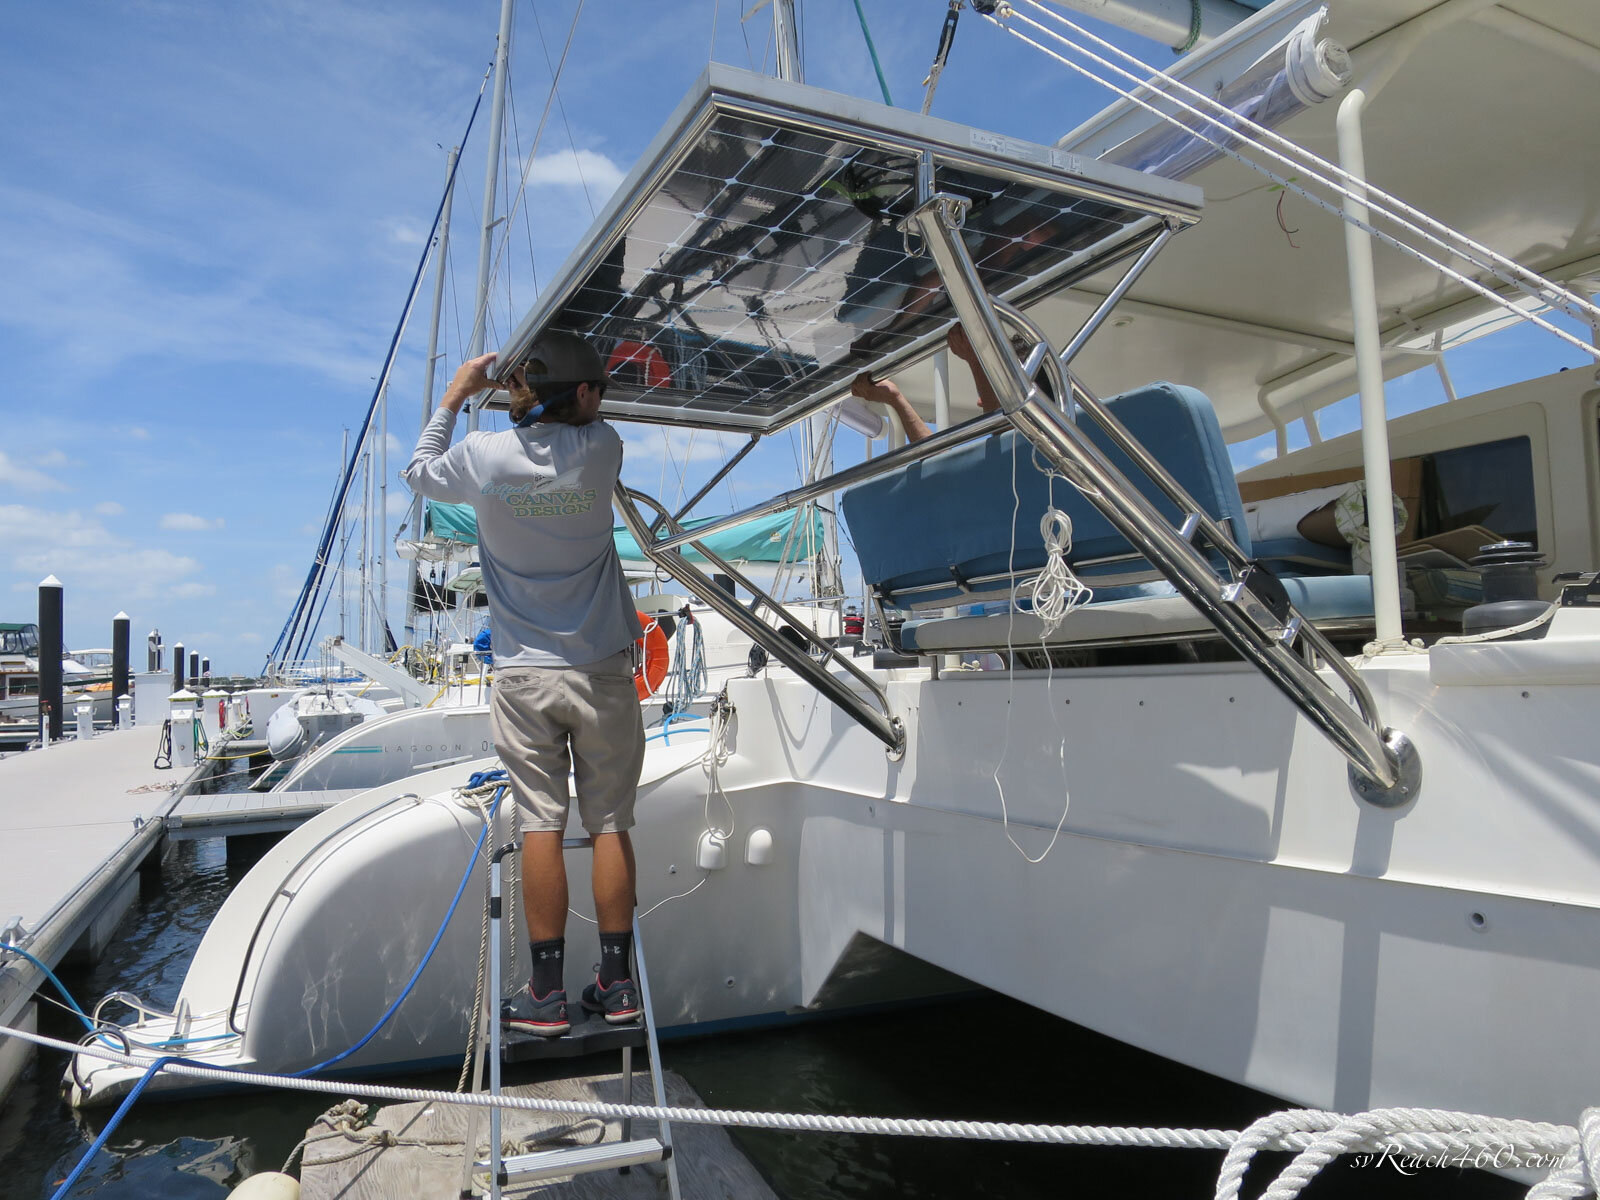
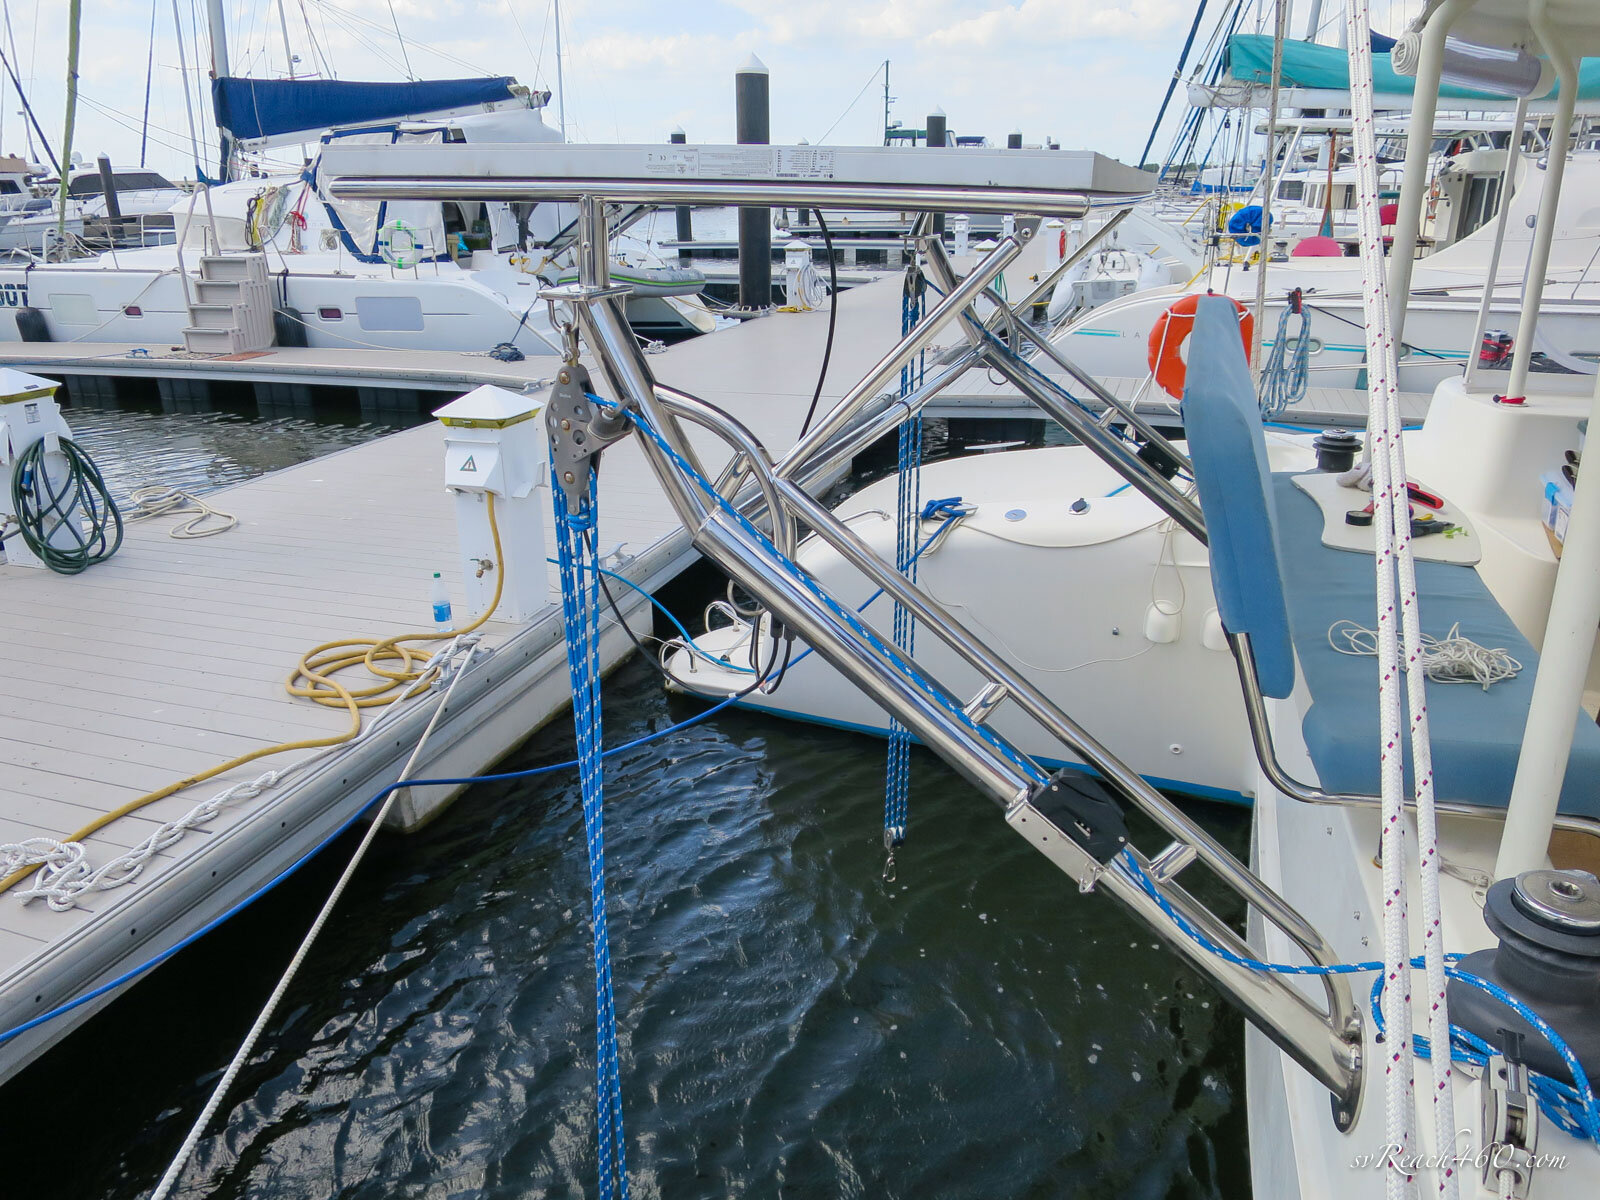
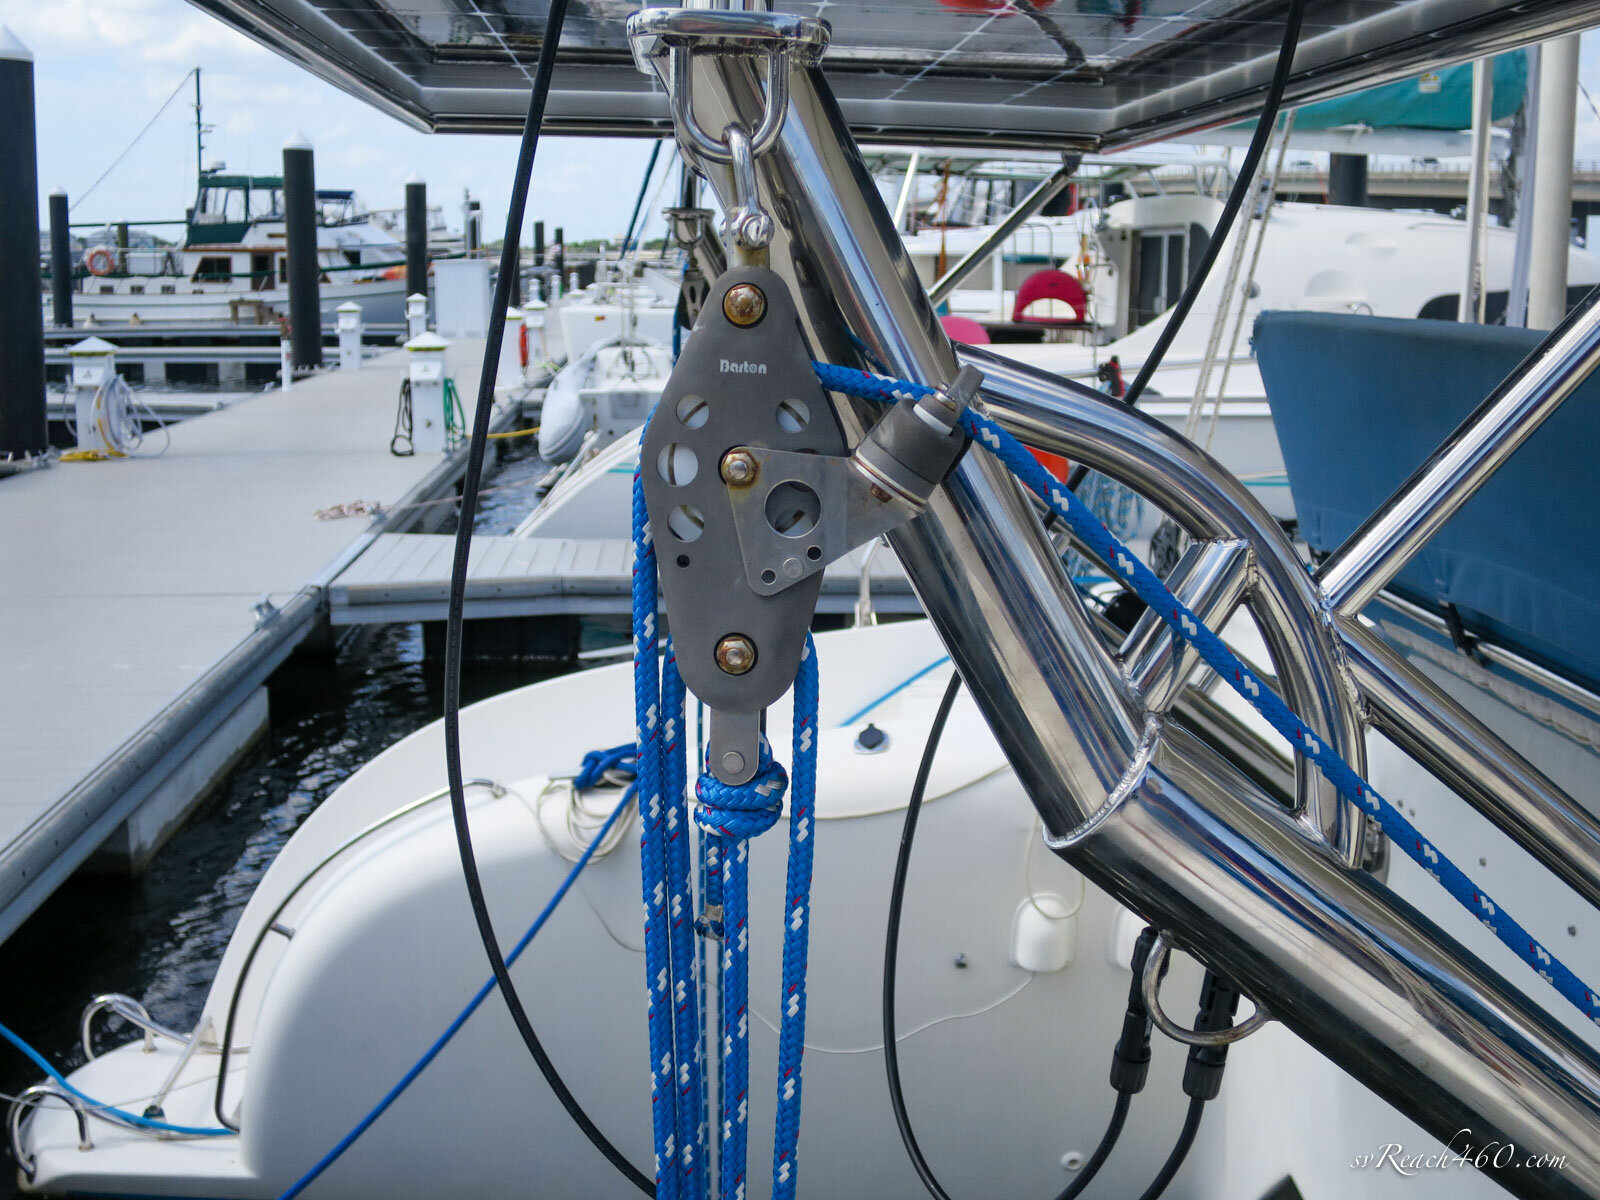
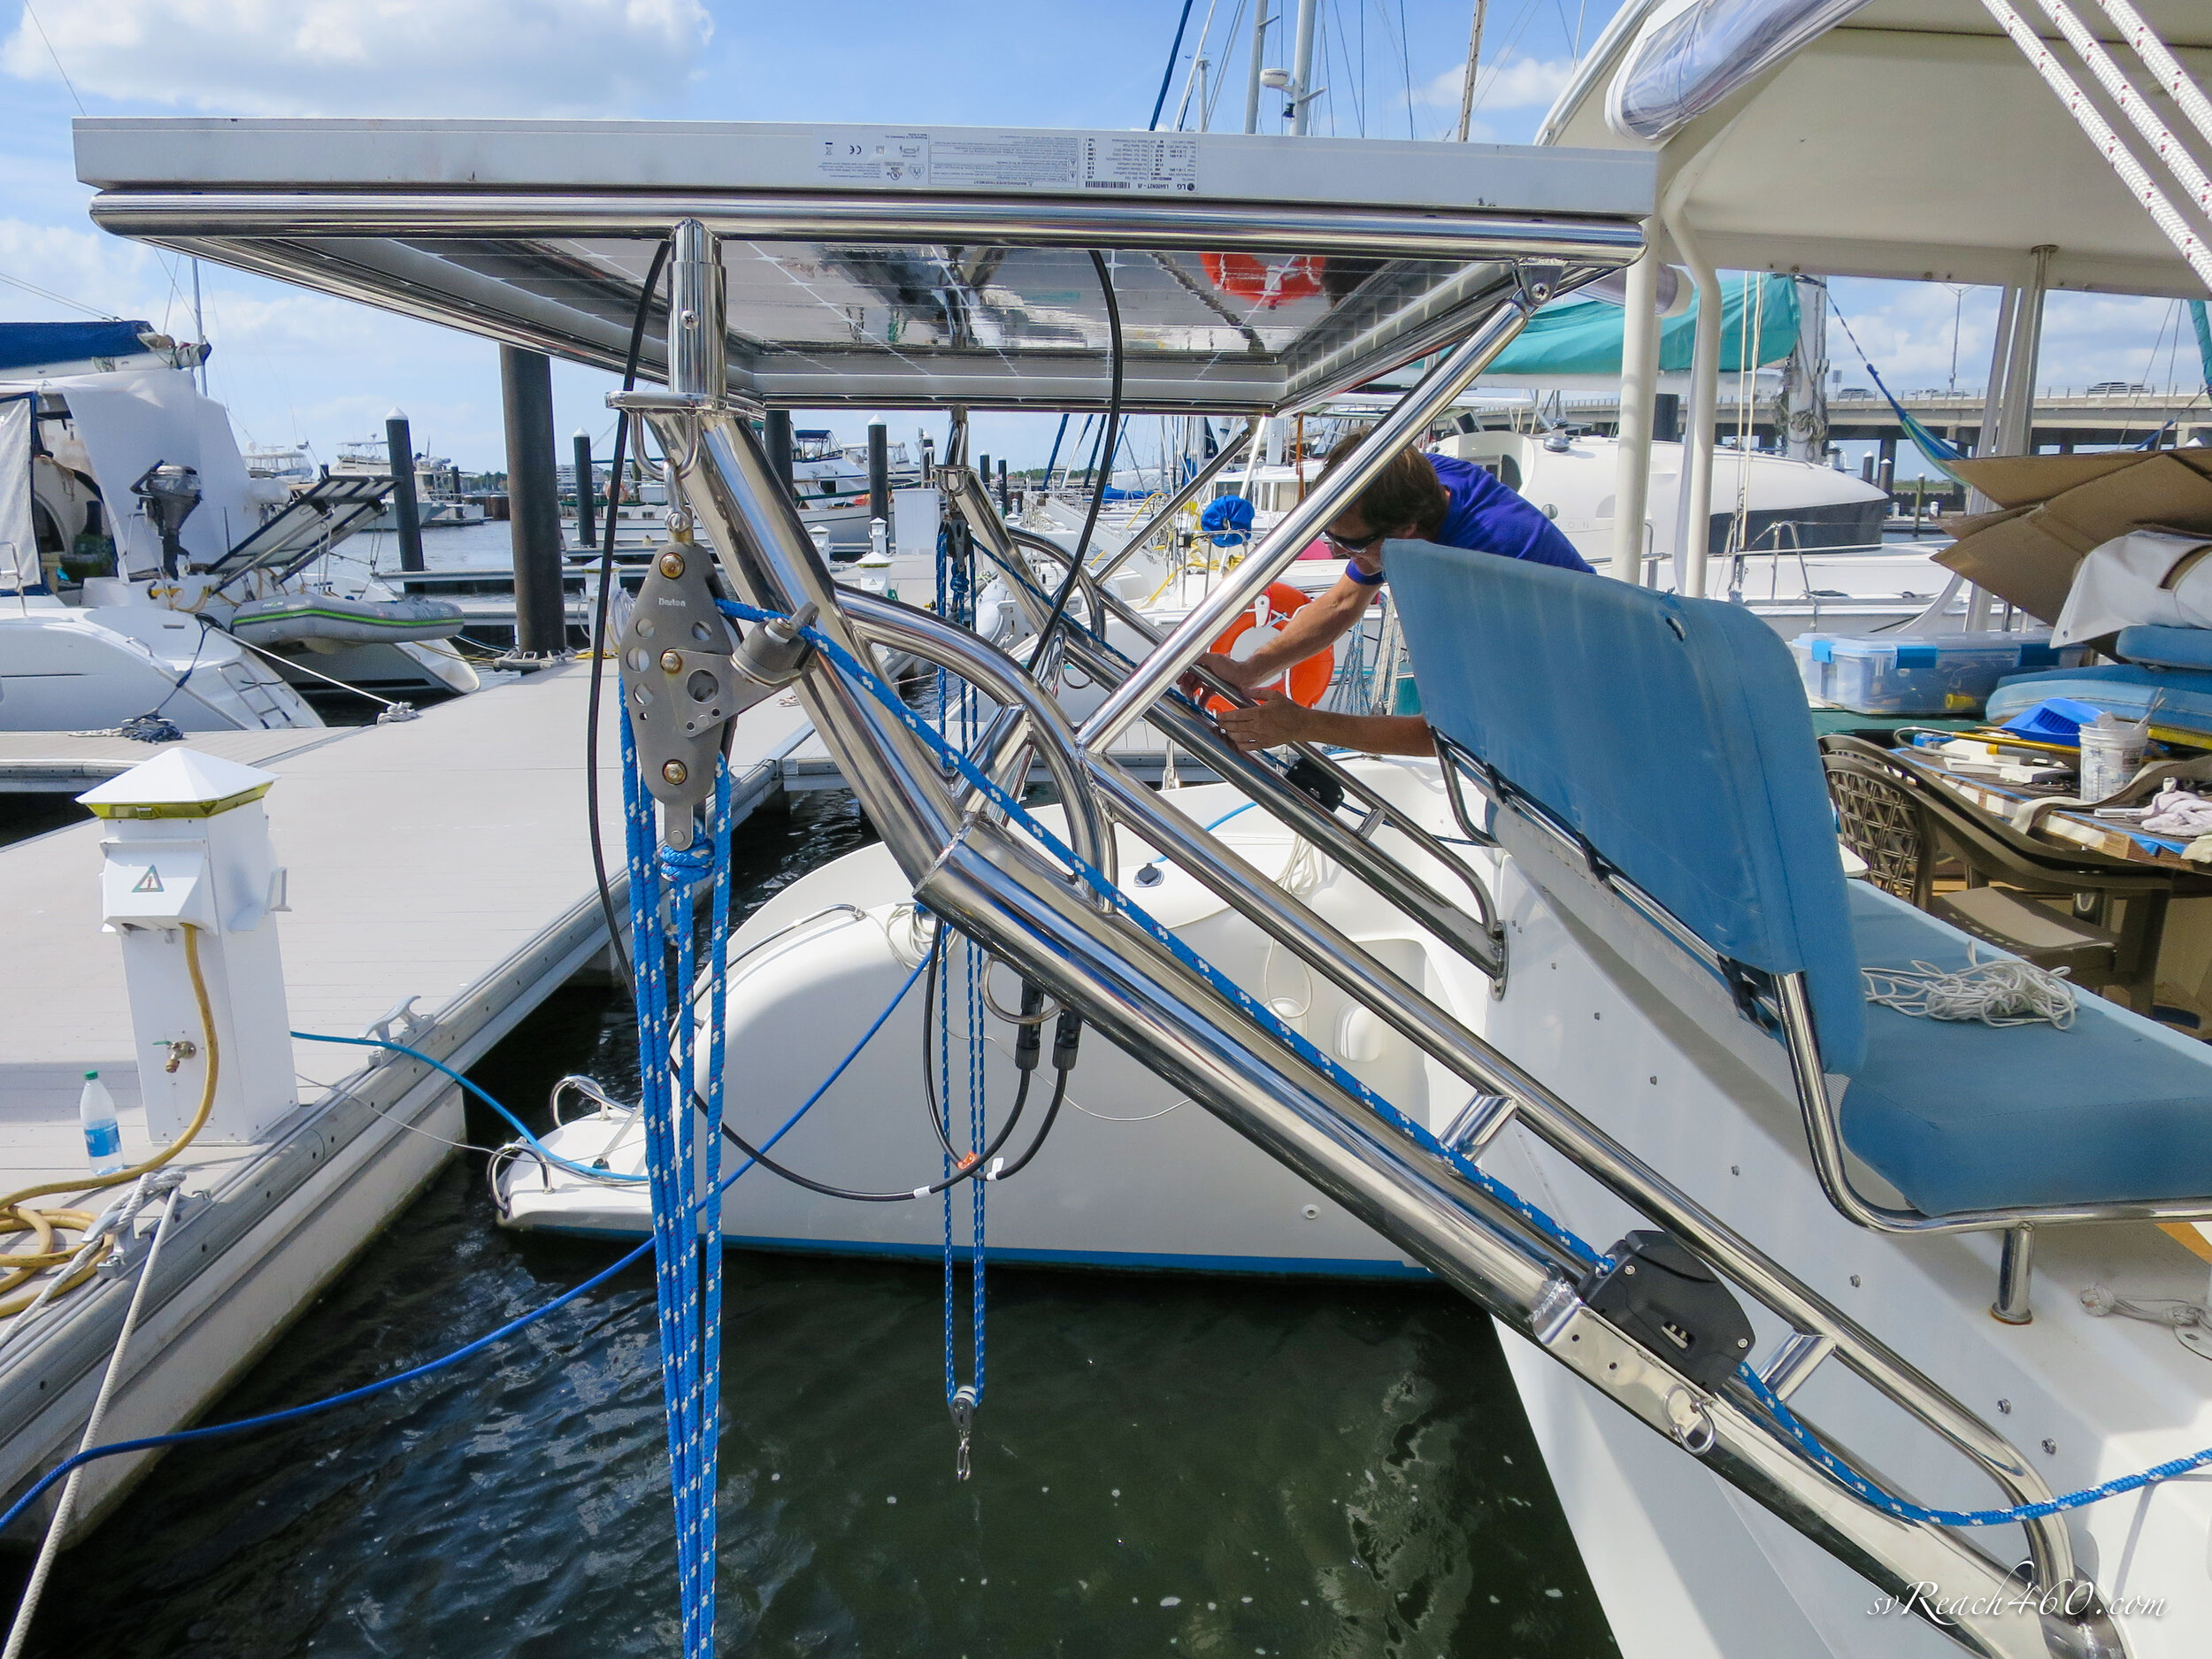
Speaking of dinghy davits, Geoff worked on a solution to reinforce our current davits and add a solar frame on top. This was a cool piece of stainless work! He worked his magic to keep the weight down, reinforce existing poles while including a cross-bar (split, so we could remove again if necessary in the future) for added strength.
The best part is the solar frame that fits a new bi-facial (400W) solar panel that we just love! The white dinghy bottom is proving to be a good reflector that gets us another 10-30% of power these days and we can’t wait to see what it can do at anchor.

We are days away from the new shades (& cushions) that will complete this phase of our refit.
Function and form! We are so excited that our vision for the Dolphin 460 is becoming a reality!