Settee Redesign
All boats are a compromise of pros and cons. When looking for our new home, we knew that we’d have to balance out any drawbacks in favor of our priorities (solid build, overall comfort, above average performance) that led us to the Dolphin 460.
Ever since I started sailing with Mark, major fiberglass projects have been a part of boat ownership. By now, I am well aware that anything is possible with glass and resin.
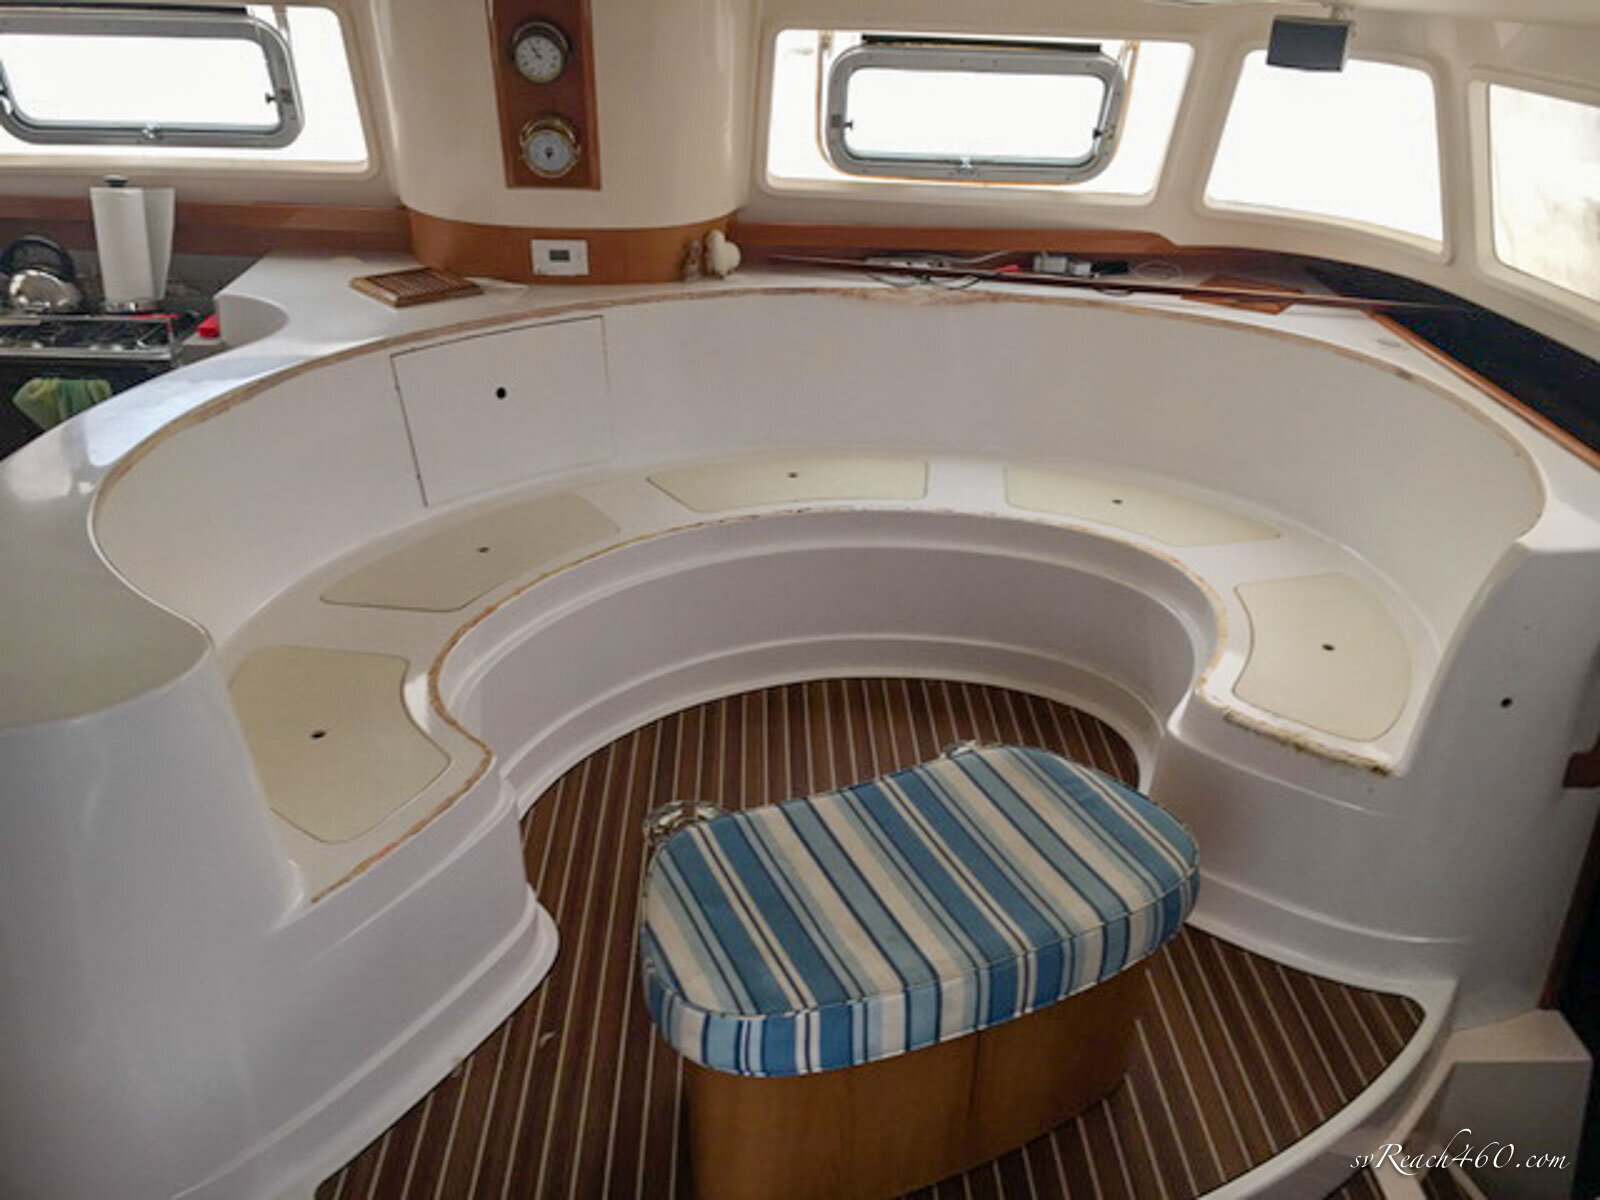
So even as we bought the boat, we knew that we could optimize the original, oval settee to suit our preferences, besides just new cushions. We wanted more comfort for the two of us, such as resting your back against a corner or stretching out your legs, while maintaining seating for guests.


A few other Dolphins have modified their settee. We admired others’ nice L-shaped settees and set about designing our own. We realized that a U-shaped arrangement would work and designed for this configuration.
For this project, we connected with our friend Pat who designed the Manta catamarans, and contracted with Rian from Mondo Marine Services who has built many catamarans, including the Manta & Fusion cats.
This was one of the main reasons we decided to sail to Bradenton FL, where we could find the resources for a project of this scale.
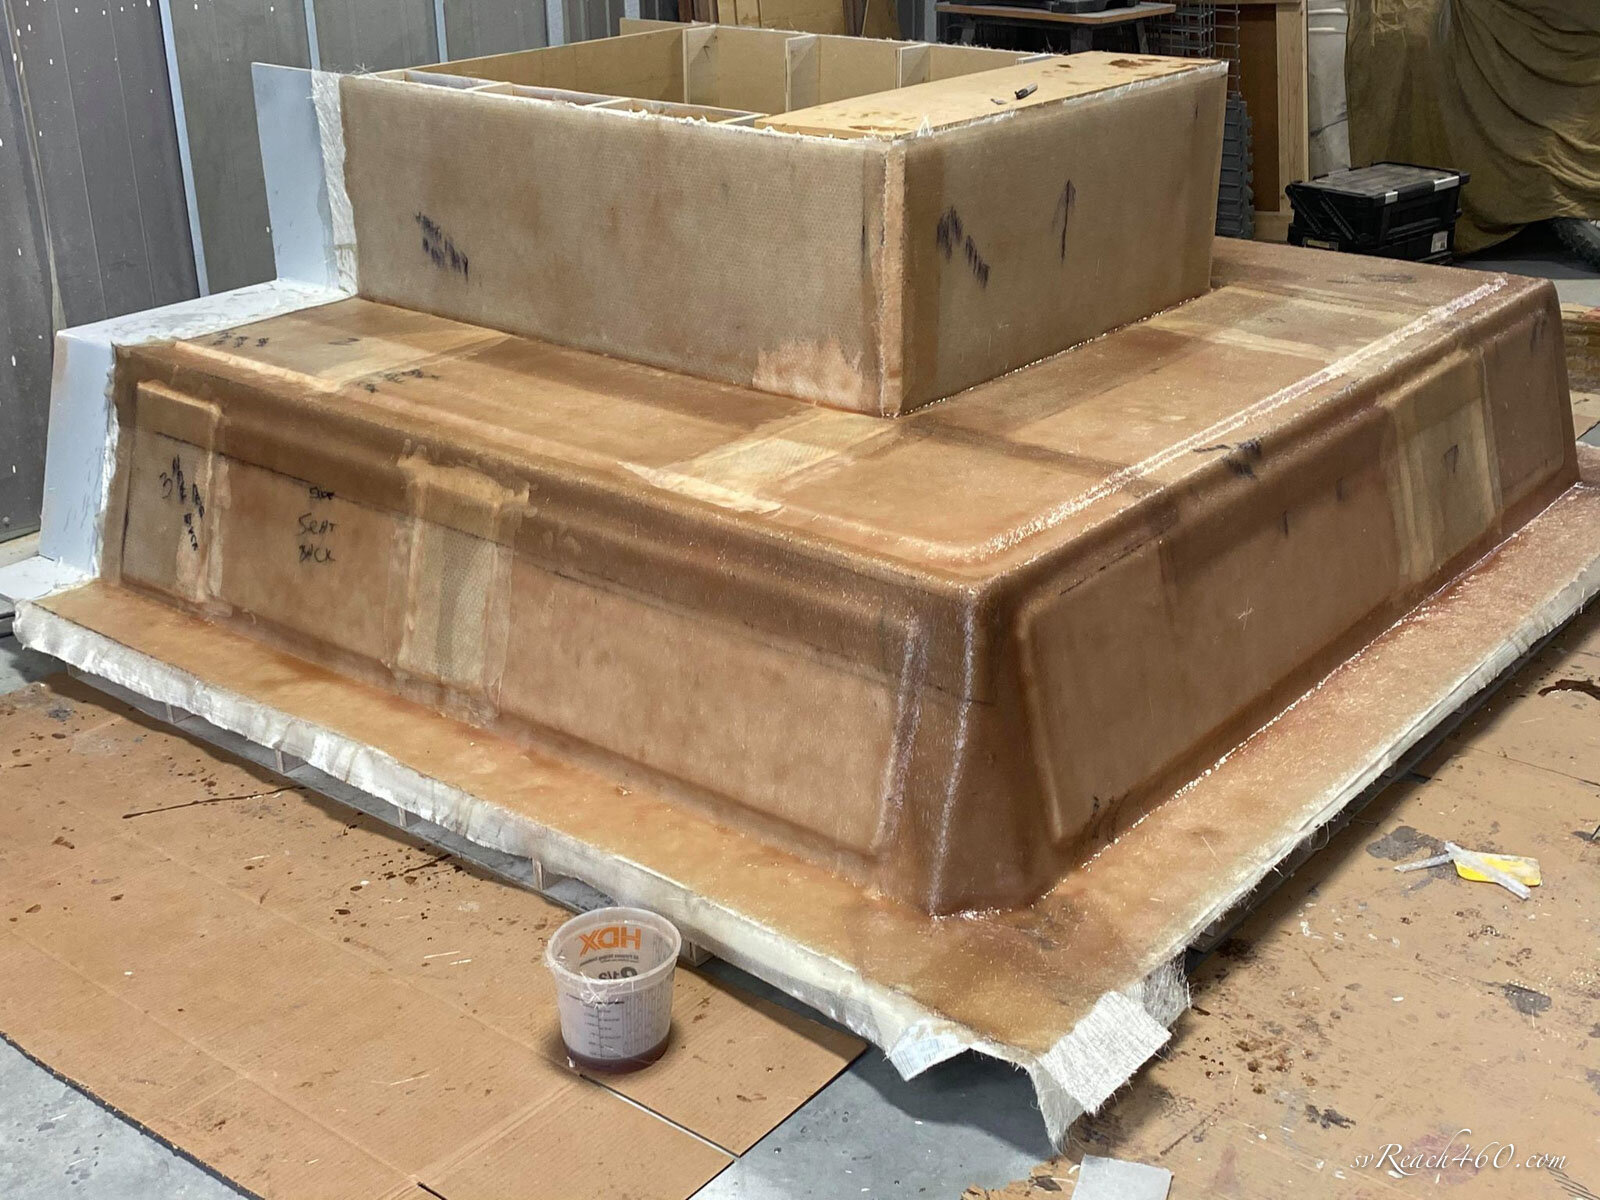
Our experience with stern extensions pointed towards a mold solution for the settee (versus stick-built). On this scale, we were glad to work with Rian, who has the space and experience for this type of work. He built the mold in his shop (mold photos courtesy of Rian) based on existing measurements and with ergonomic optimizations, such as increased seat depth (21”) and a more natural seat angle (13˚).
He then set about laying up the settee in the mold, first with gelcoat, then fiberglass and nidacore. It was huge! Releasing a mold is always the harrowing part and there is inevitably some sanding and touchup needed at this point. The next trick would be getting it into the boat. It did make it in… in three pieces.


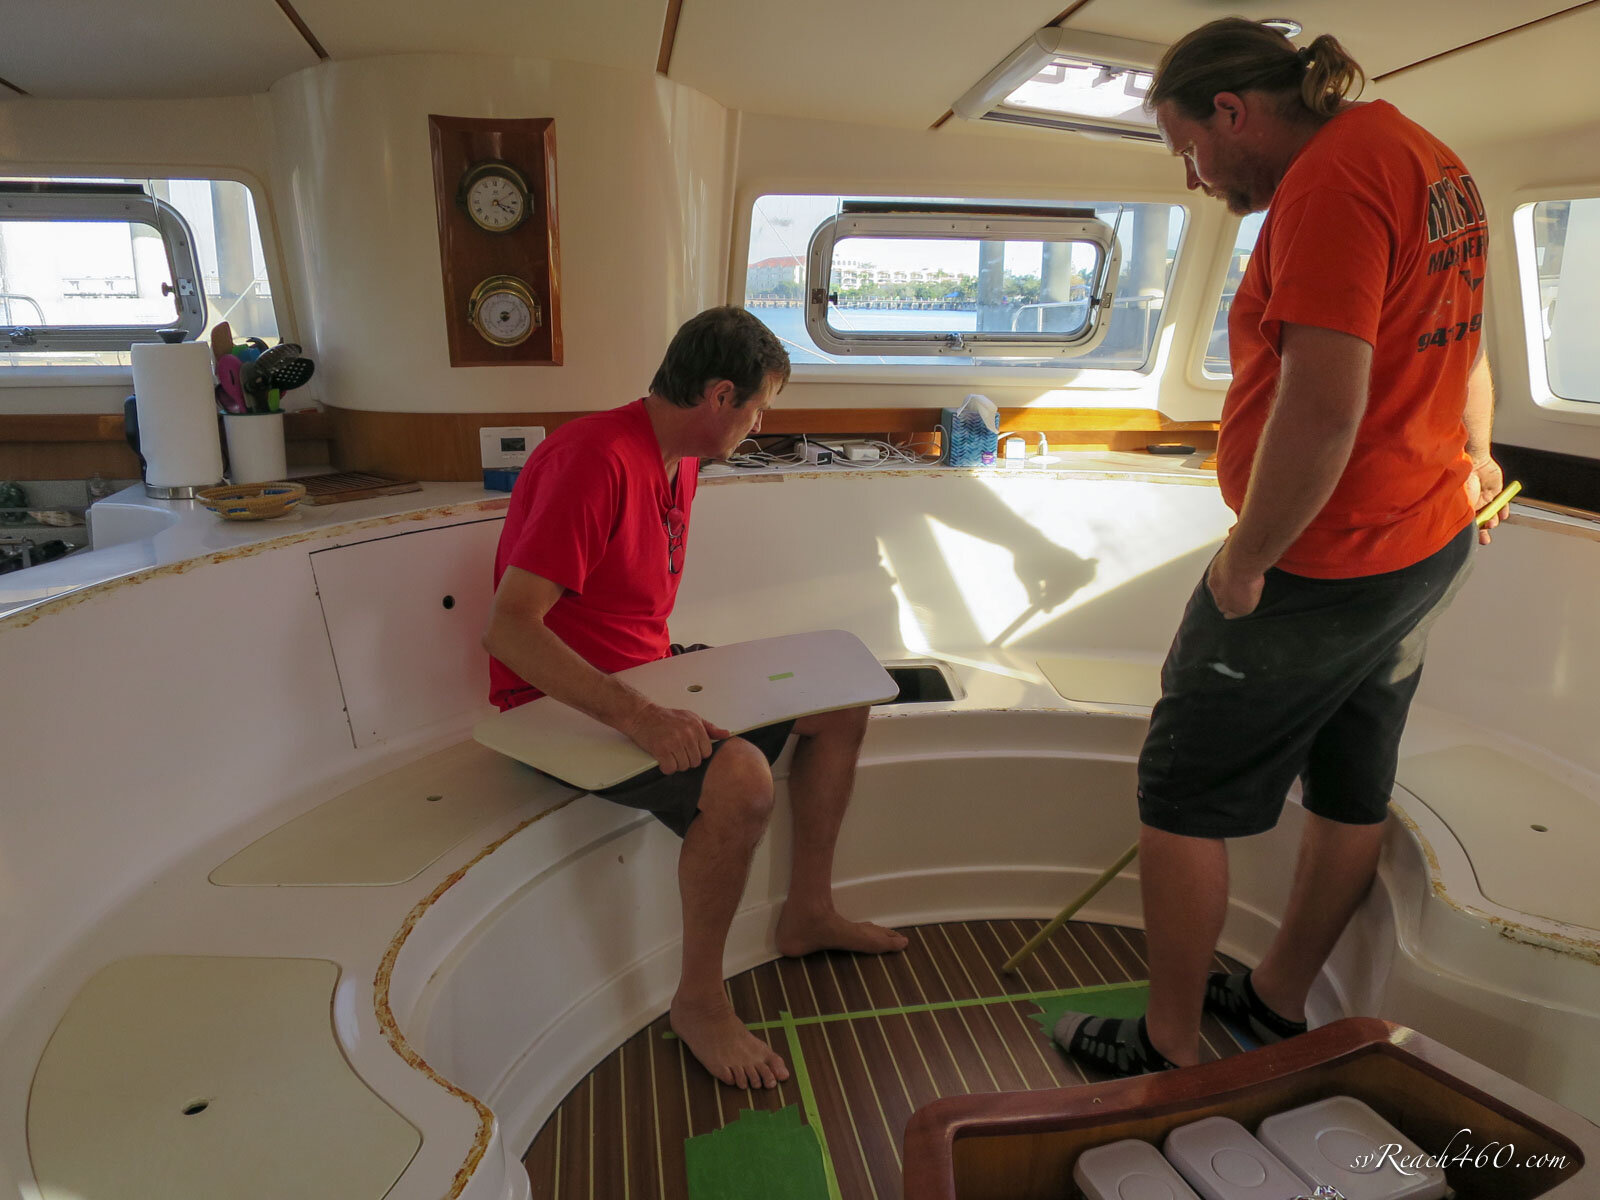
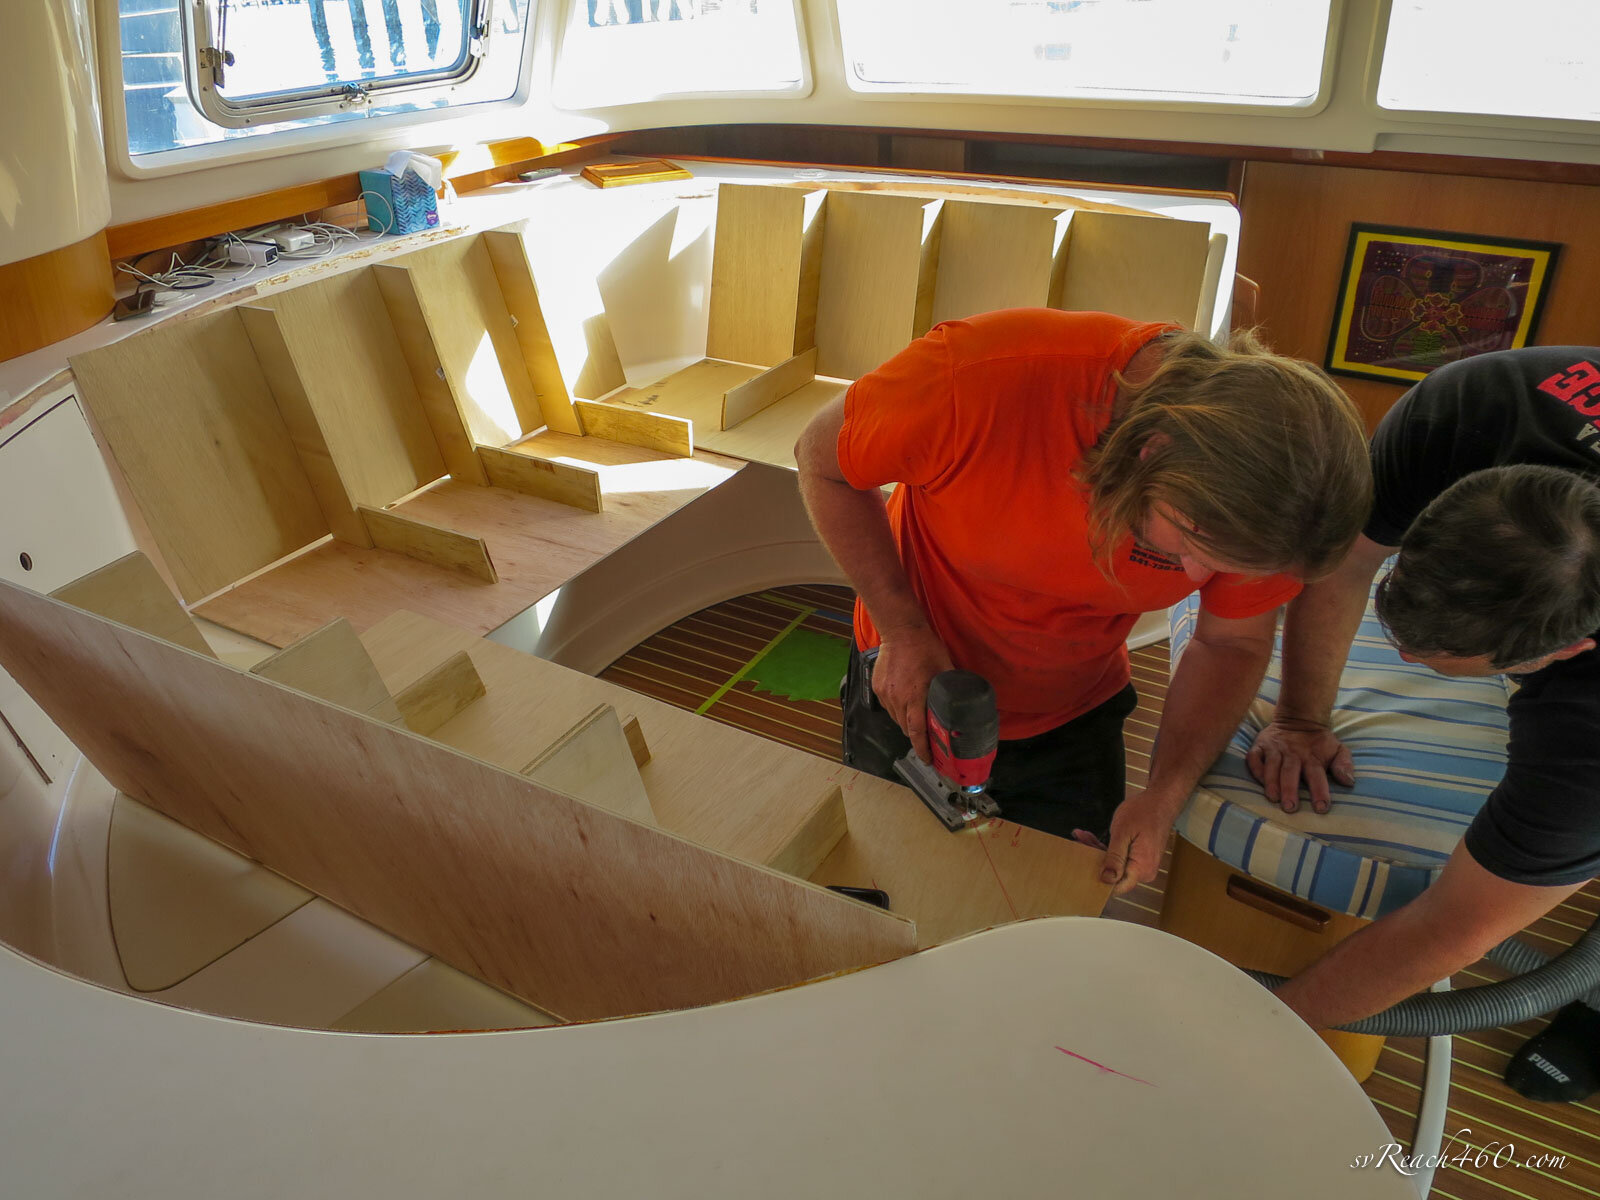
Once the mold was made, the destruction of the current settee was a go. Mark had already ripped out the flooring on the raised saloon to allow for glassing the new settee to the bridge deck both inside and out. Rian made quick work of cutting the old glass out in sections. Additional thought and design had to be made to work out how to configure the seat bulkheads and shelves.


It was so exciting to see the new settee set in place. For the first time we could visualize how the new space would look. To us, it looked immense compared to the round version. At one point we were worried that the U-shape would make the center/table area quite small (versus a more open L-shape), but this was not the case. We also gained a lot of storage space under the port settee, bonus!
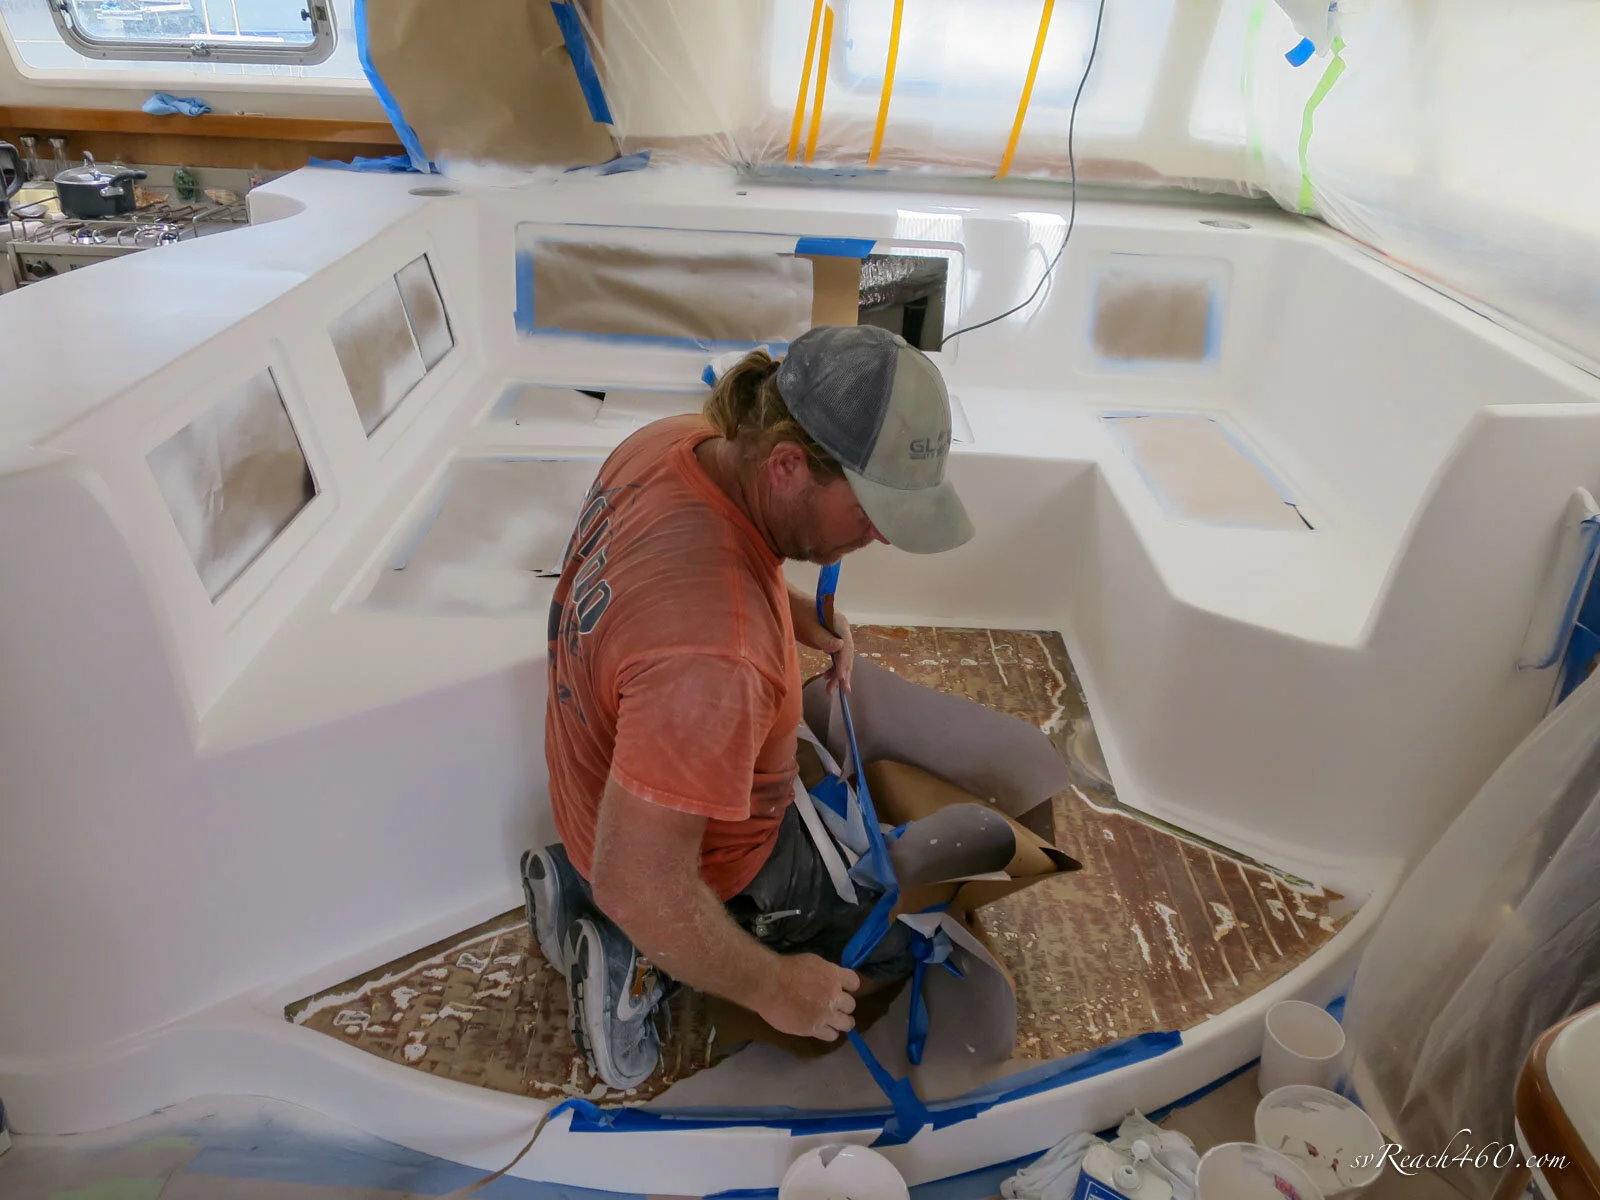
Once the three sections were fitting in place, it was time to zip it up with fiberglass. This required grinding all seams down to raw fiberglass to form new chemical bonds… our first serious snowstorm on the boat. The glassing was next, using peel ply to make smoother seams and speed-up curing.


Now might be the time to mention that we were living onboard through the project… we had to empty all cabinets and got quite used to outgassing styrene and fiberglass dust.


The result was a solid, monocoque structure spanning most of the bridge deck. Another bonus was much needed counter space for the galley, creating an island/bar in the saloon. Once installed, a bulk of work still remained, fairing and sanding.
The finish work is where finesse is required. Rian has a great eye and his efforts here made all the difference. There are plenty of obstacles in the way of getting a smooth surface when fairing, hiding fiberglass seams, shaping curves, working with edges.


Anyone who has done this knows that you need to build up the gelcoat to allow you to sand to the lowest spot, the least common denominator, to result in purely straight, flawless surfaces. Some of the transition areas with high spots will ‘burn-through’ upon this rough (400 grit) sanding.


Once everything was near perfect, it took a second gelcoat spray for the final finish. This time, finer sanding (800 grit) takes you down to perfection. The reason you need to seek perfection is that any little ripple, bump or hole will show up like a spotlight once you polish the surface.

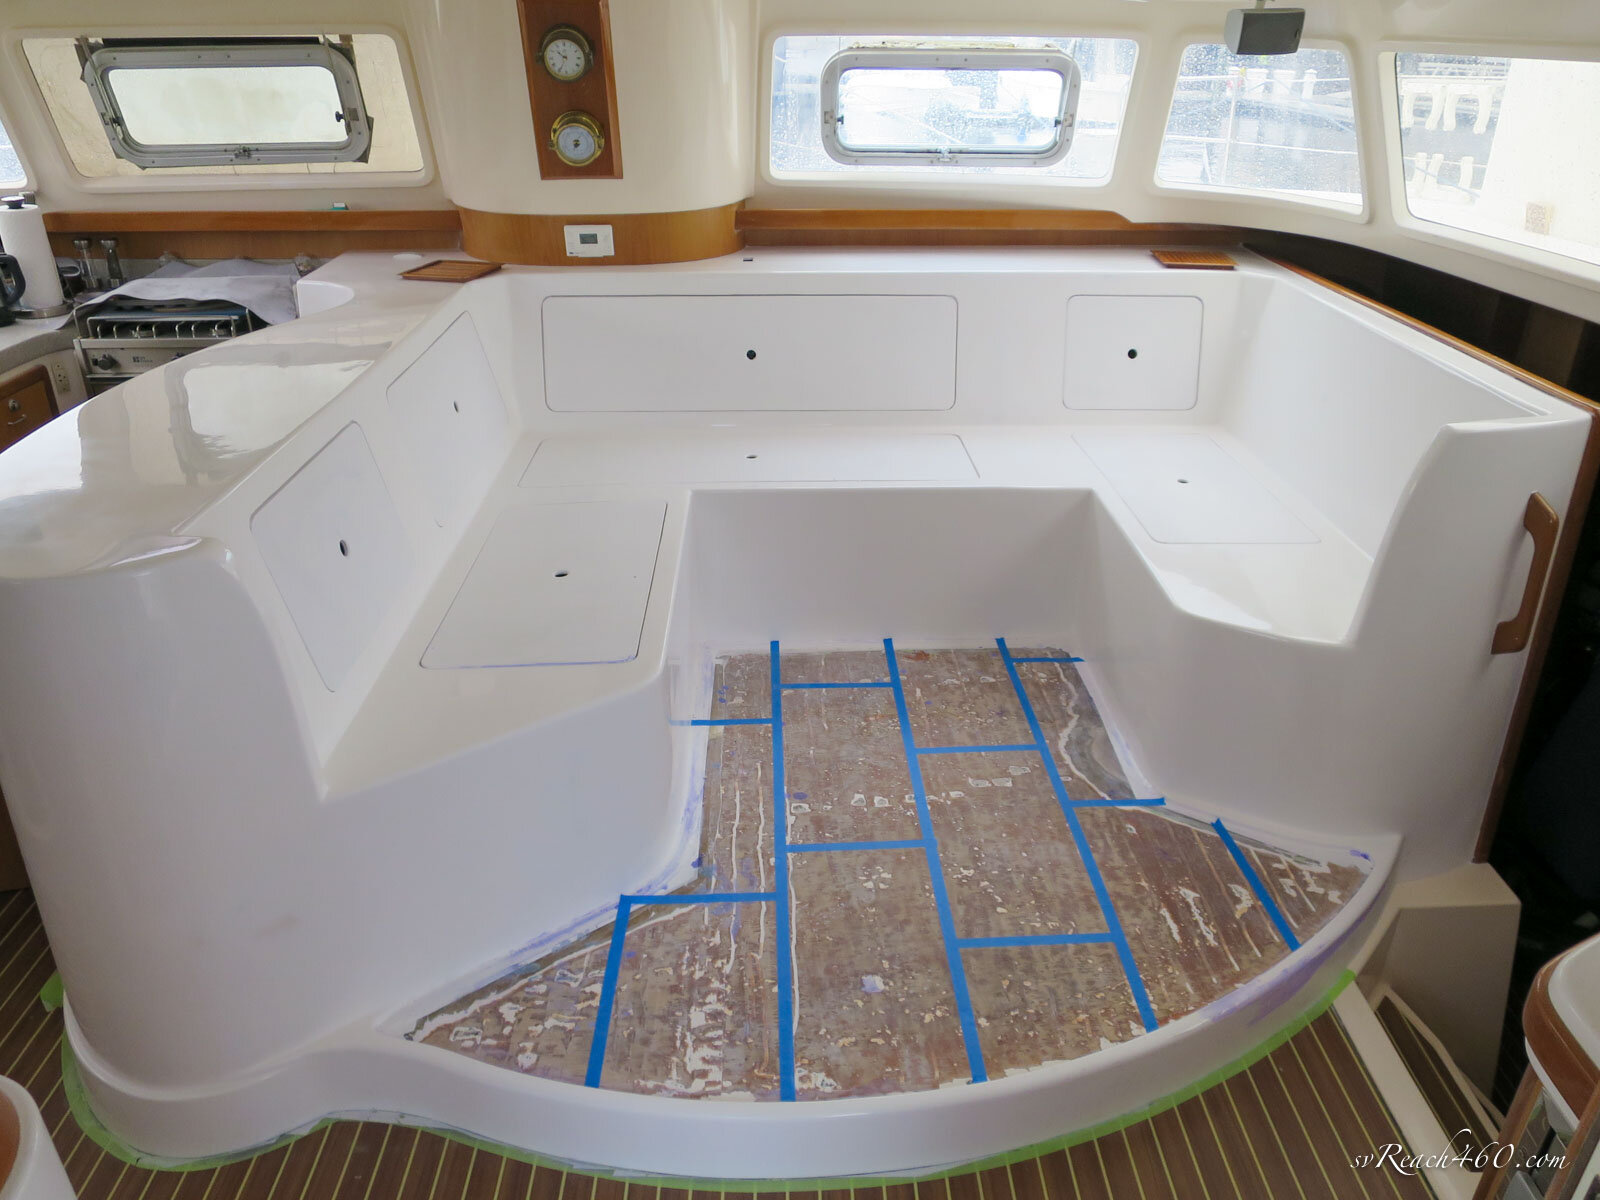
Compounding the gelcoat at the end is so very satisfying. It’s amazing how shiny the surface gets after a polish and how it makes it look like a brand new boat! Now… the rest of the boat could use a cleaning and a shine.
The true before and after will come once the floor is in and new cushions arrive, but for now this is the cool before and after view.