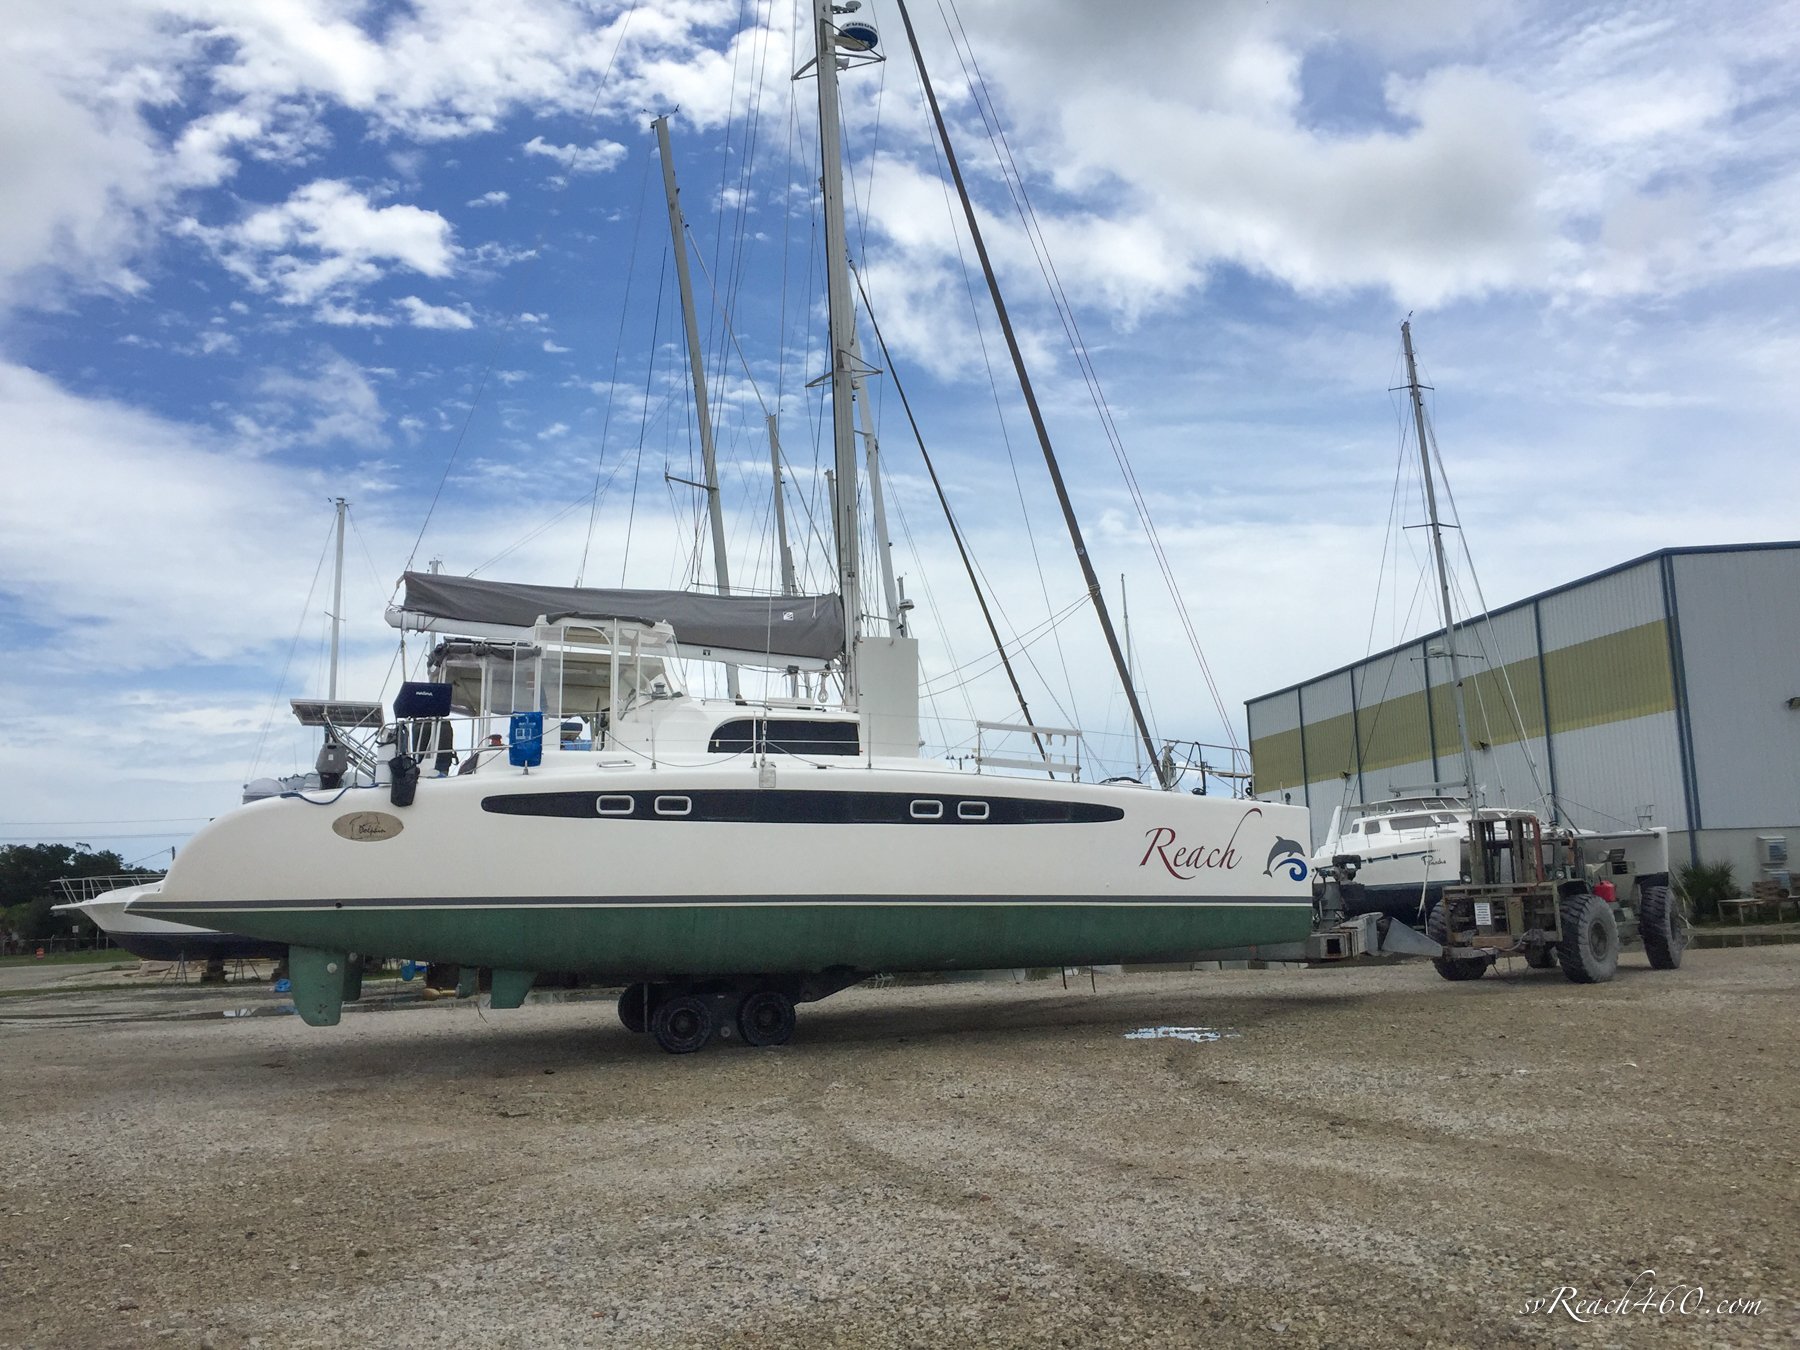
June Haulout

Removing the mast
It seems like ages ago that we were in St. Augustine, preparing for our first working haulout on Reach. We hadn’t had her out of the water since the purchase in Antigua. The month of June was spent in St. Augustine Marine Center with Mark tackling the current To-Do list…
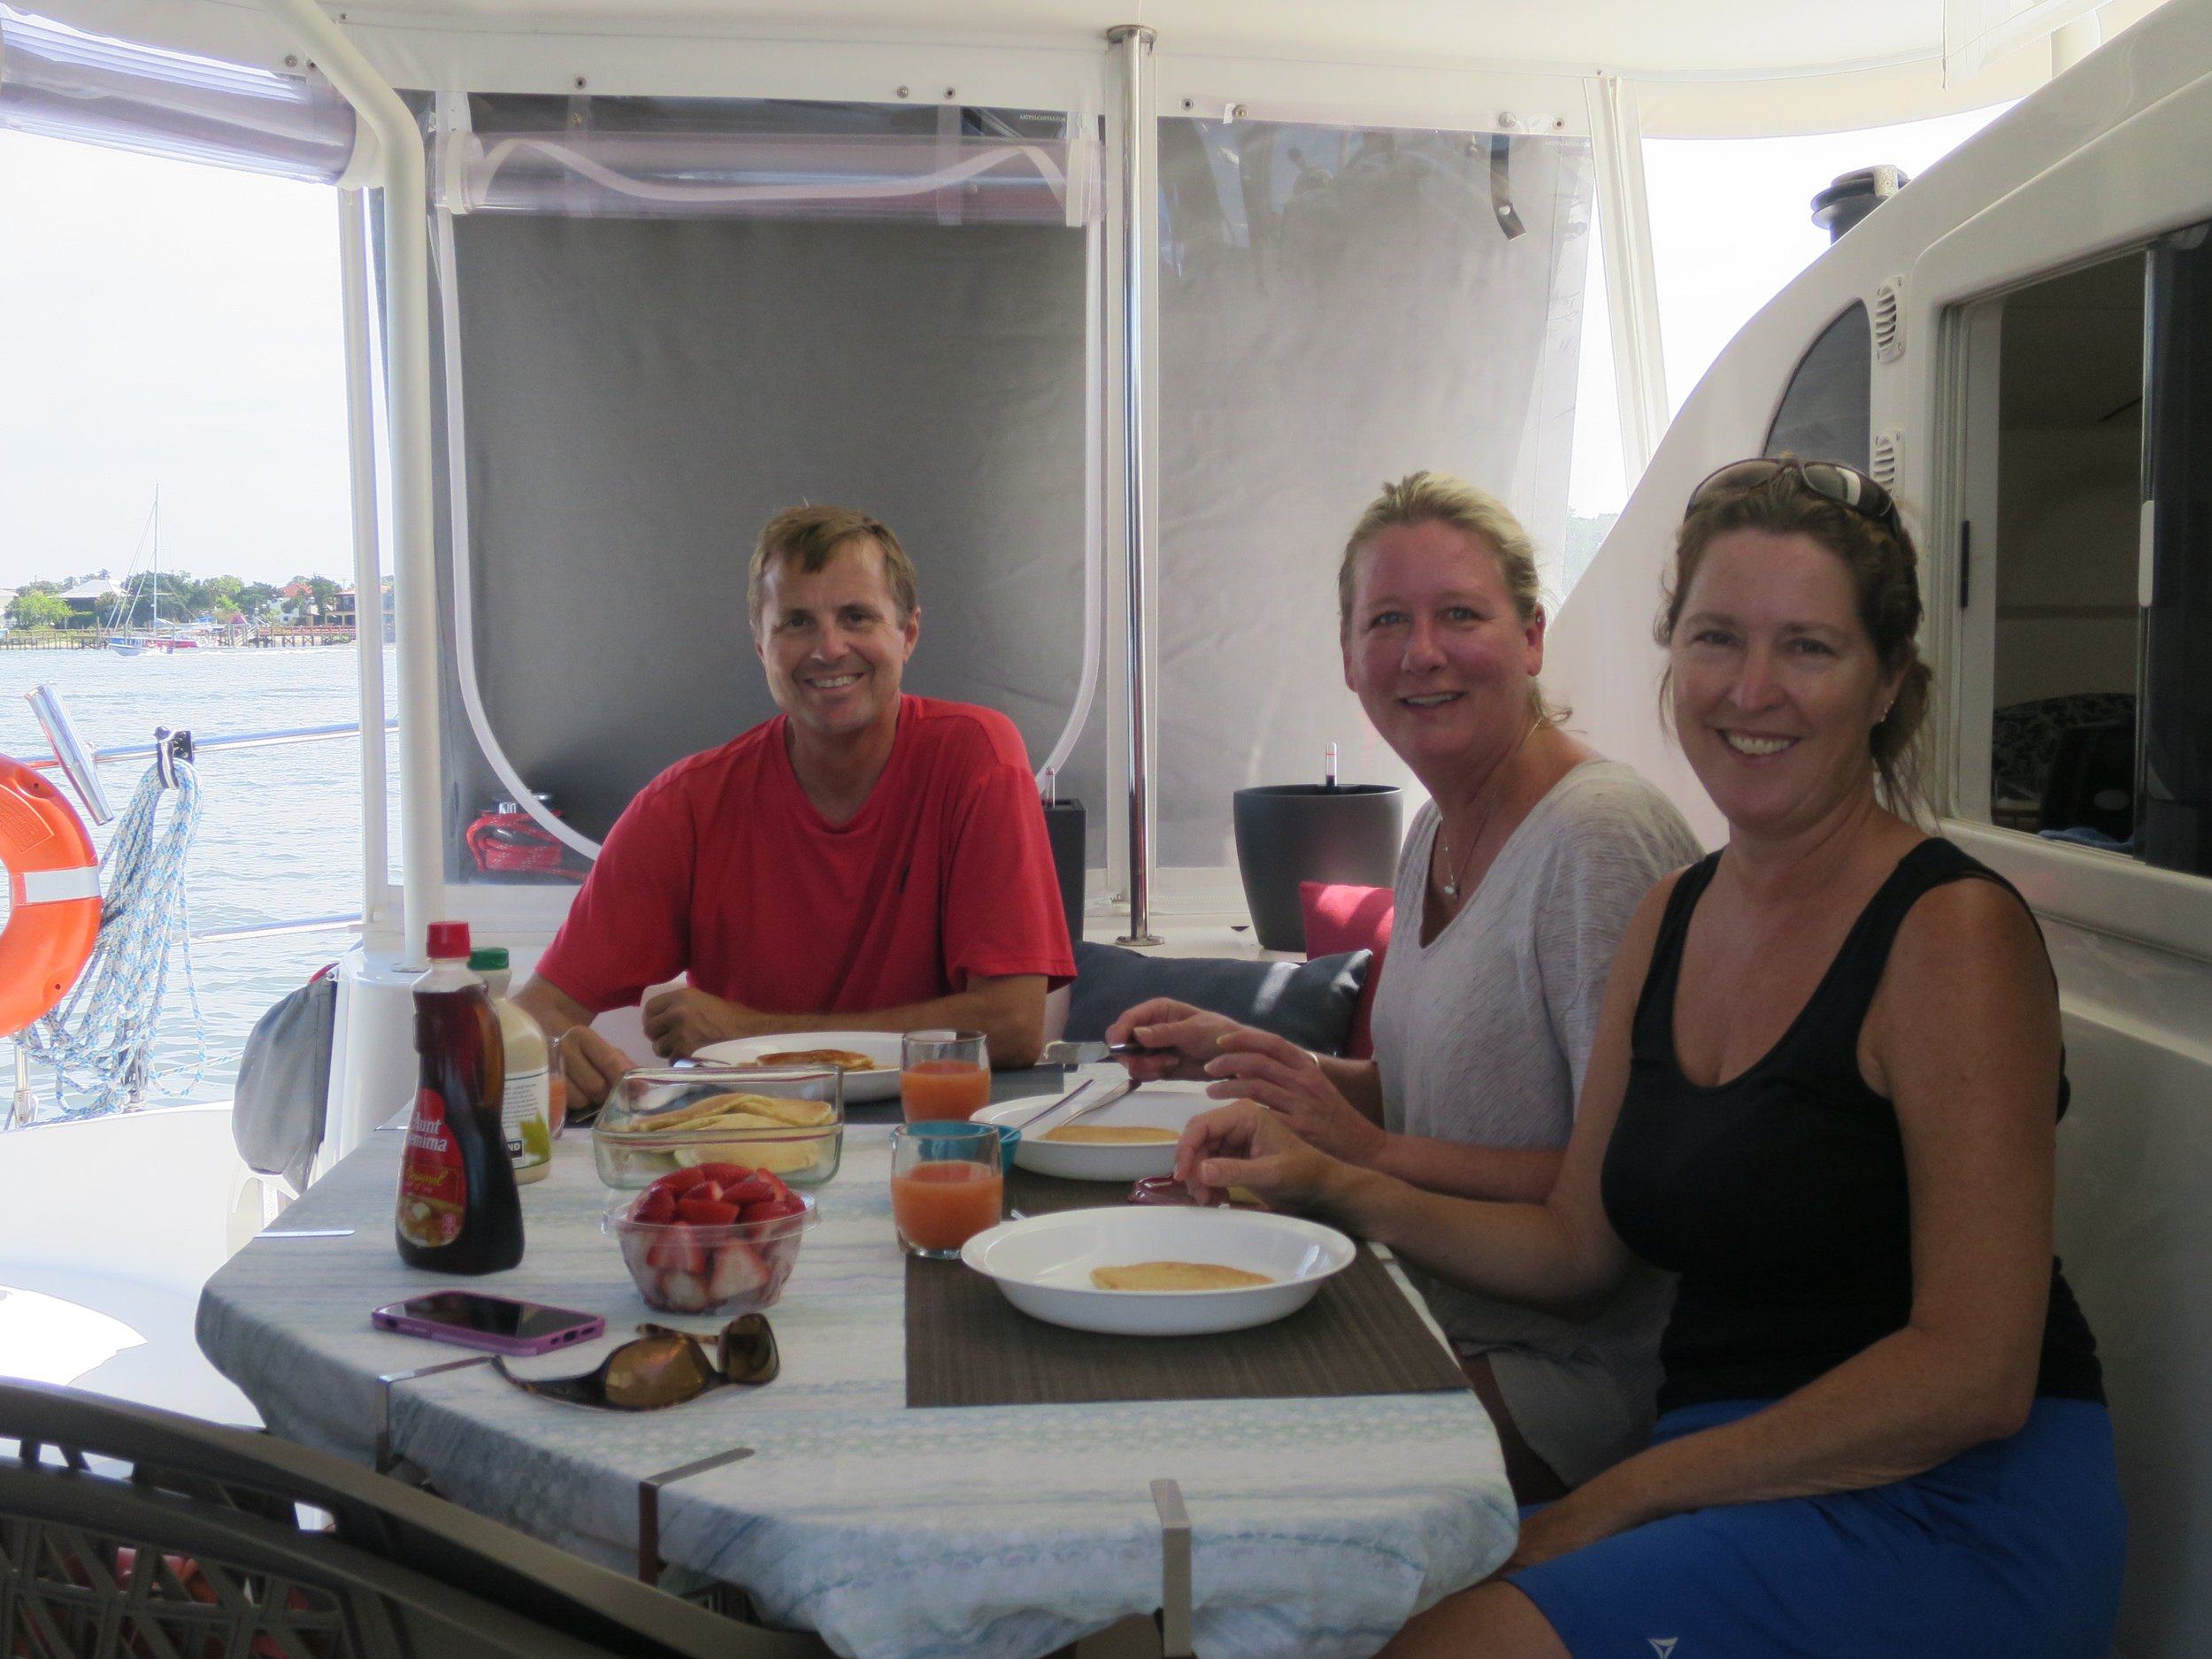
The summer got so busy afterwards that I neglected to update the blog, which we like to do in addition to a maintenance log, to keep track of our boat improvements. Now, stuck on a rainy weekend waiting for a weather window, seems like a good time to get at it.
Thanks to the generosity of our friend Beck, we didn’t have to live on the boat on the hard during this time.
She has visited us on both Reach’s and always has a place to stay with us!
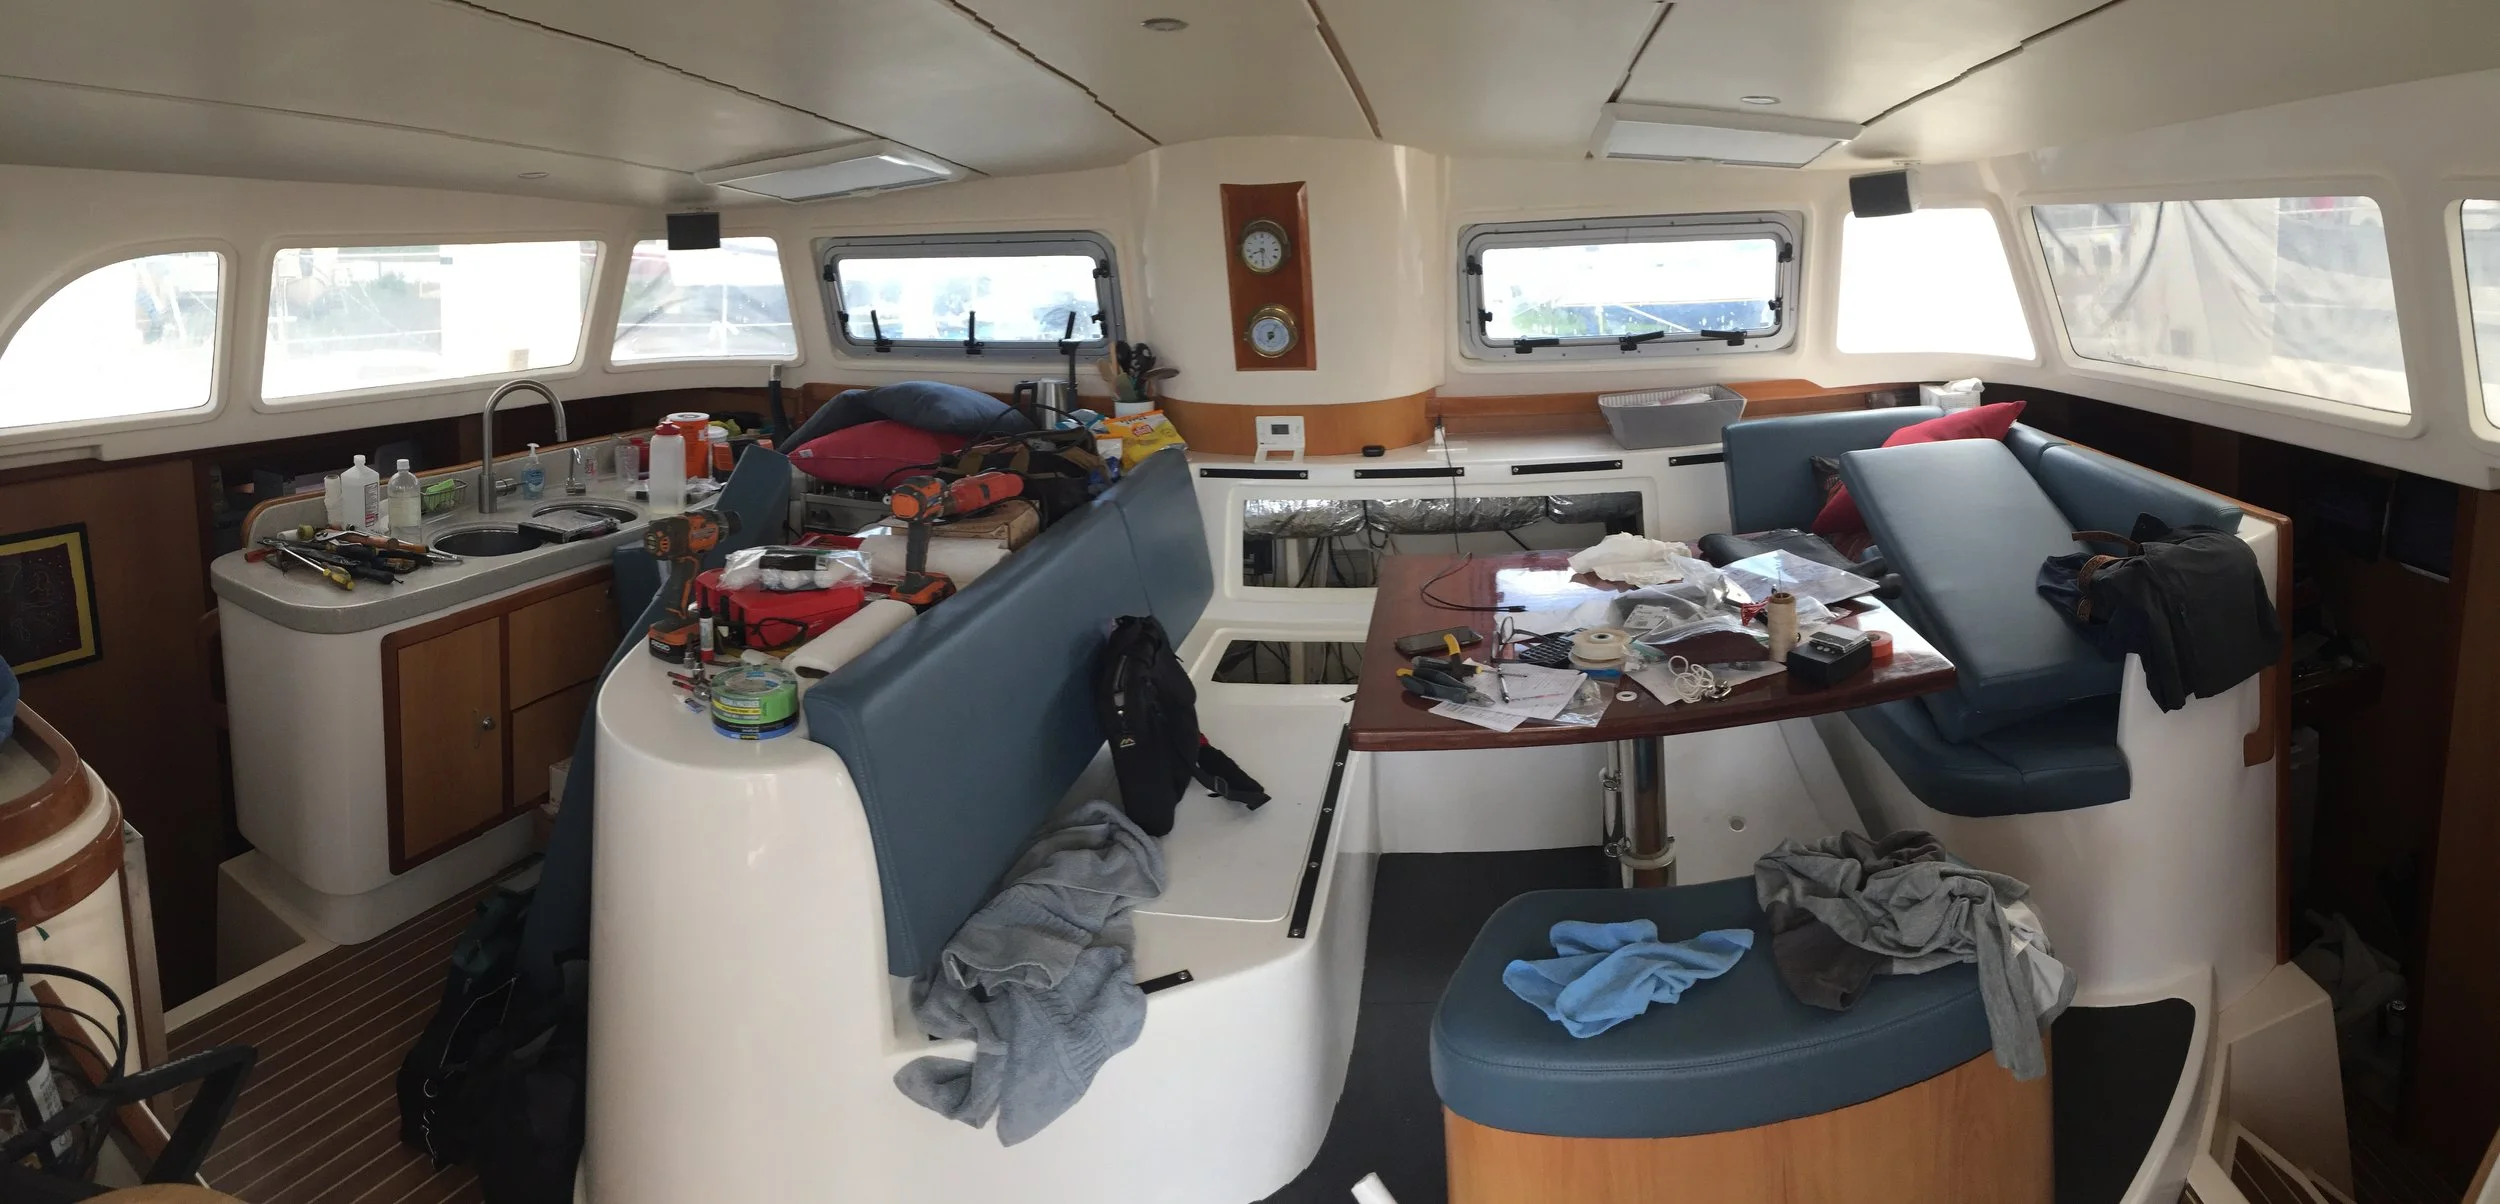
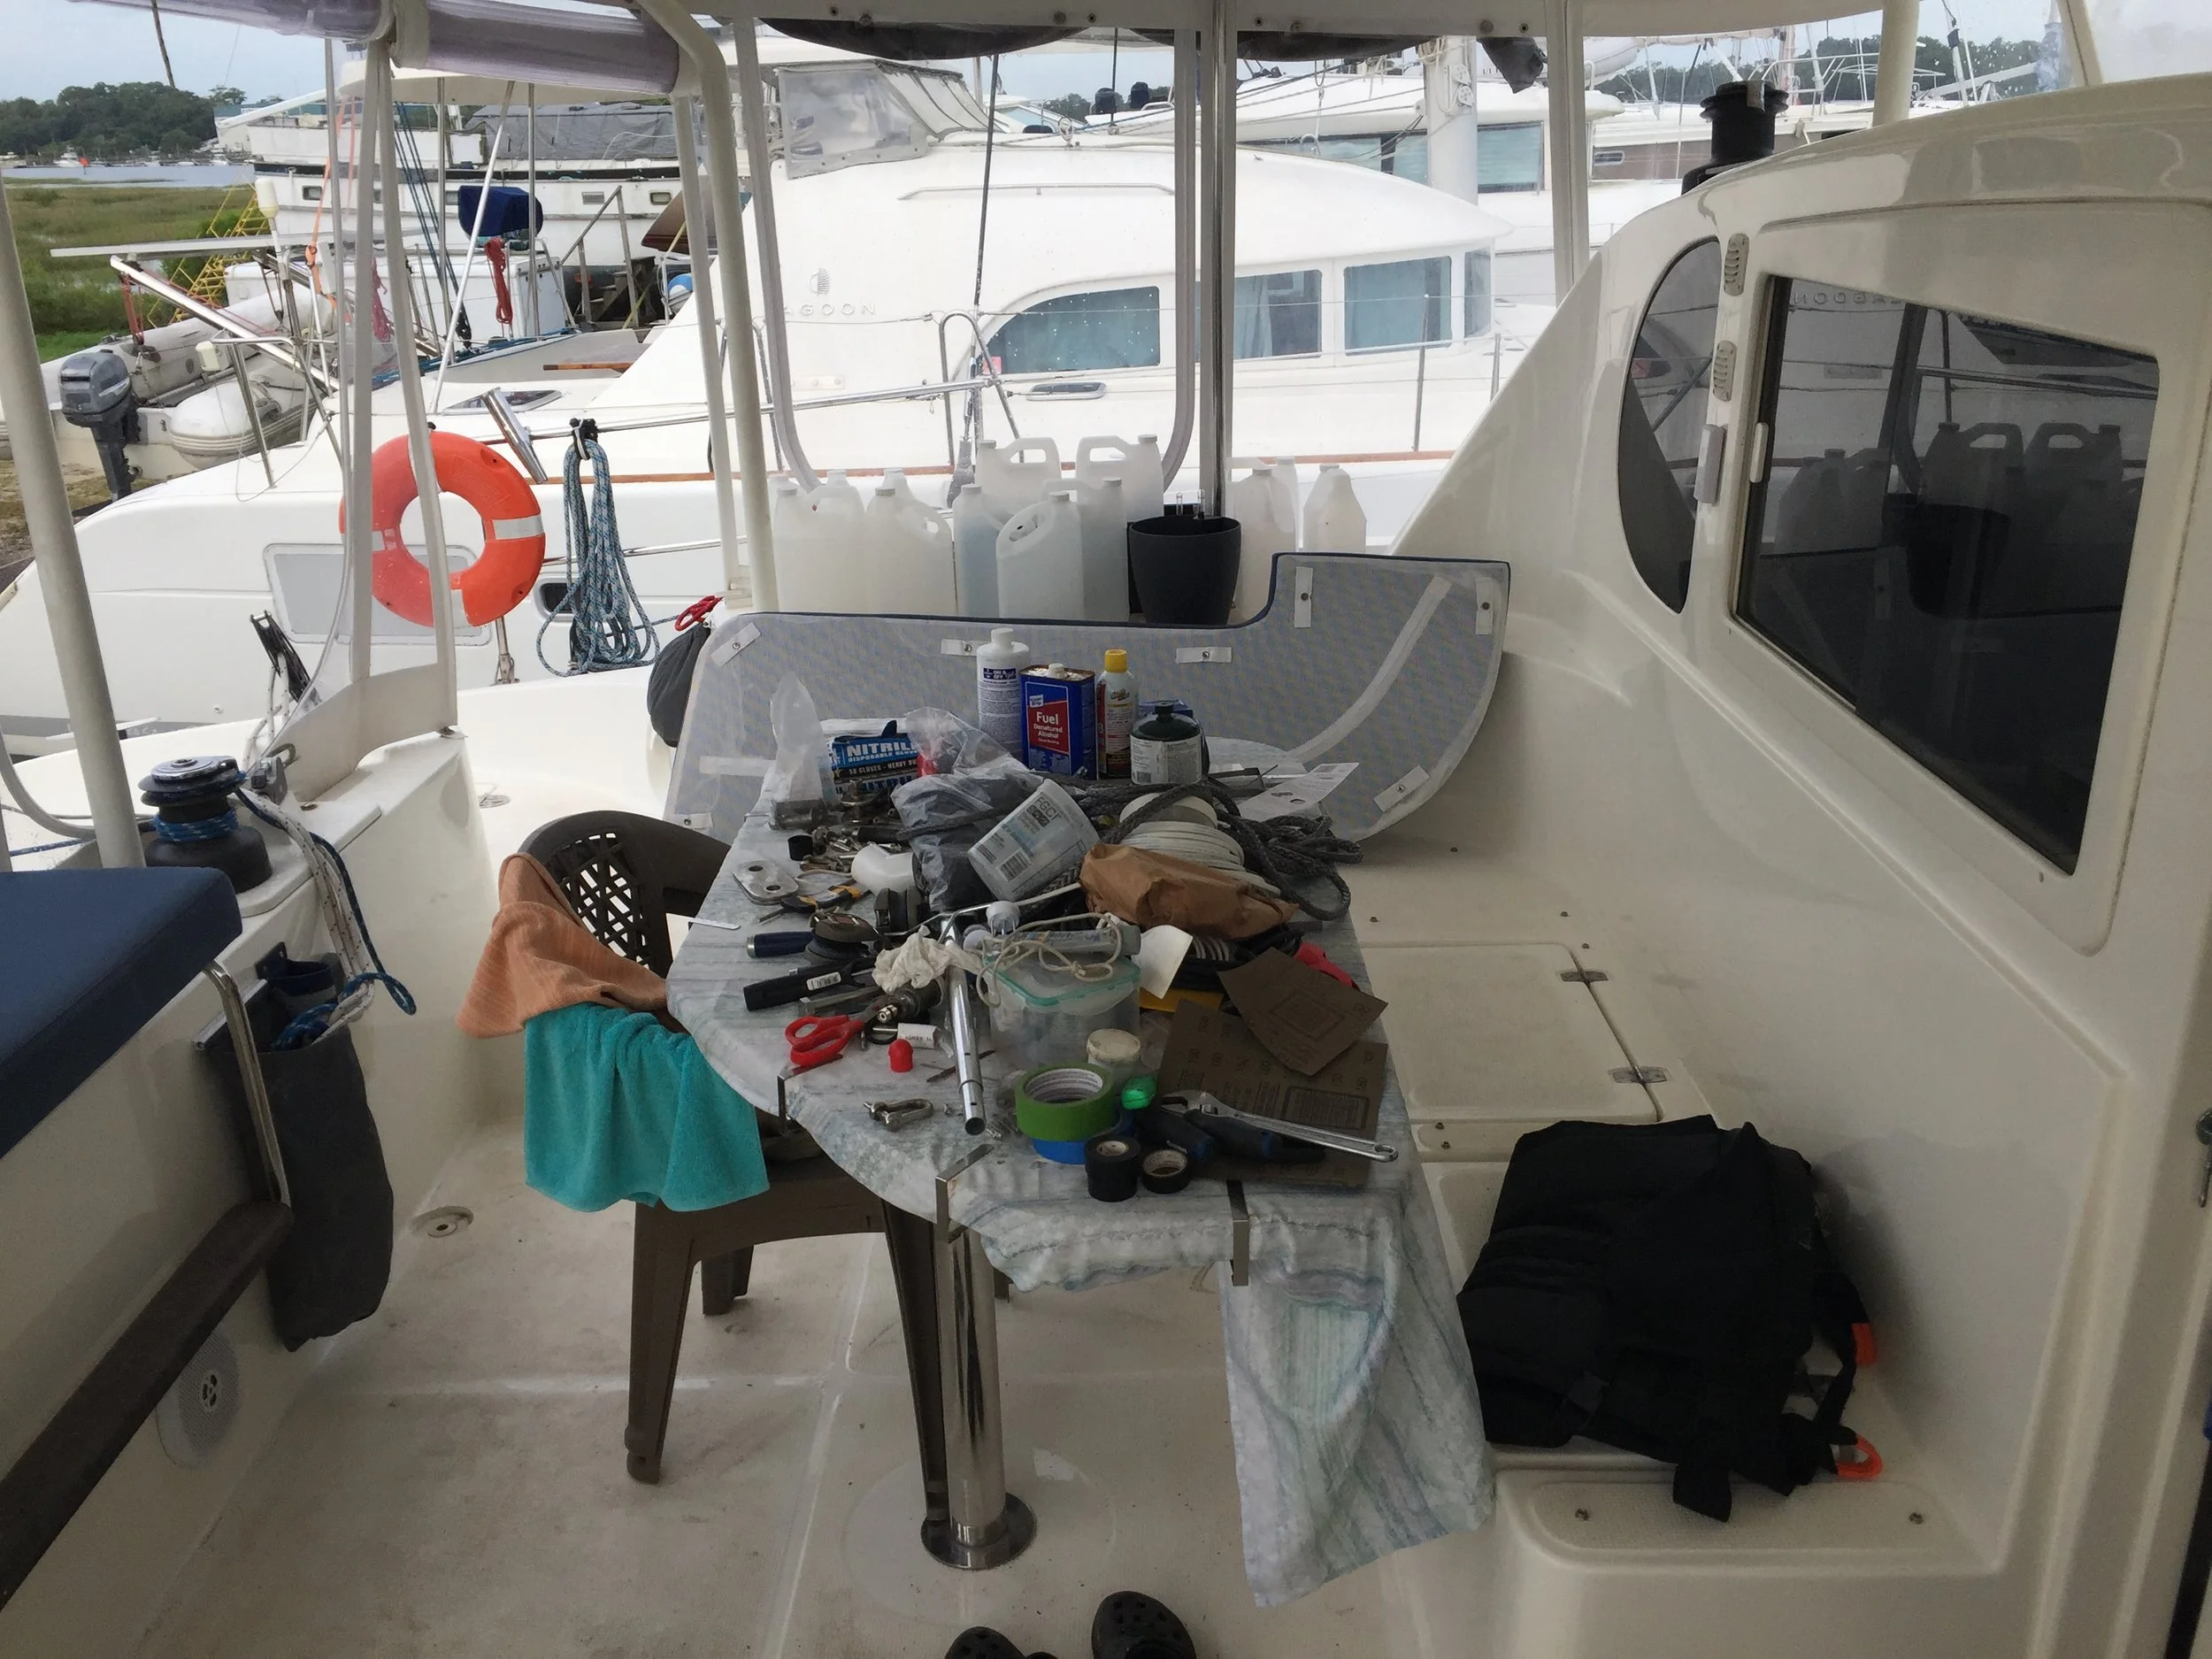
We were extremely grateful for a place to stay nearby (and for the company!), since the state of the boat in work mode isn’t very conducive to living and cooking onboard.
The LIST:
Haulout and remove mast
Drop rudders and replace seals
Replace saildrive seals
Replace all thru hulls
Re-plumb head to tank runs with PVC
Replace standing rigging
Modify daggerboard case
Replace sprit stays and connection points
Rewire all masthead instruments and lights
Install new props
Repaint bootstripe
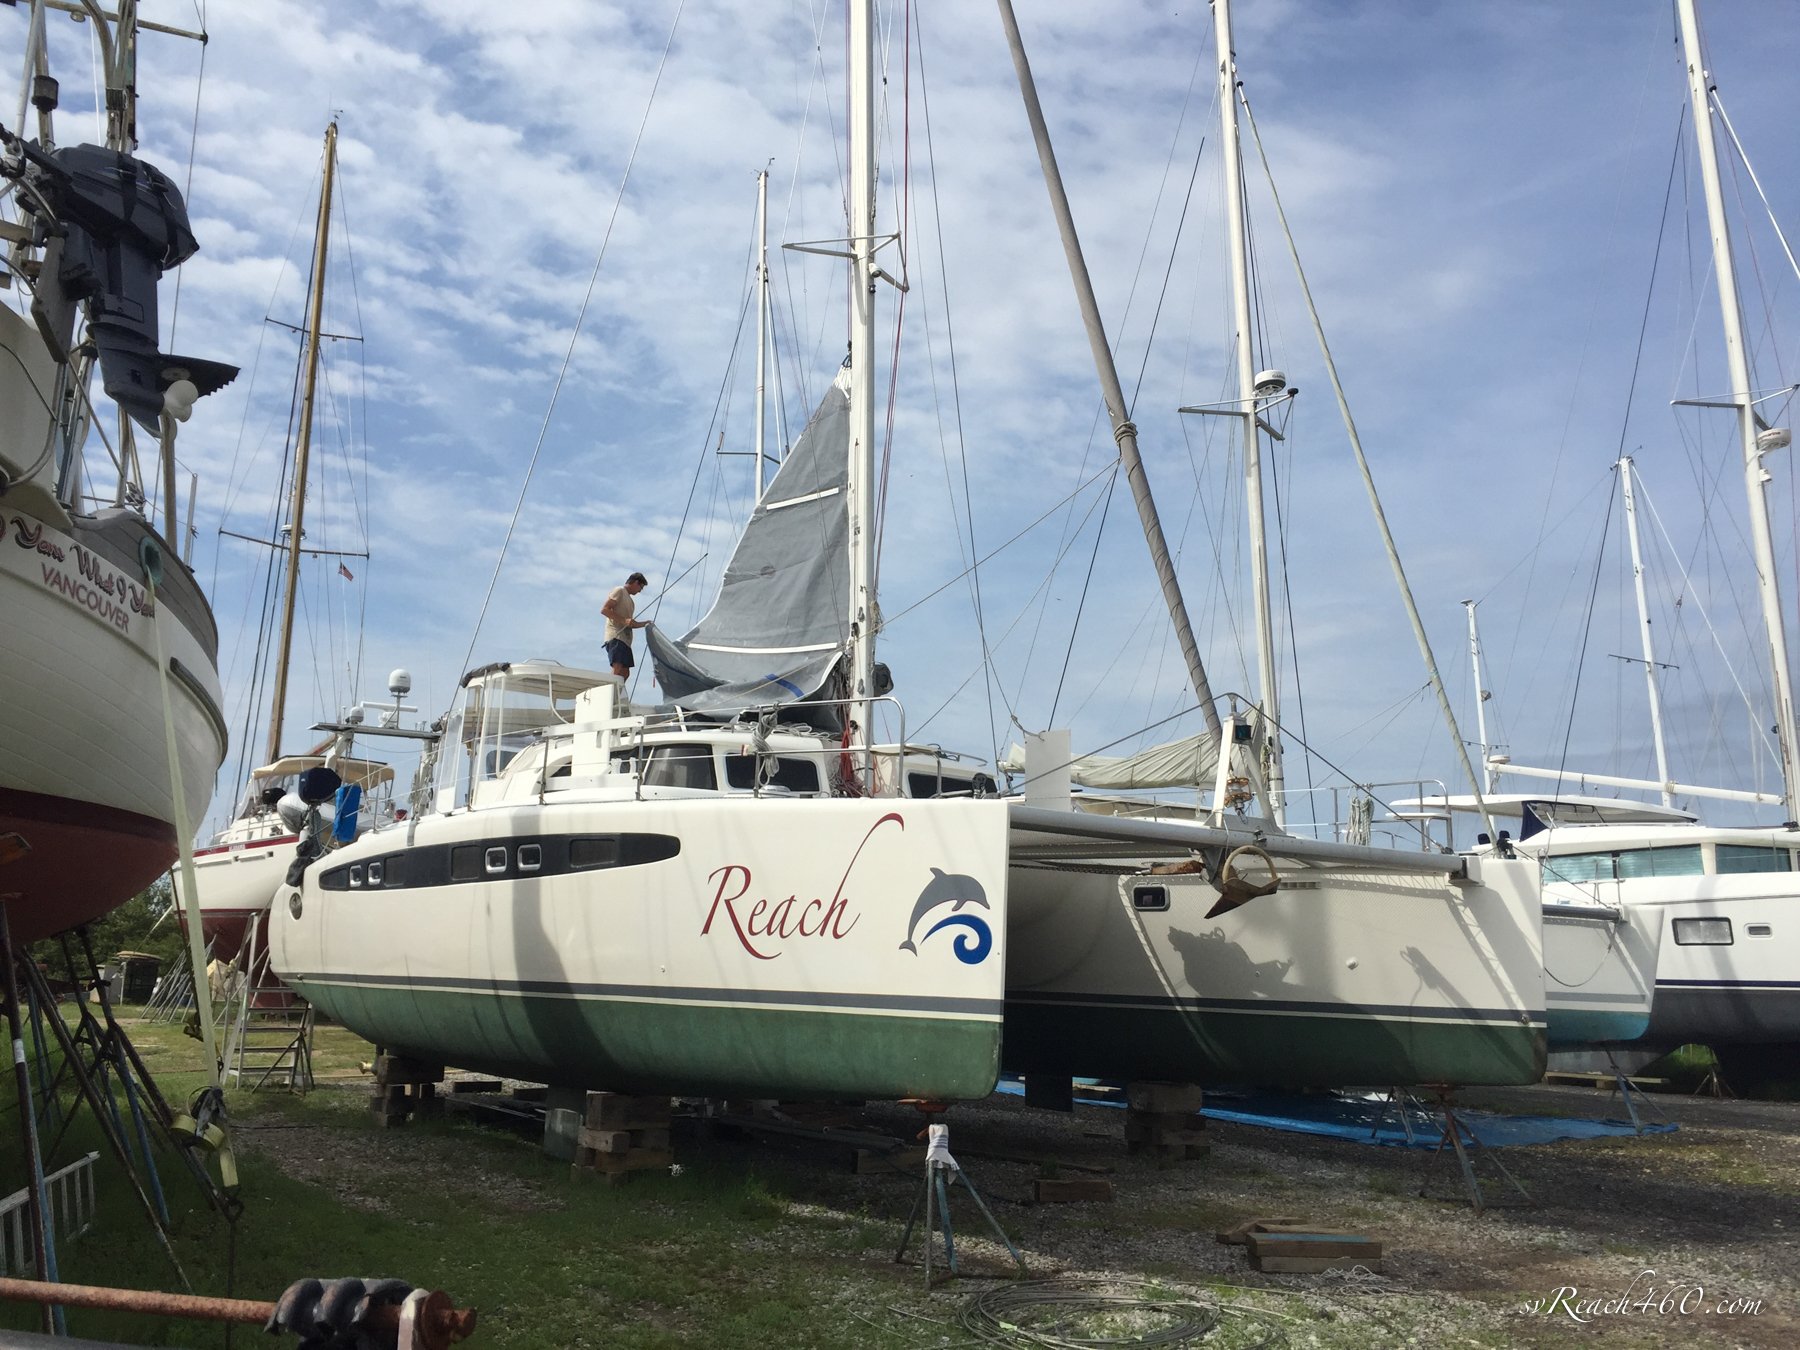
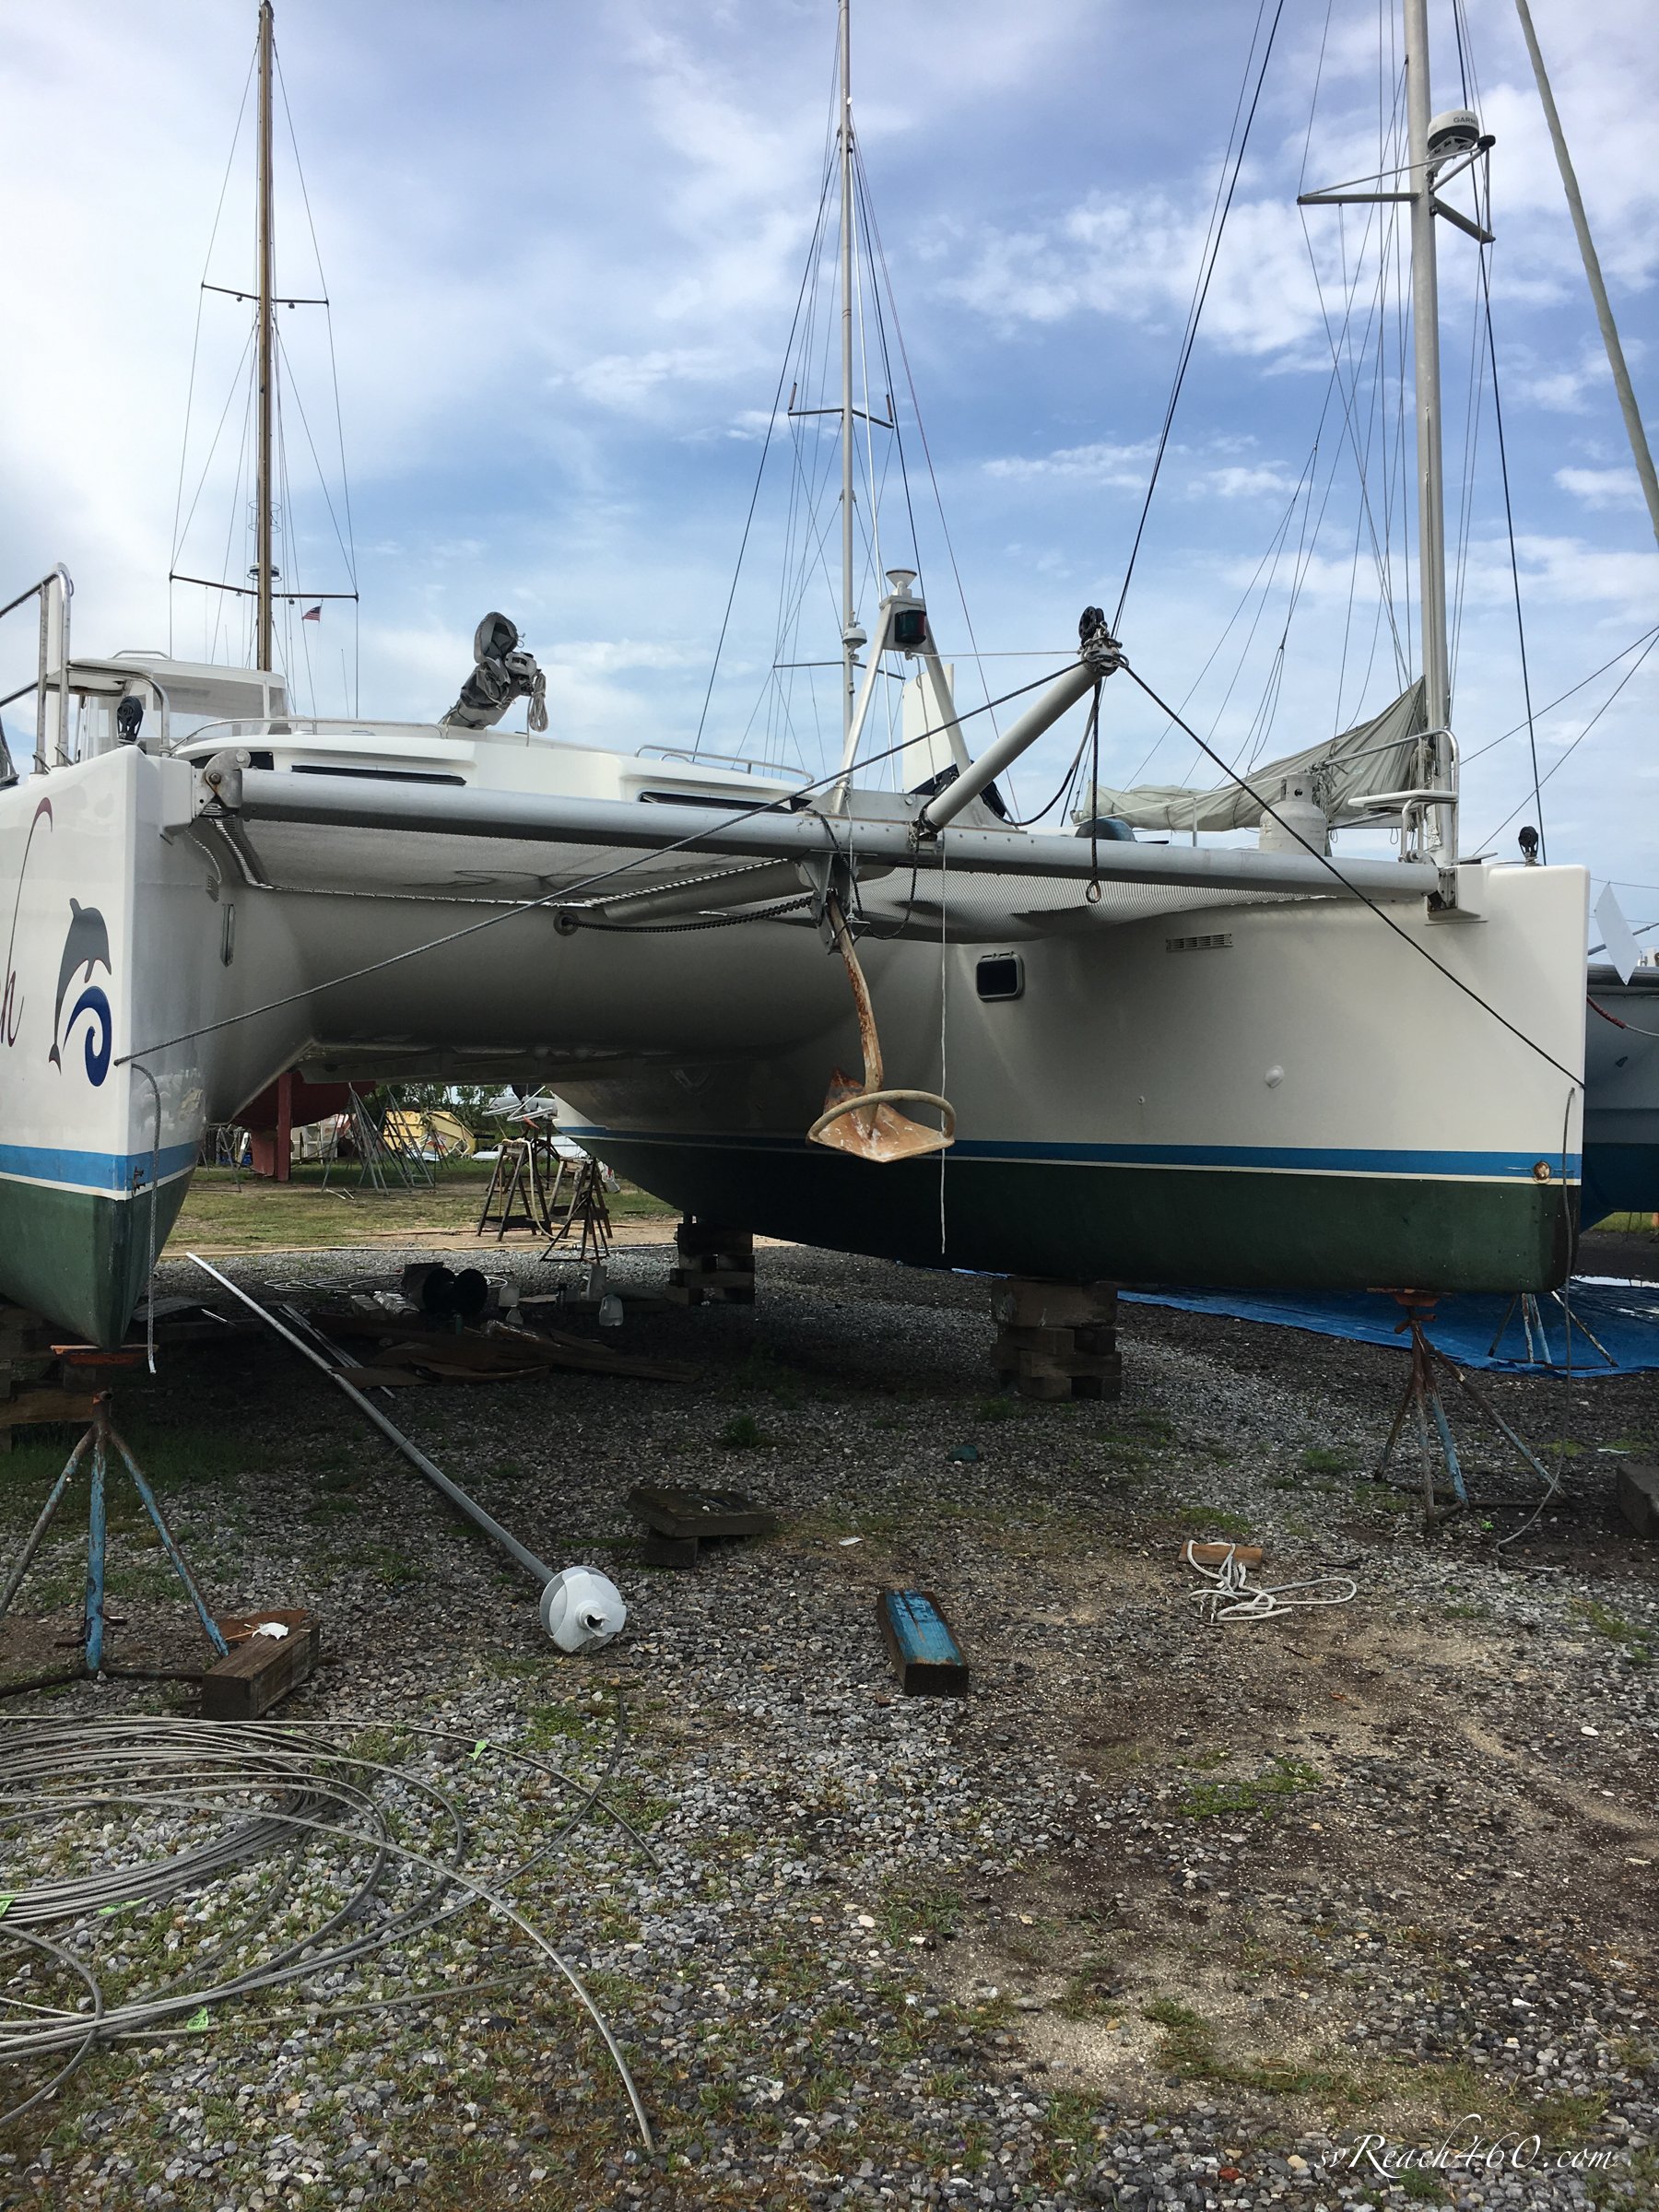
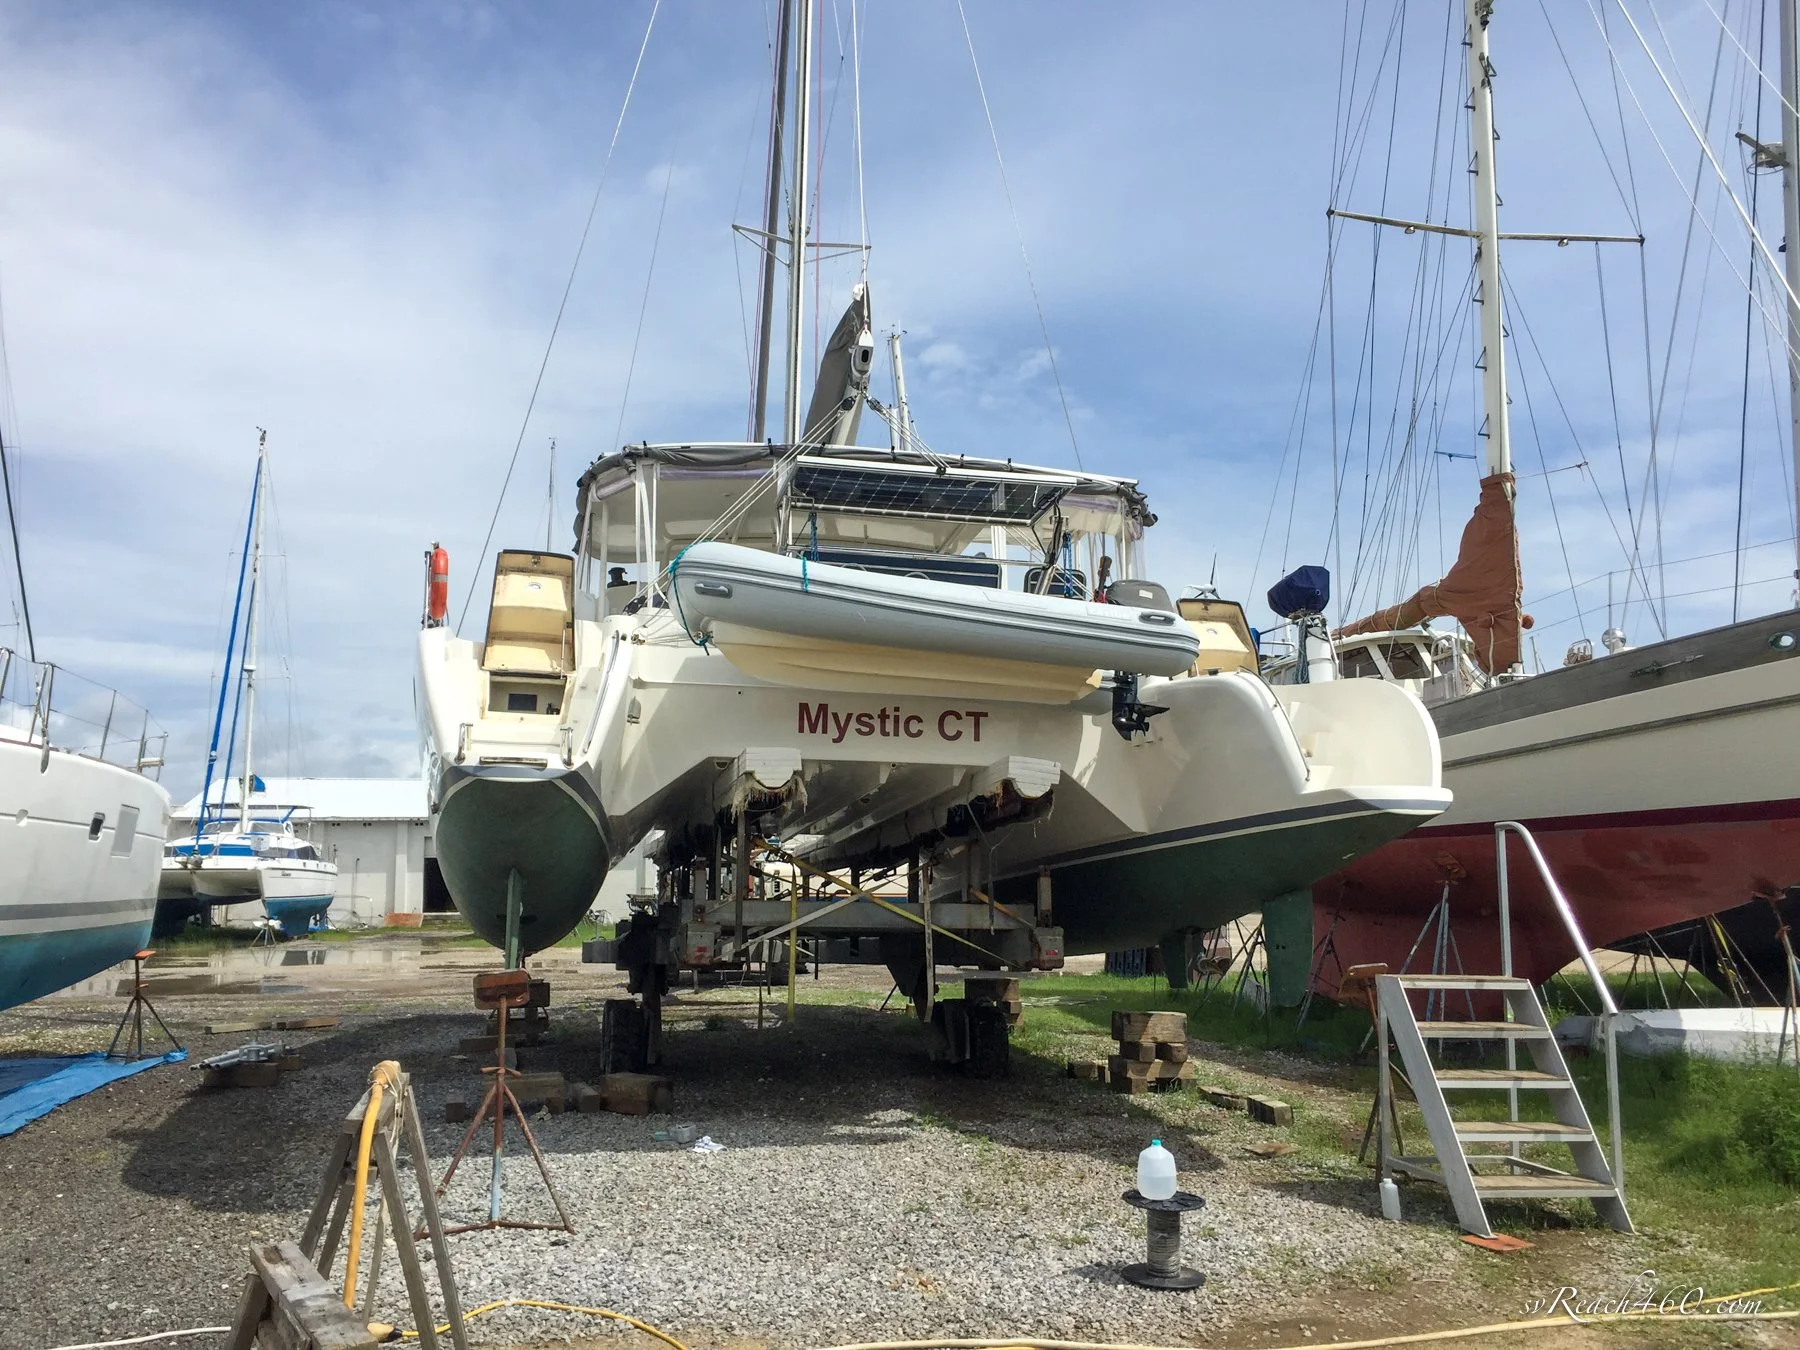
Haulout
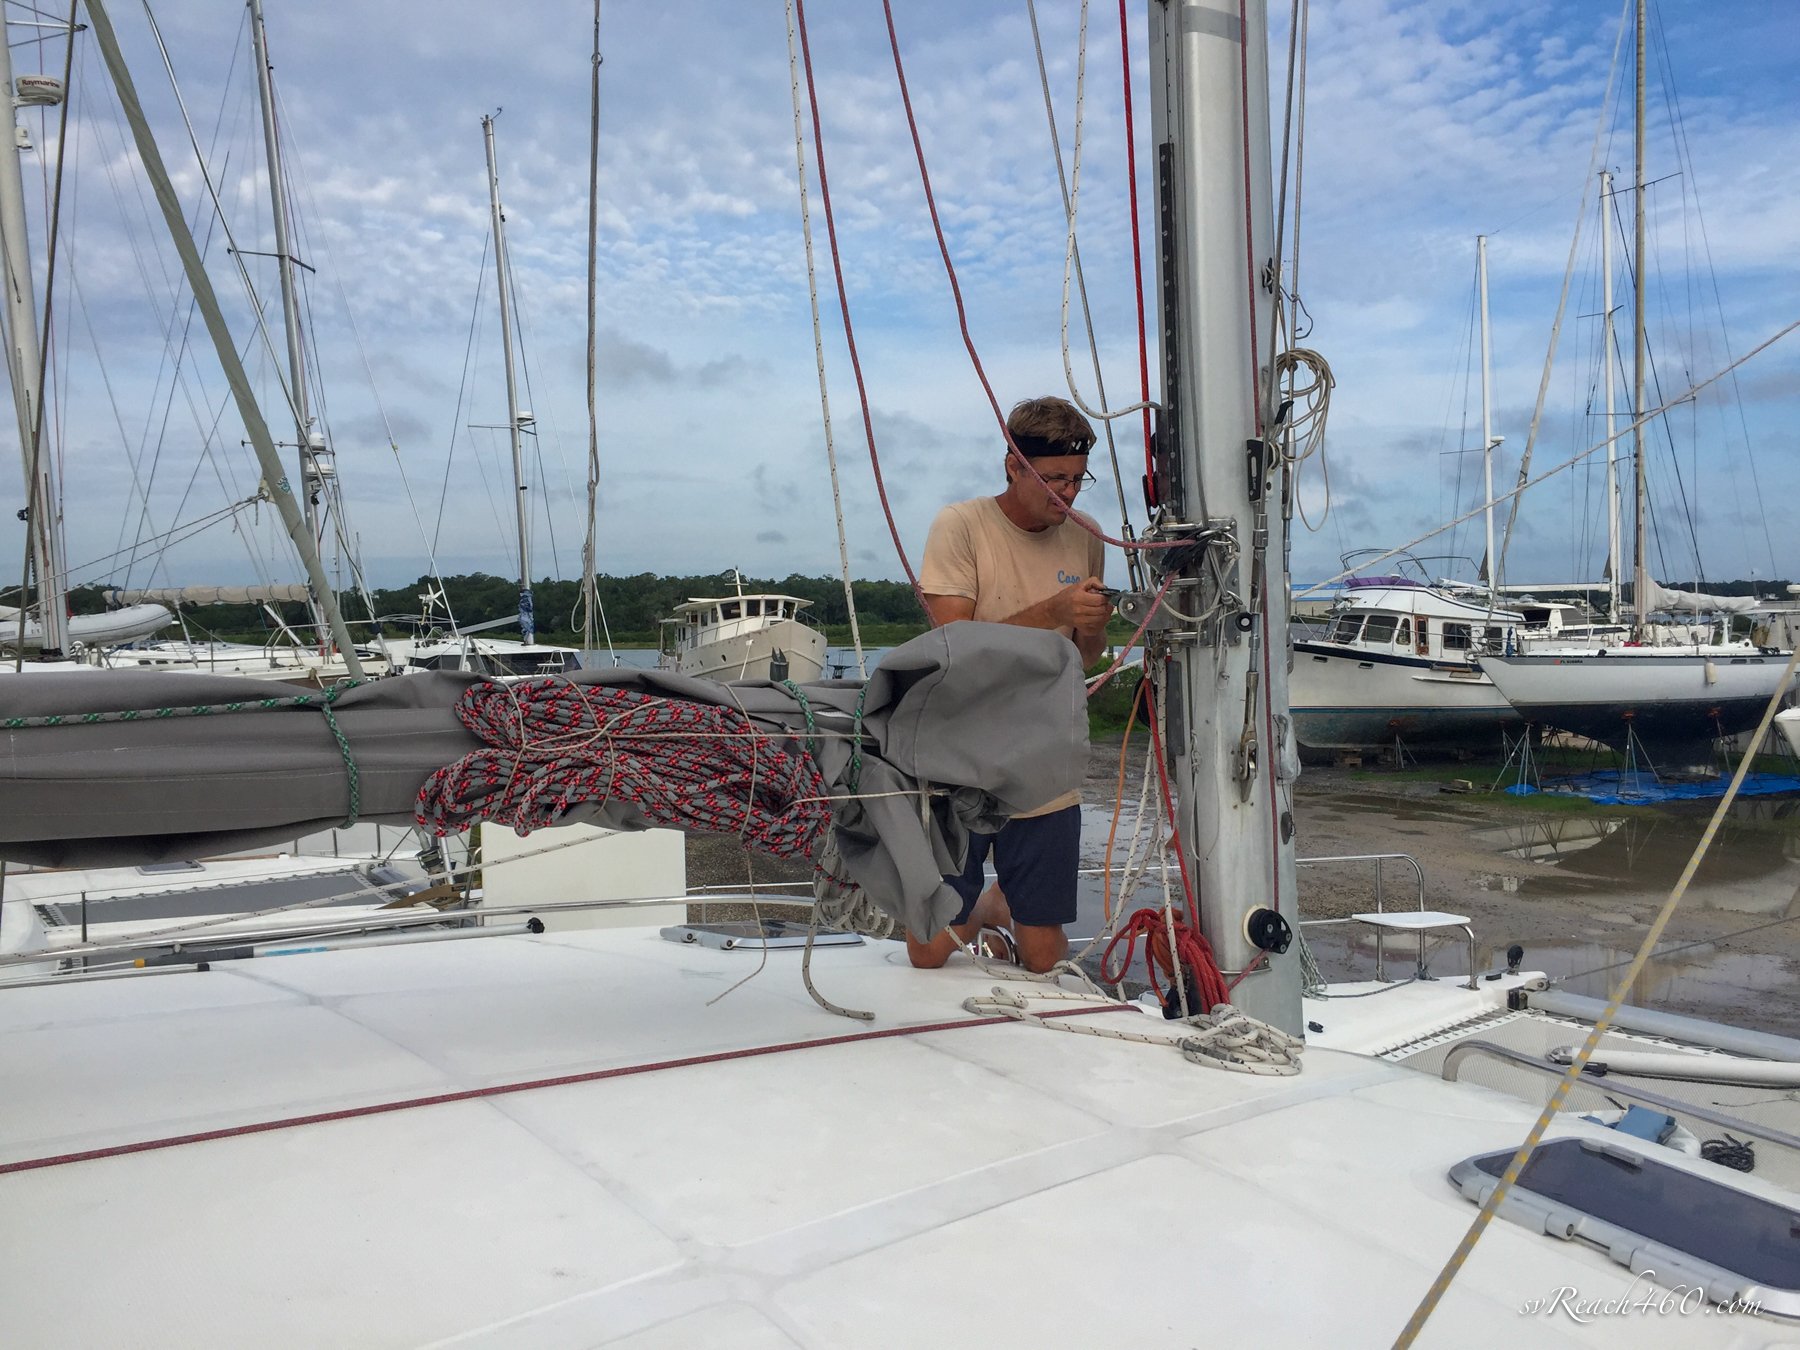
This is the first time we’ve hauled out using a trailer. The hydraulic lift was pretty impressive and overall it seems less stressful than being lifted by straps with a travel lift. The crew at the marina were also very competent, including the riggers who removed the mast (Mark did the re-rigging).
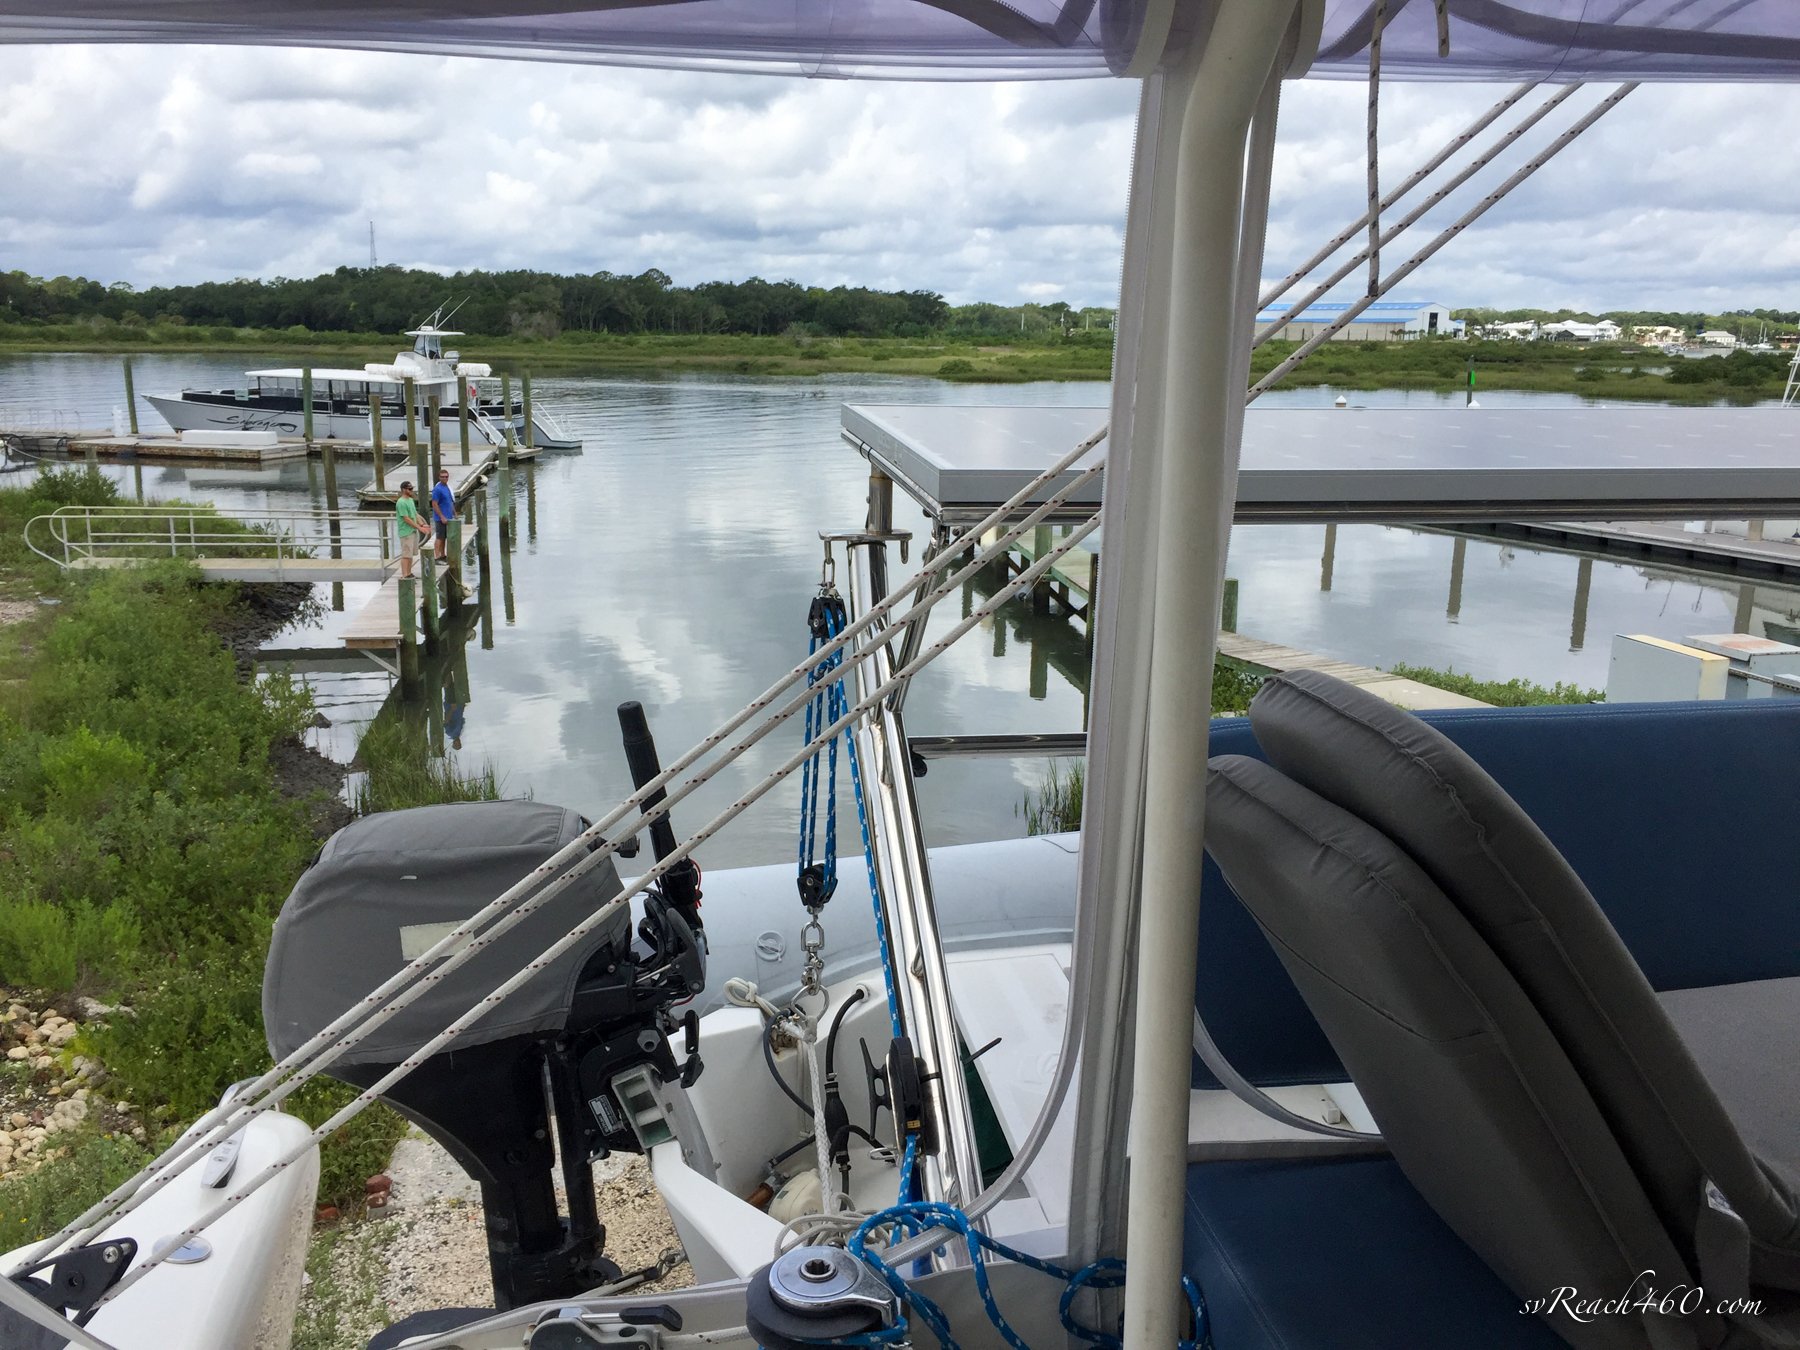
A crane is rented for the day to remove masts. Everything was well scheduled and conducted. They allow a courtesy dock stay before and after the haulout. The only trick is timing the tide and getting into the well, perpendicular to a ripping tide.
Our first pass coming in downriver from the dock was not attempted, even at “slack” tide there is quite a set. It is better to come in against the current and then make a sharp, definitive run for it!
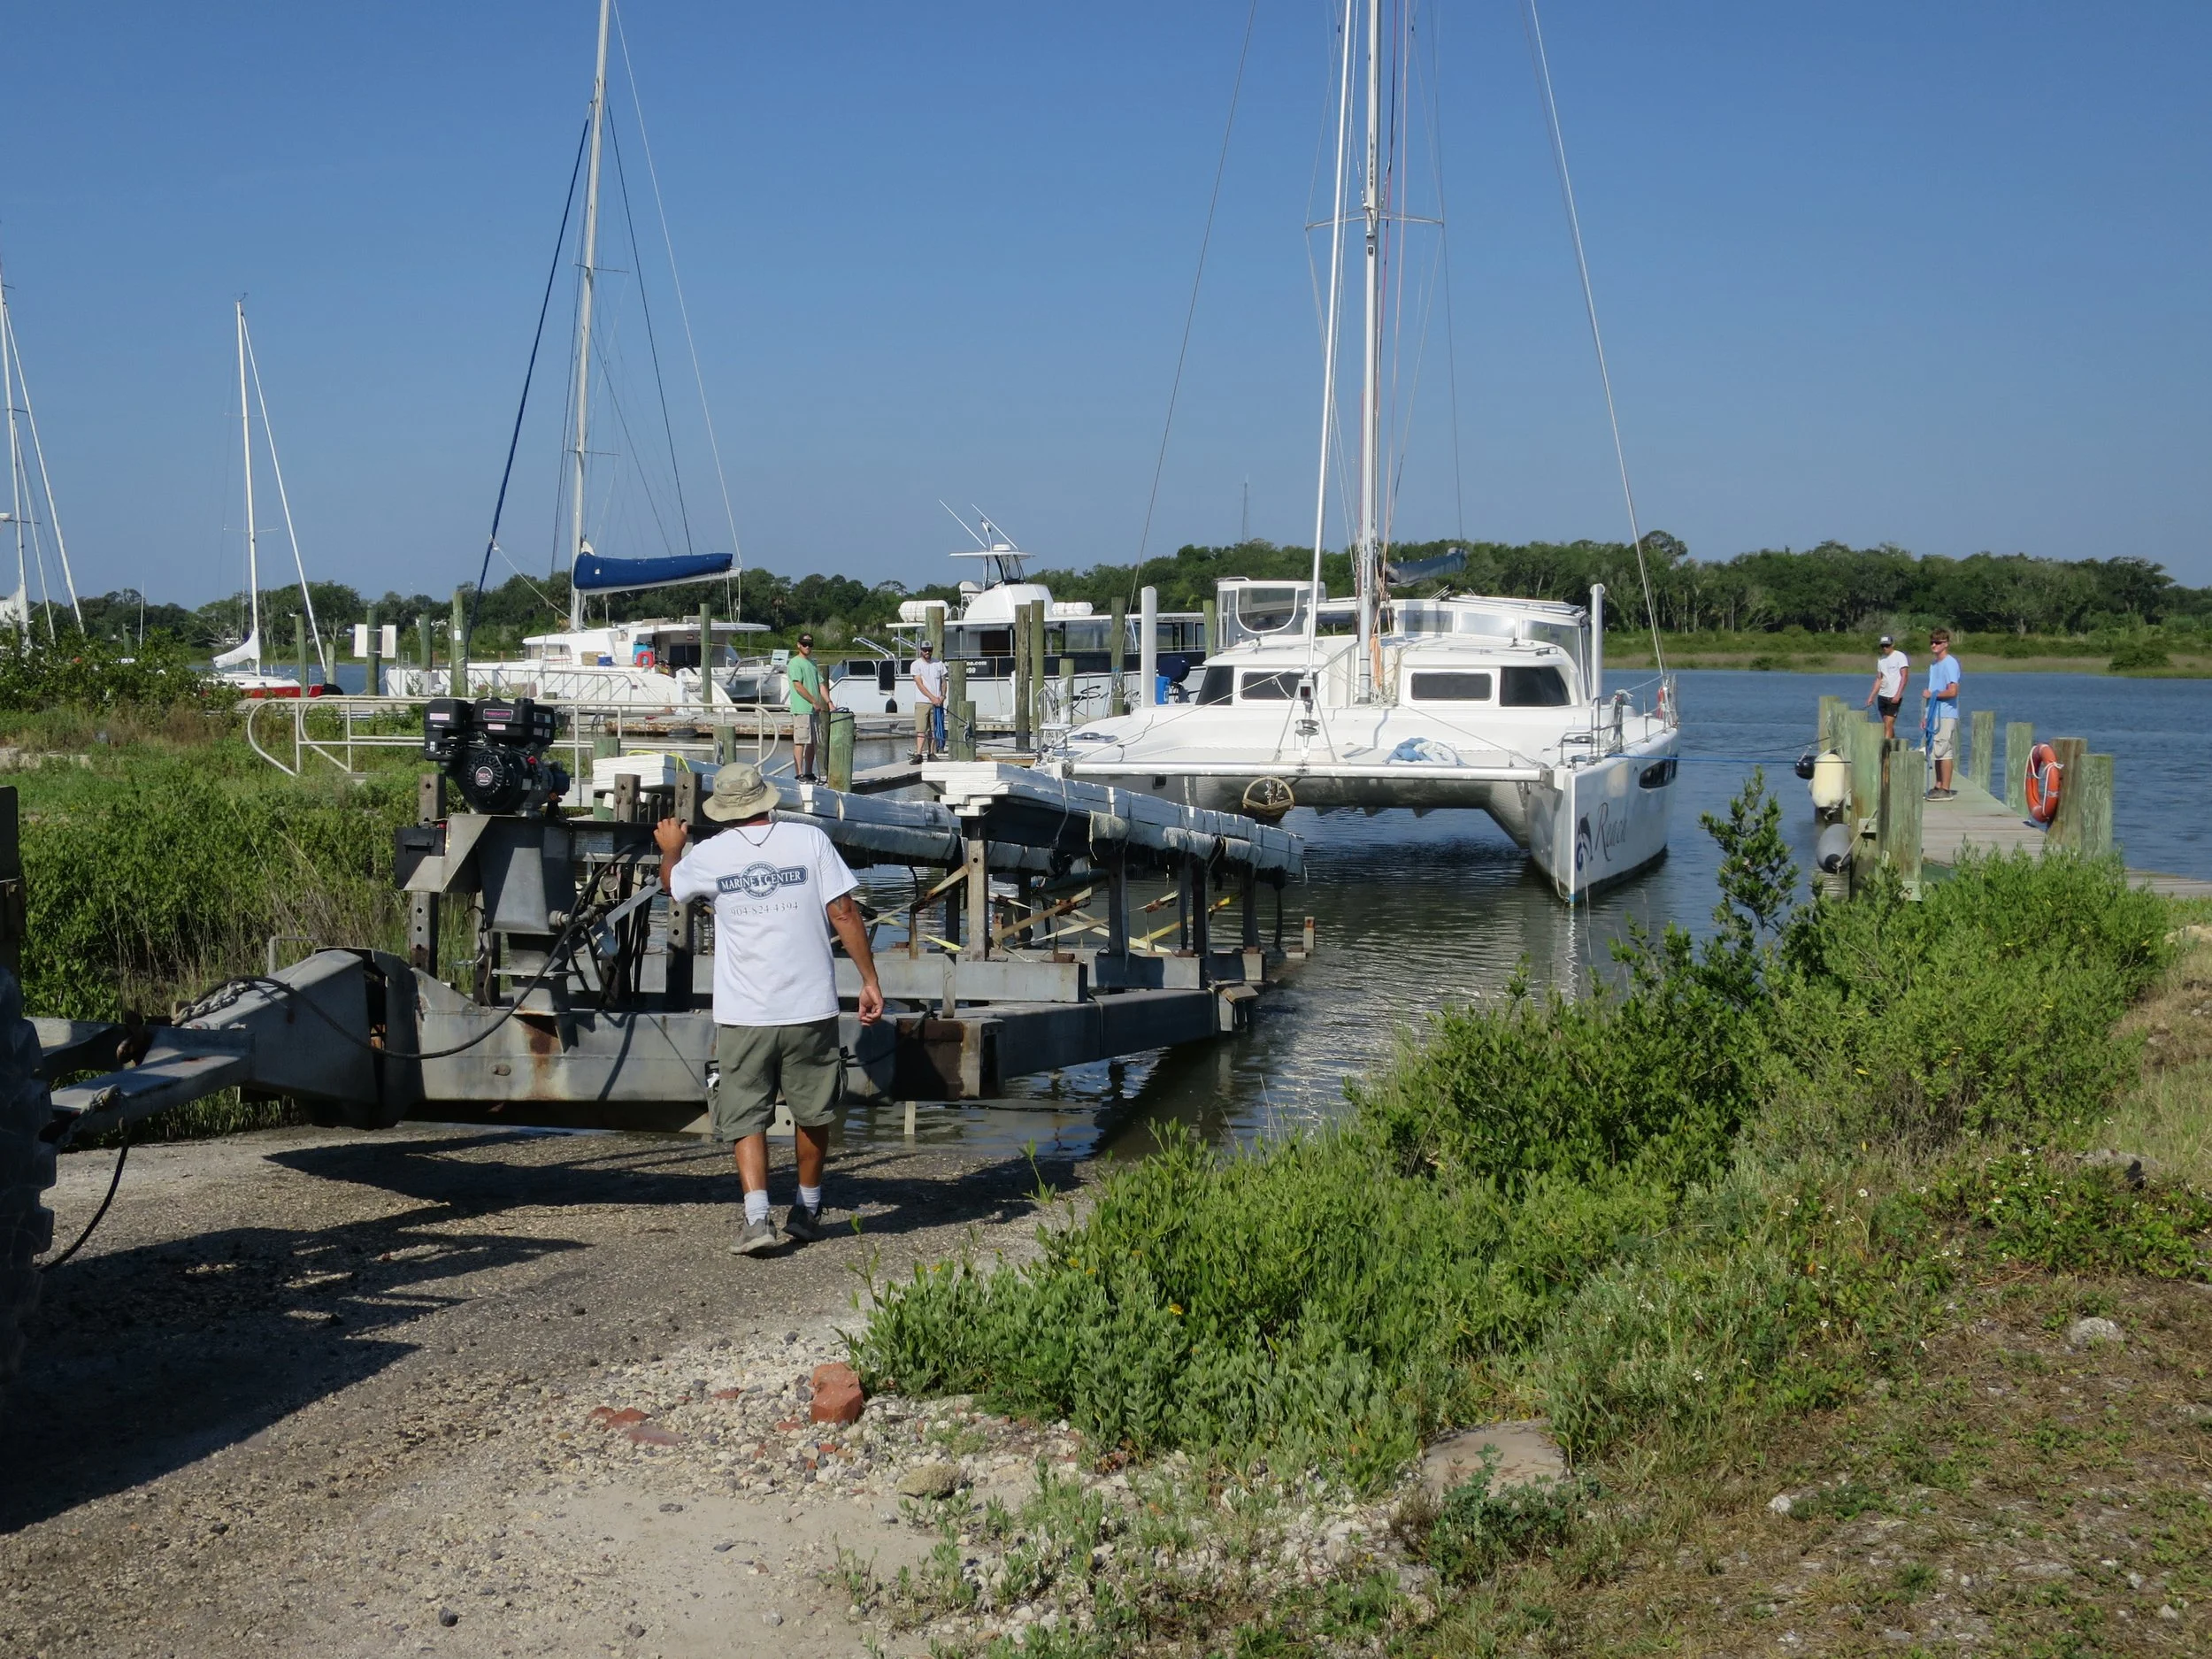


We dropped both rudders before we were blocked and taken off of the lift, the reverse to be done when going back in the water. Next, the crane was ready for removing the mast, all on schedule.


Saildrive seals & Props
The saildrive seals were in good shape and were easy to replace. In addition, Mark made some fiberglass farings to replace the crappy rubber version that never stay on the saildrives.


Thru Hulls & Plumbing
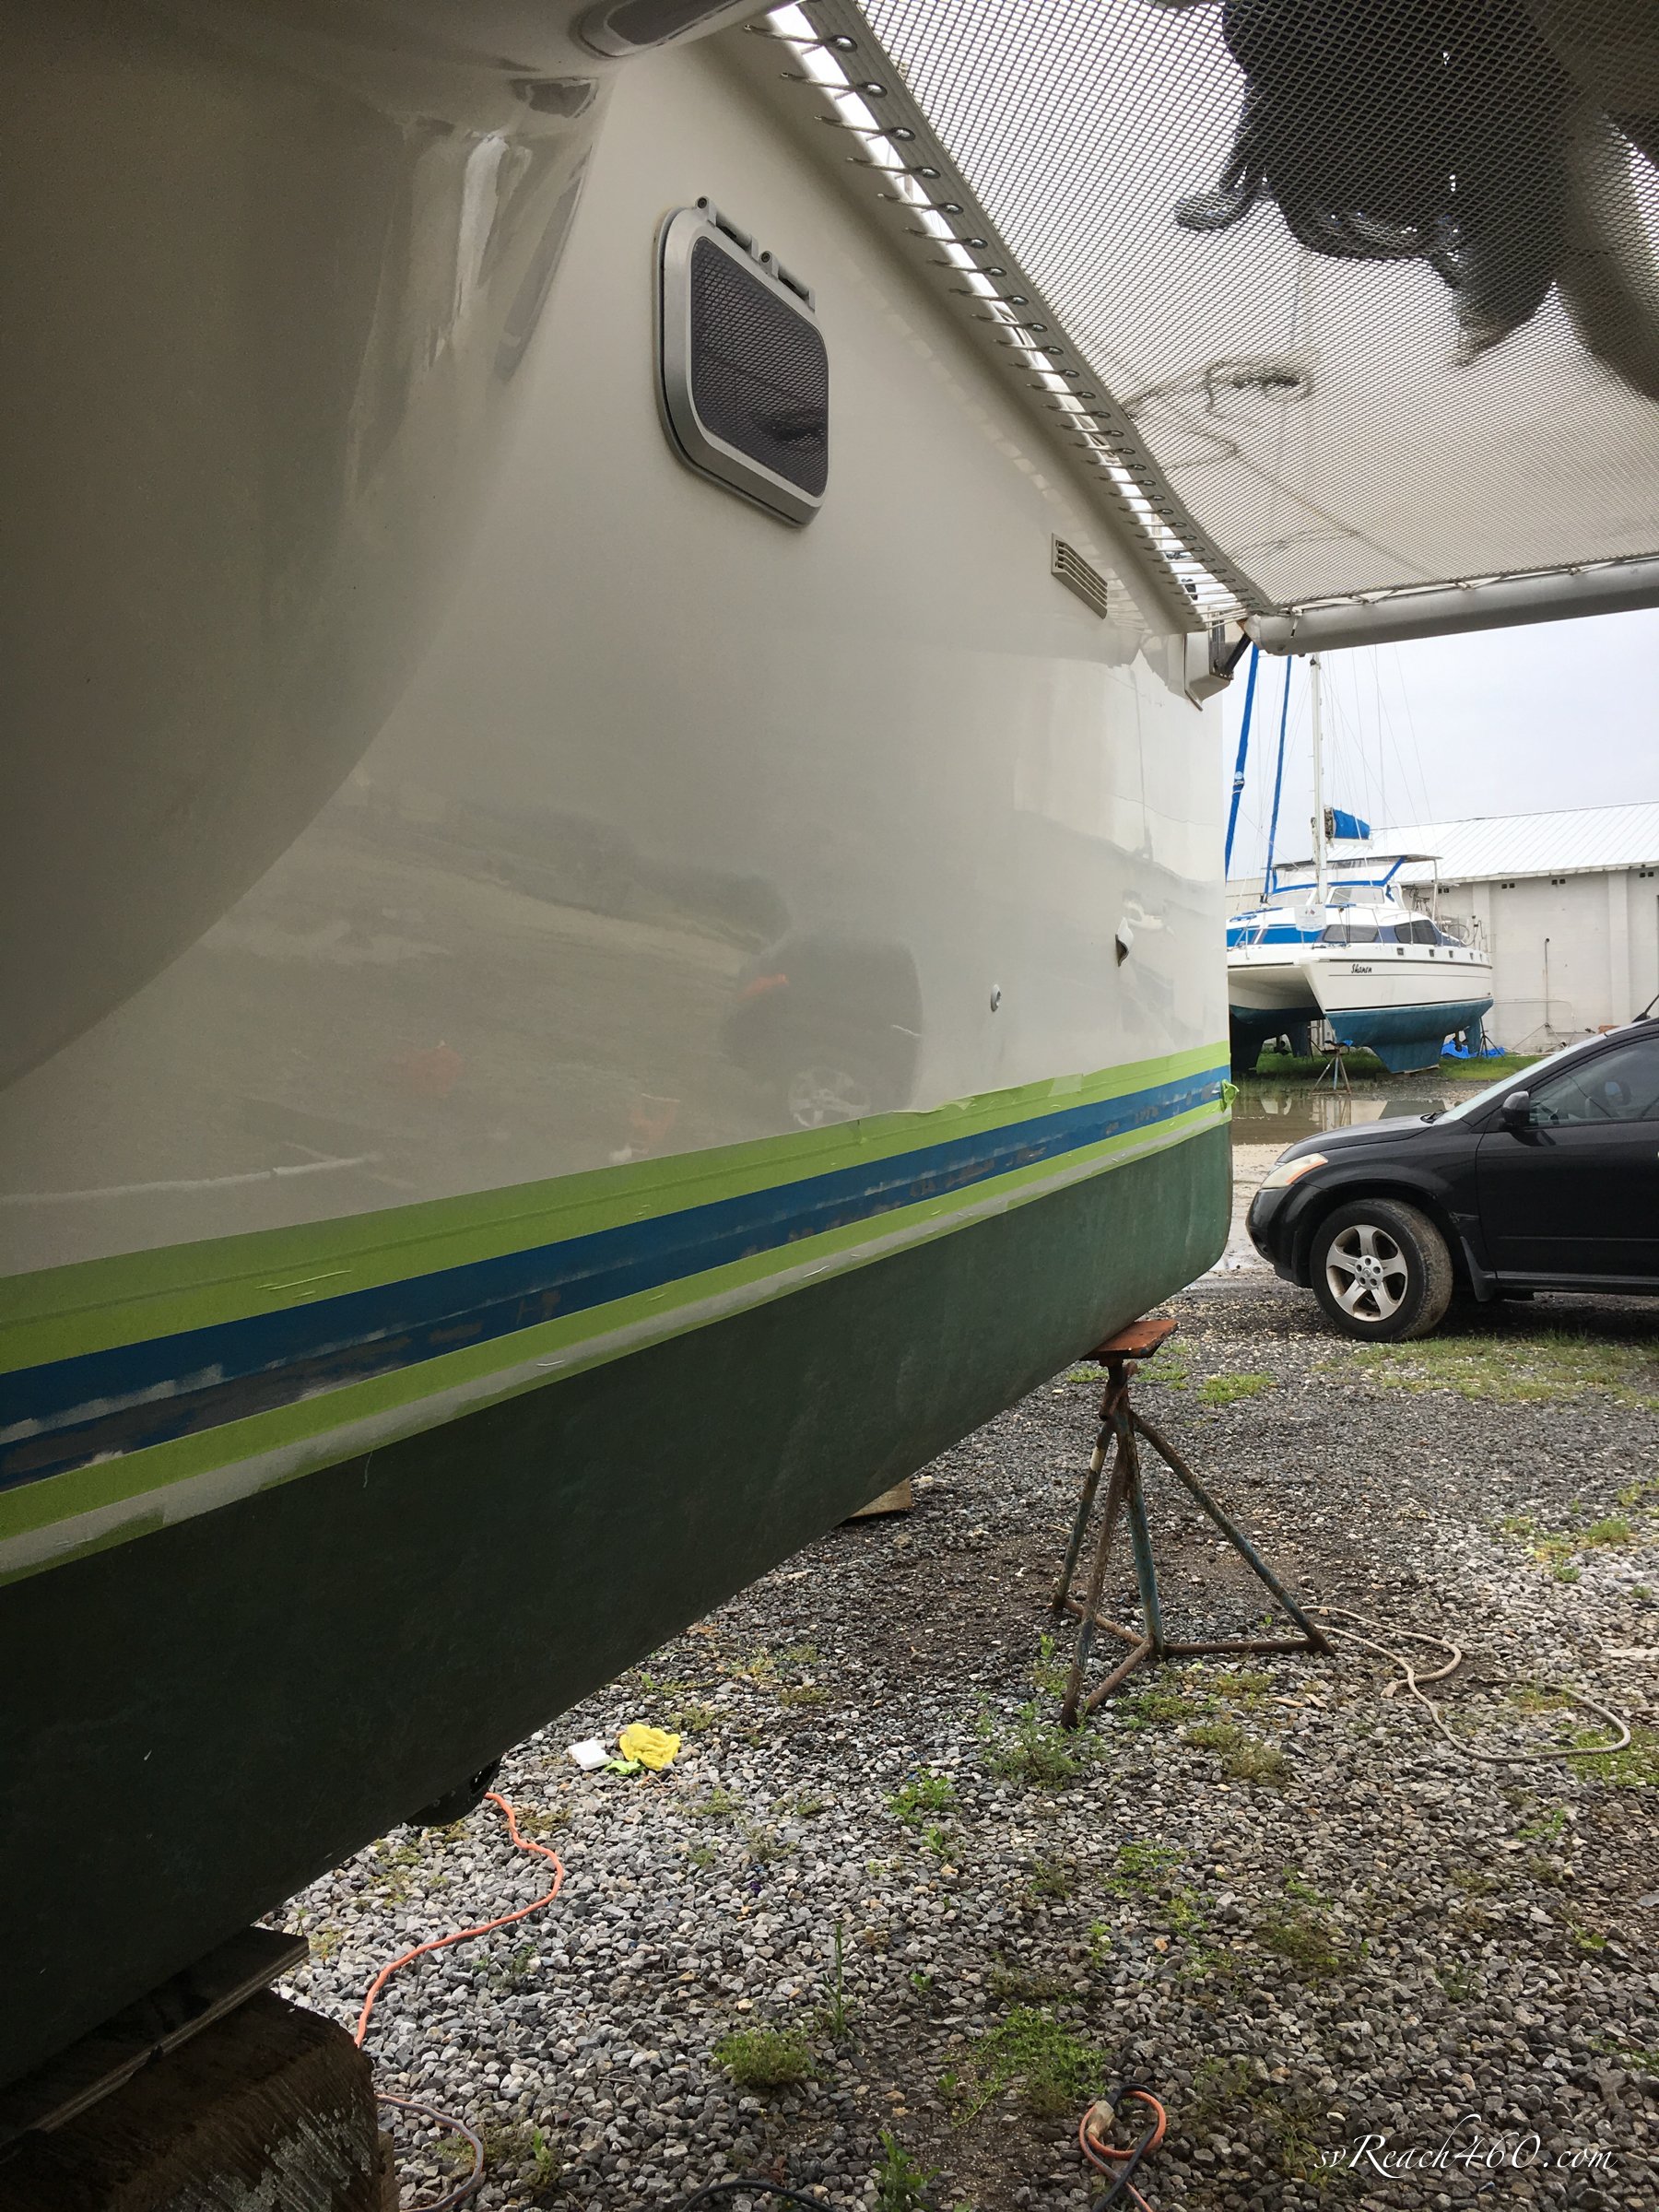
Mark removed and replaced all of the thru hulls with marlon versions (10 total). None of the original installations were very great. Several, like the air conditioner intakes, were through thin glass, so those were reinforced with fiberglass. At least one thru hull was badly mis-threaded.


Now that we changed to fresh water flush toilets, one head intake thru hull was removed and glassed over altogether. The other head intake was repurposed for a second depth transducer so that we’d have one in each hull.


While working in the bilges, the head runs to the holding tanks were all replaced with PVC wherever possible.
Our speed transducer was moved forward to another location with the former one capped. This one was located behind the daggerboard and didn’t read accurately when the board was down.


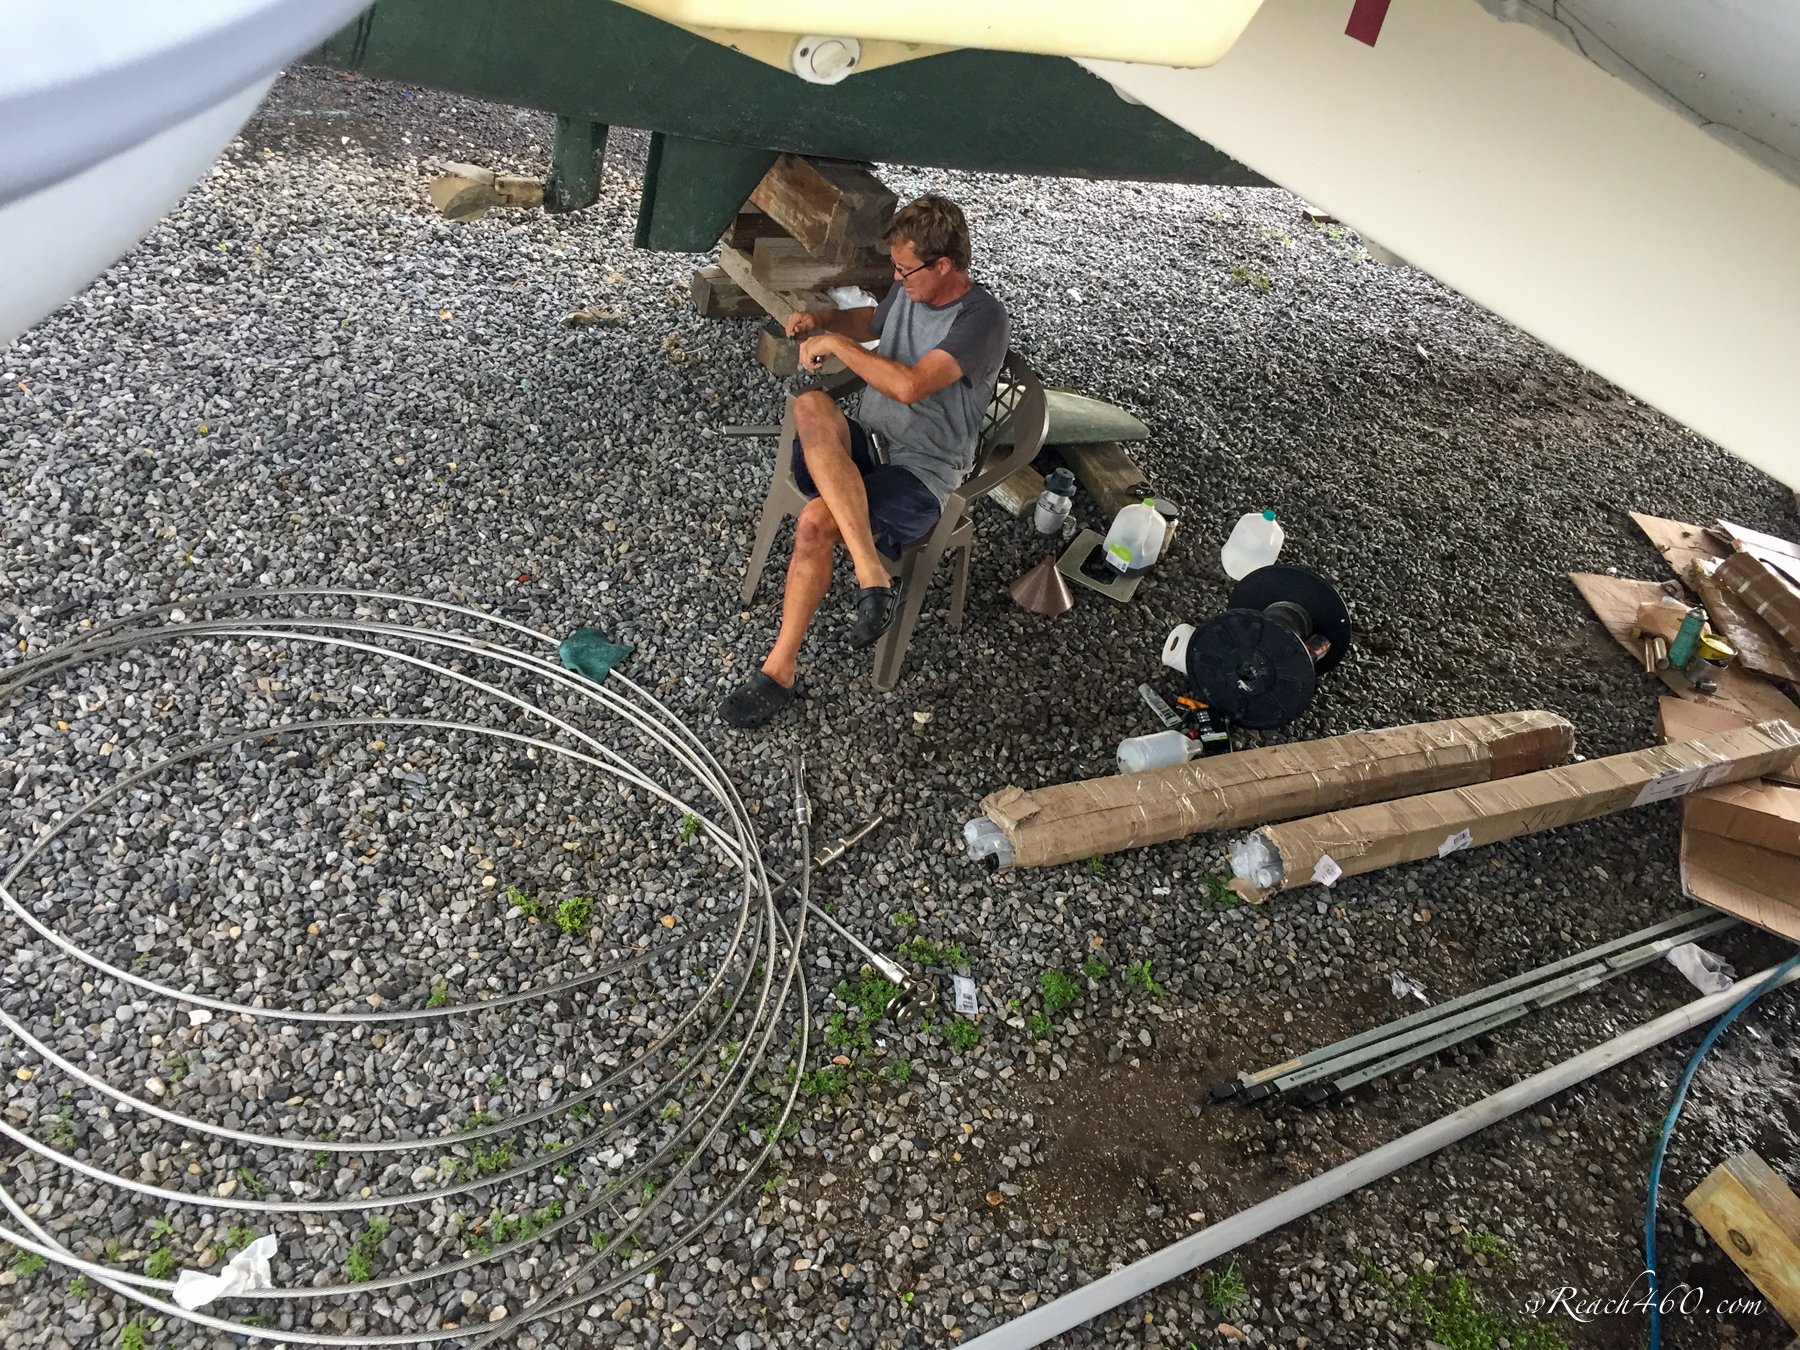
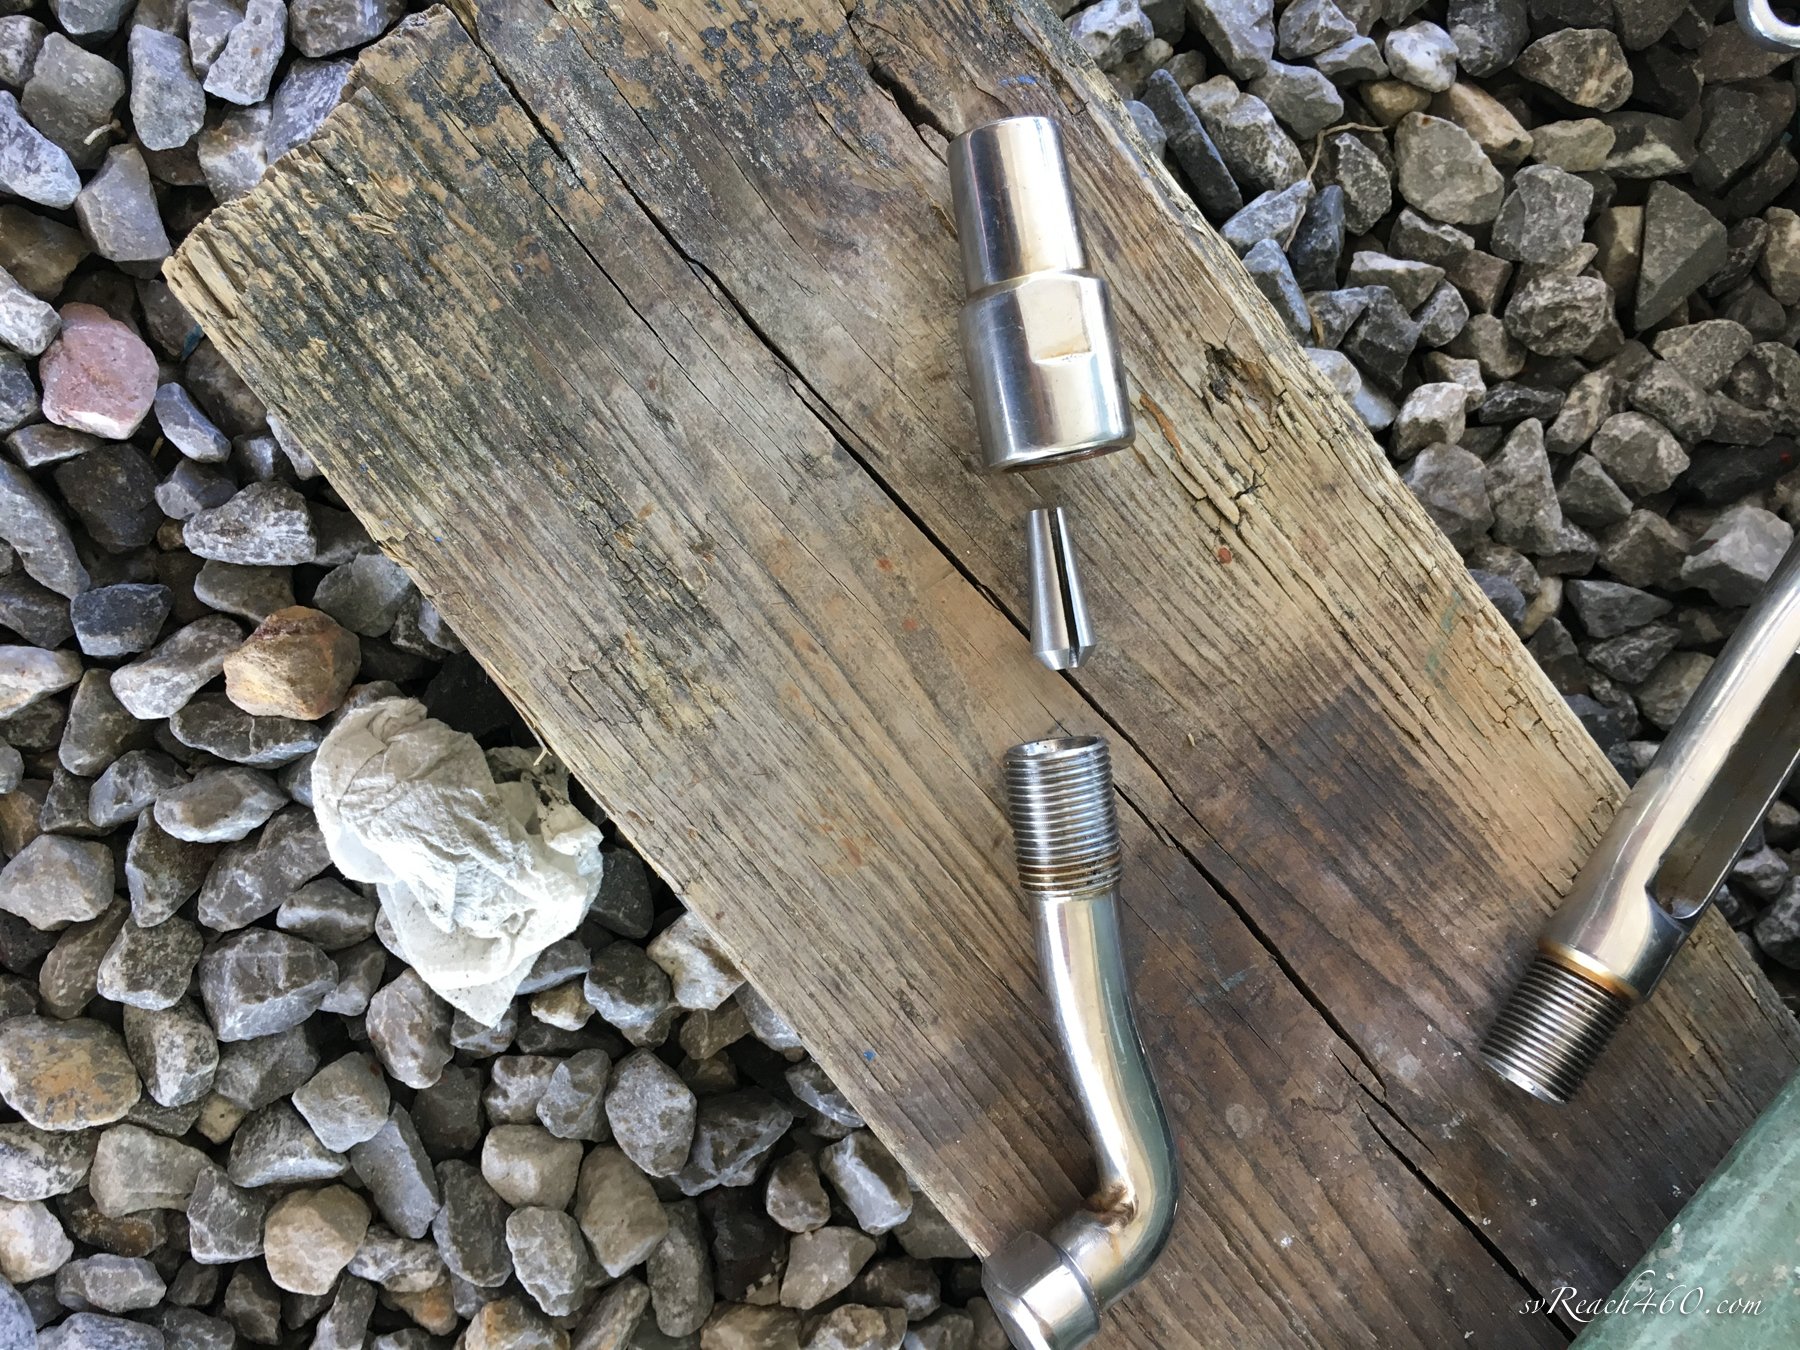
Standing rigging
This was one of the main reasons for our haulout. This rigging was original (2005), so 16 years old. Usually, we would preemptively replace wire rigging every 10 years. However, we had a thorough rigging inspection in Antigua during the purchase as well as our own inspection, that was good enough to make us comfortable with waiting to replace once in the States.
This rig is different than most other Dolphin catamarans with a double spreader rig. Hence, there are no lower shrouds and the upper shrouds are larger. The mast is aluminum (as opposed to carbon).
We ordered new wire from Rigging Only and had it delivered to my parents’ house in Maryland. (This was trip #1 of 3 driving FL to MD up and back for the summer).
The wiring sizes are:
Shrouds - 14mm (9/16”)
Forebeam dolphin striker - 14mm
Forestay - 12mm
Diamond stays - 10 mm
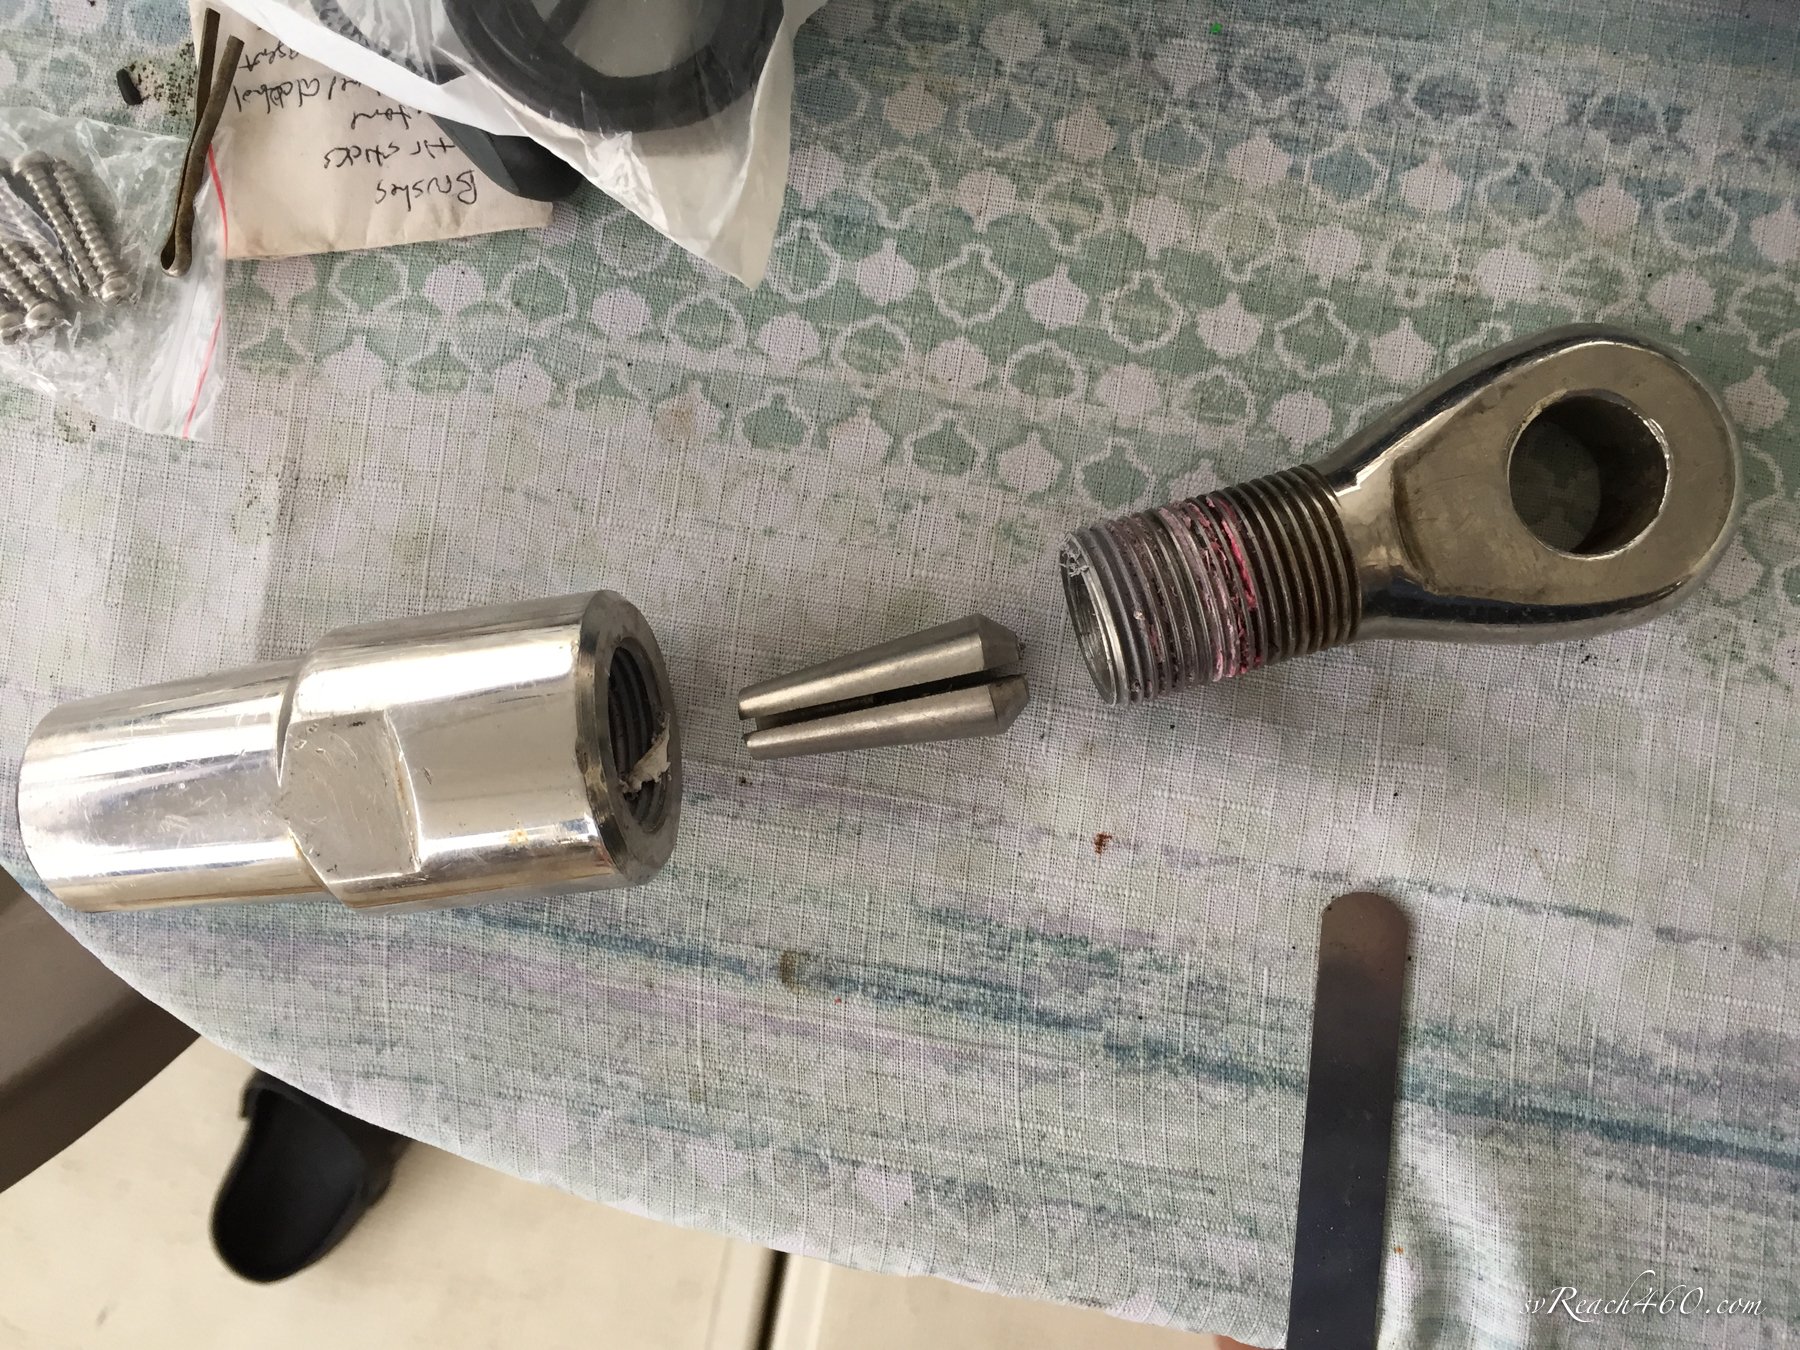
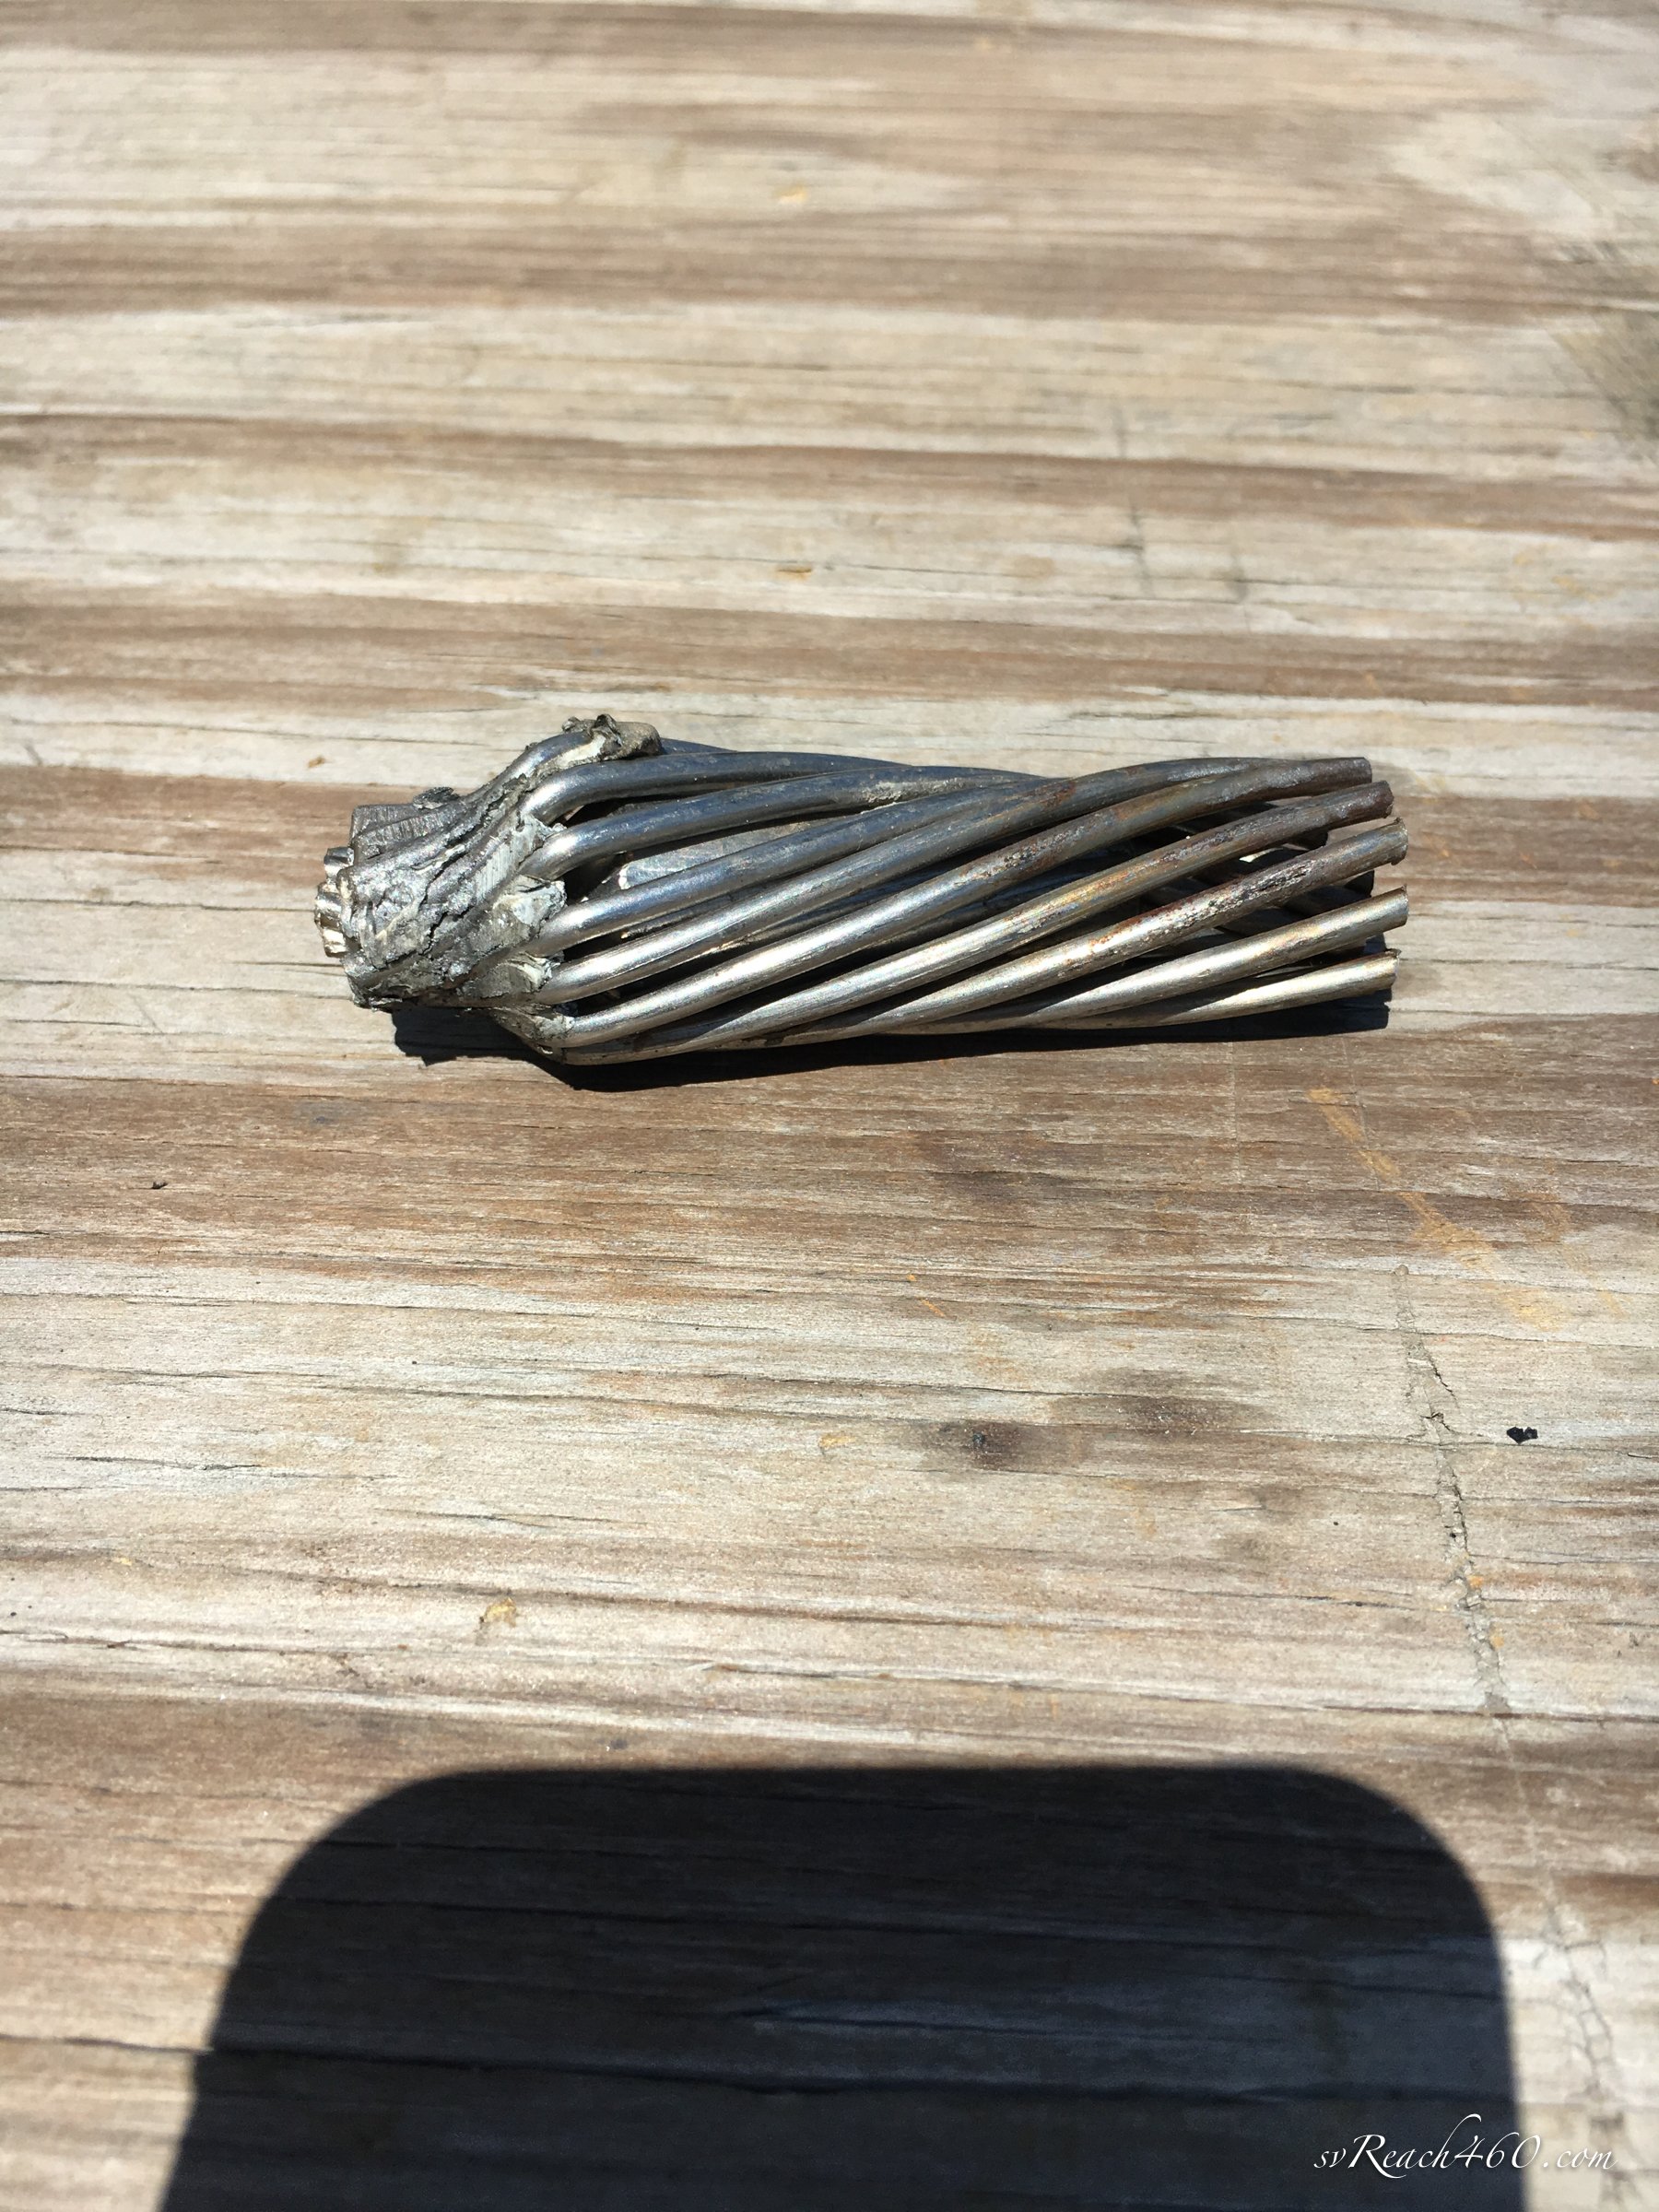
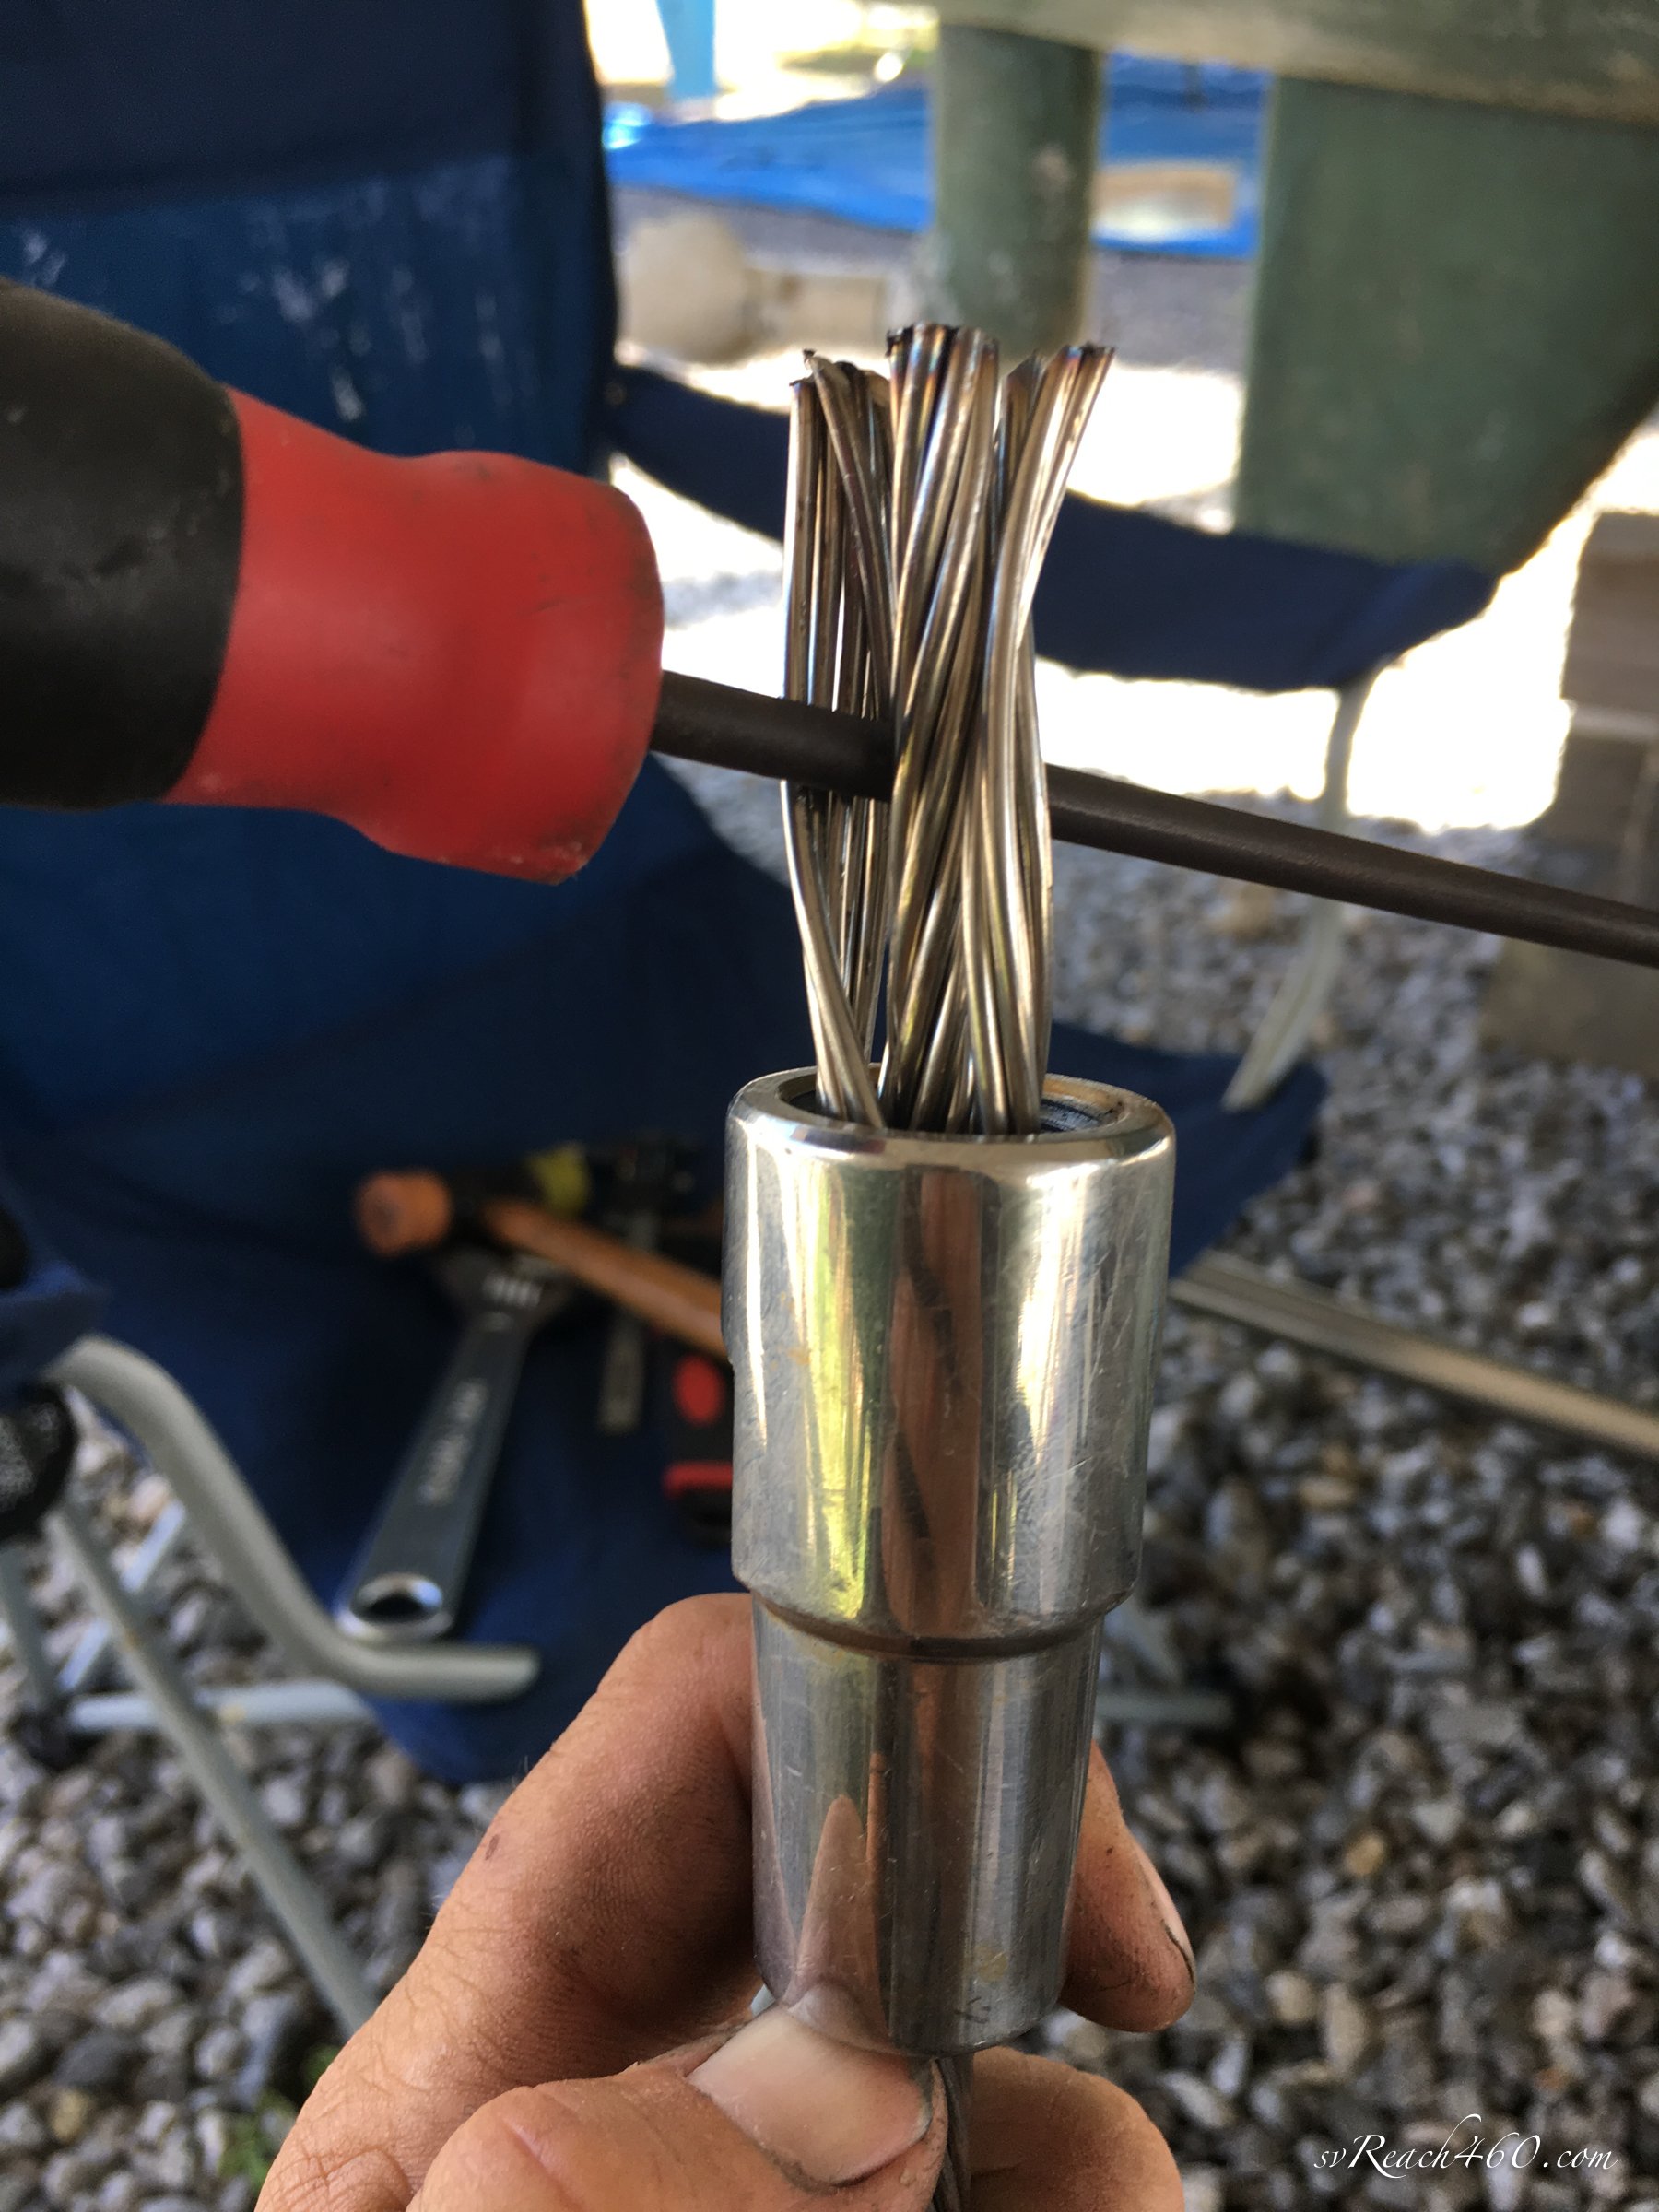
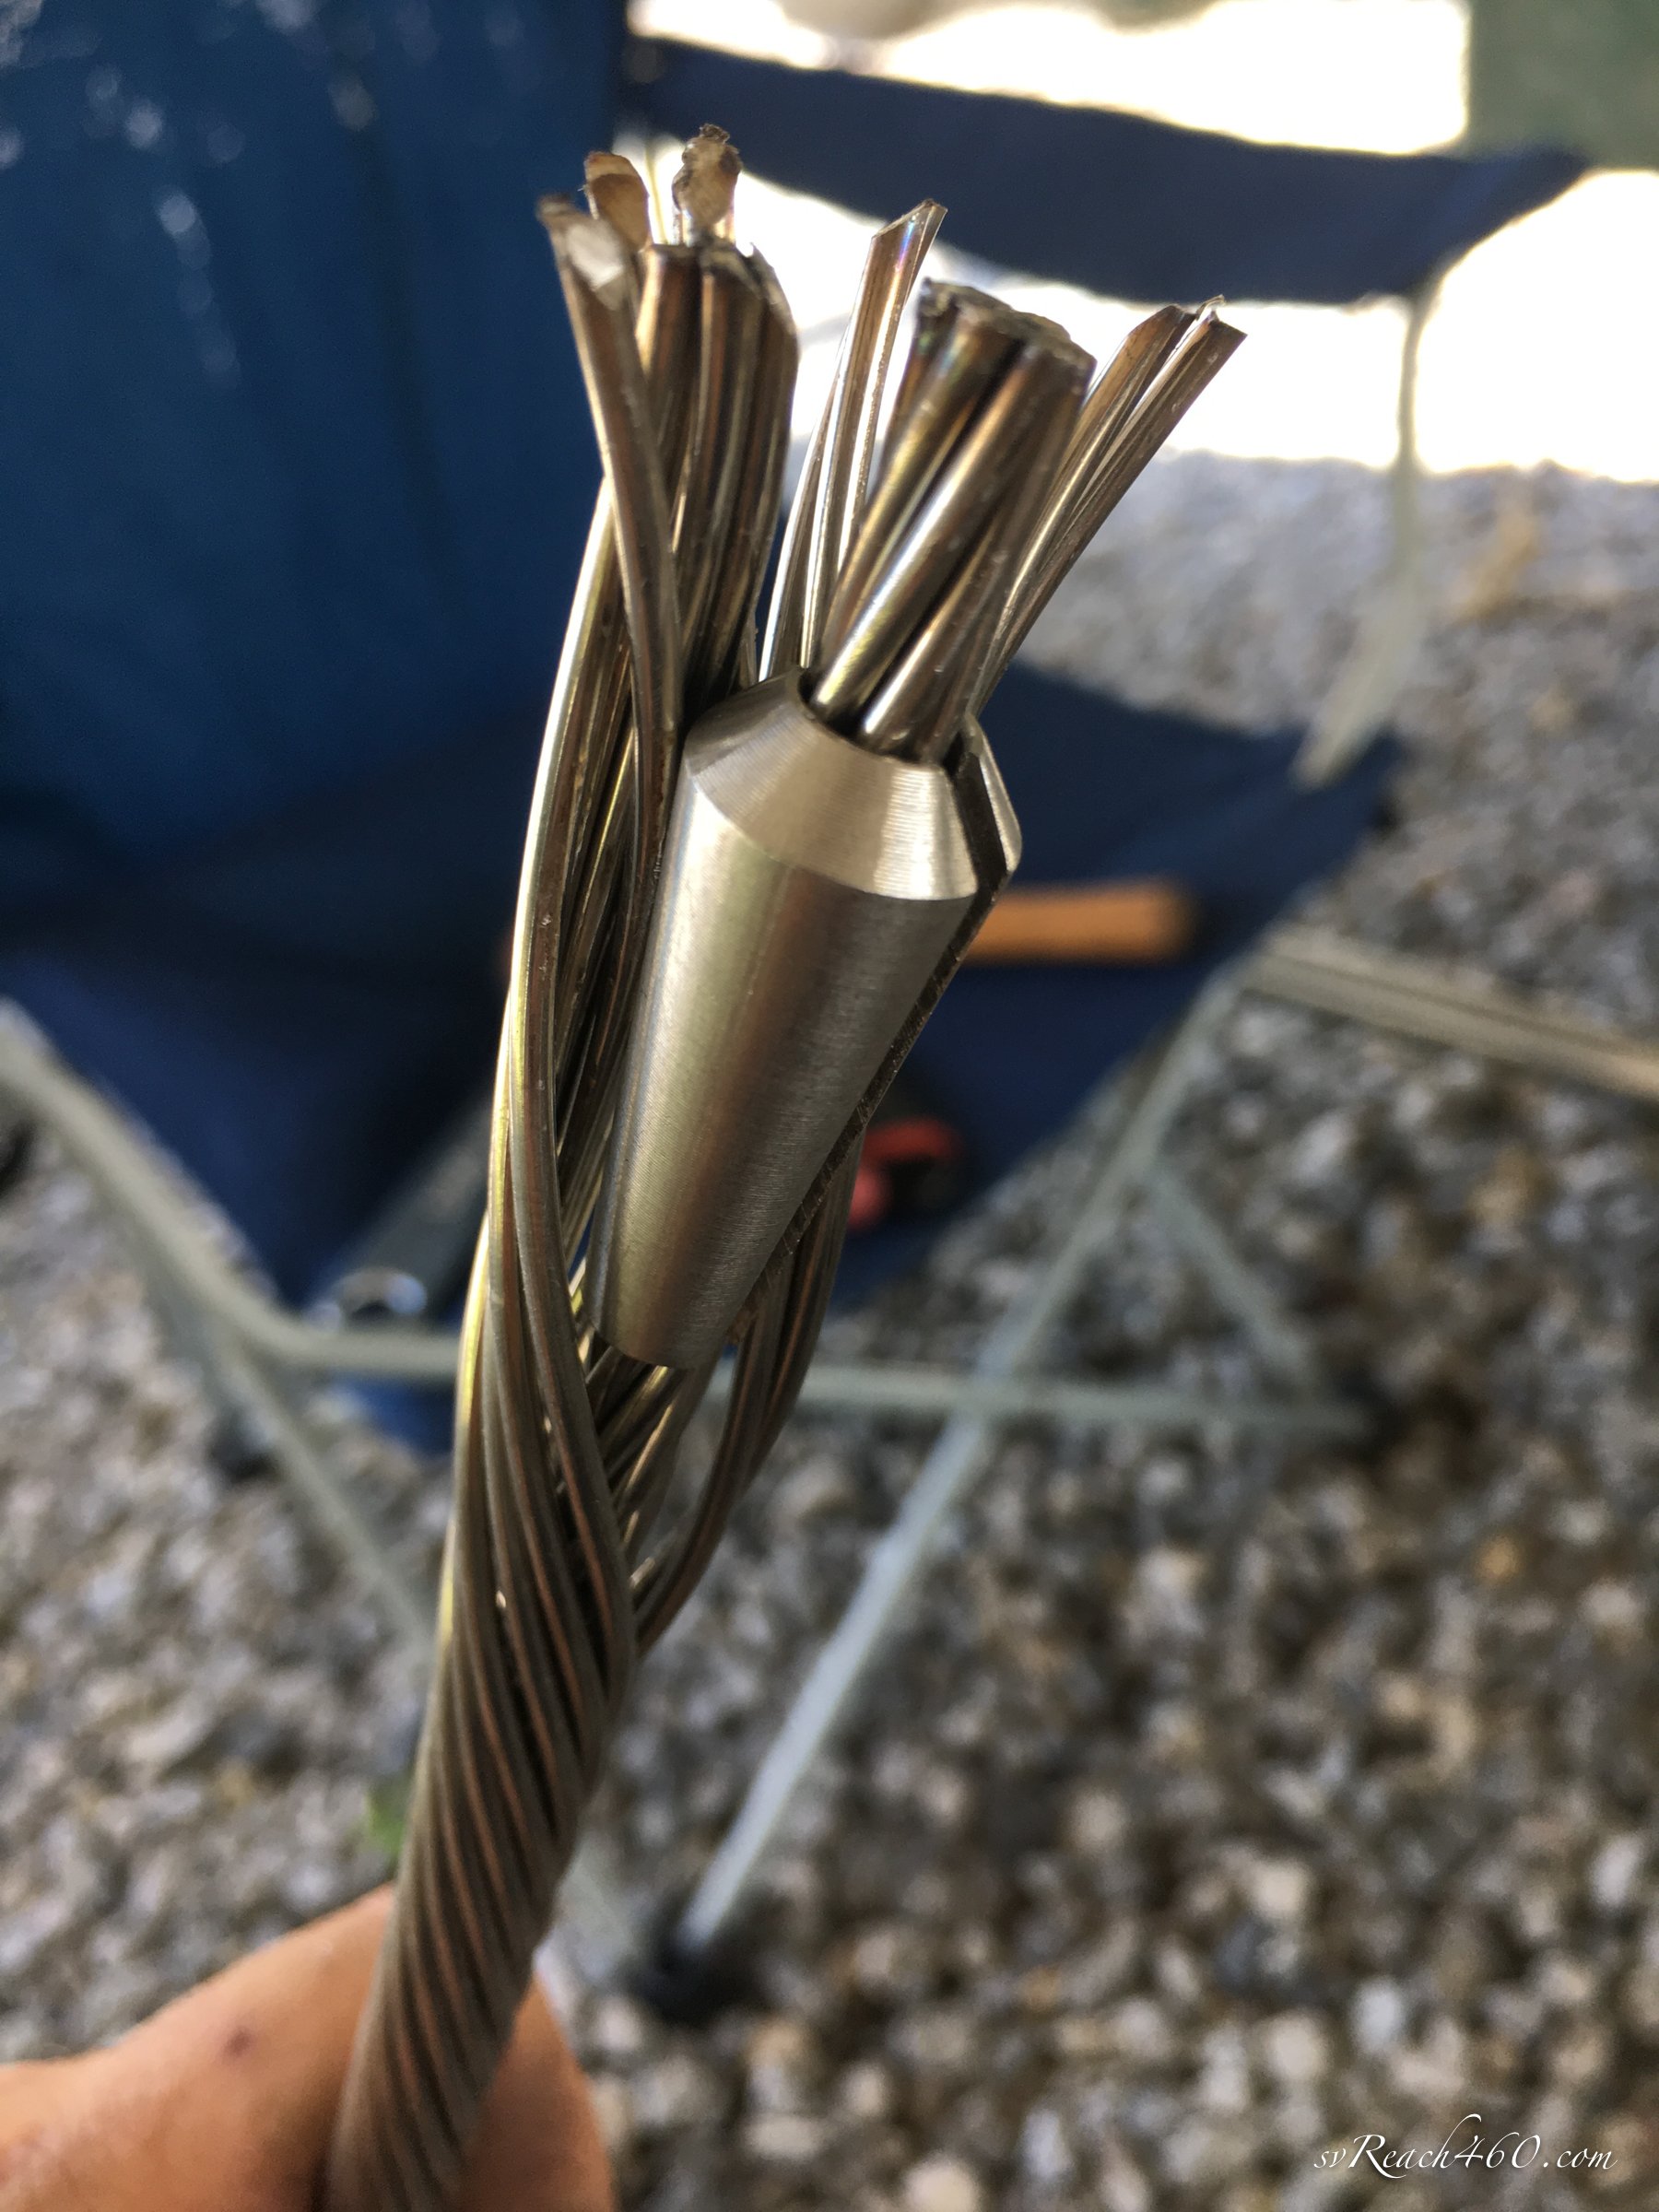
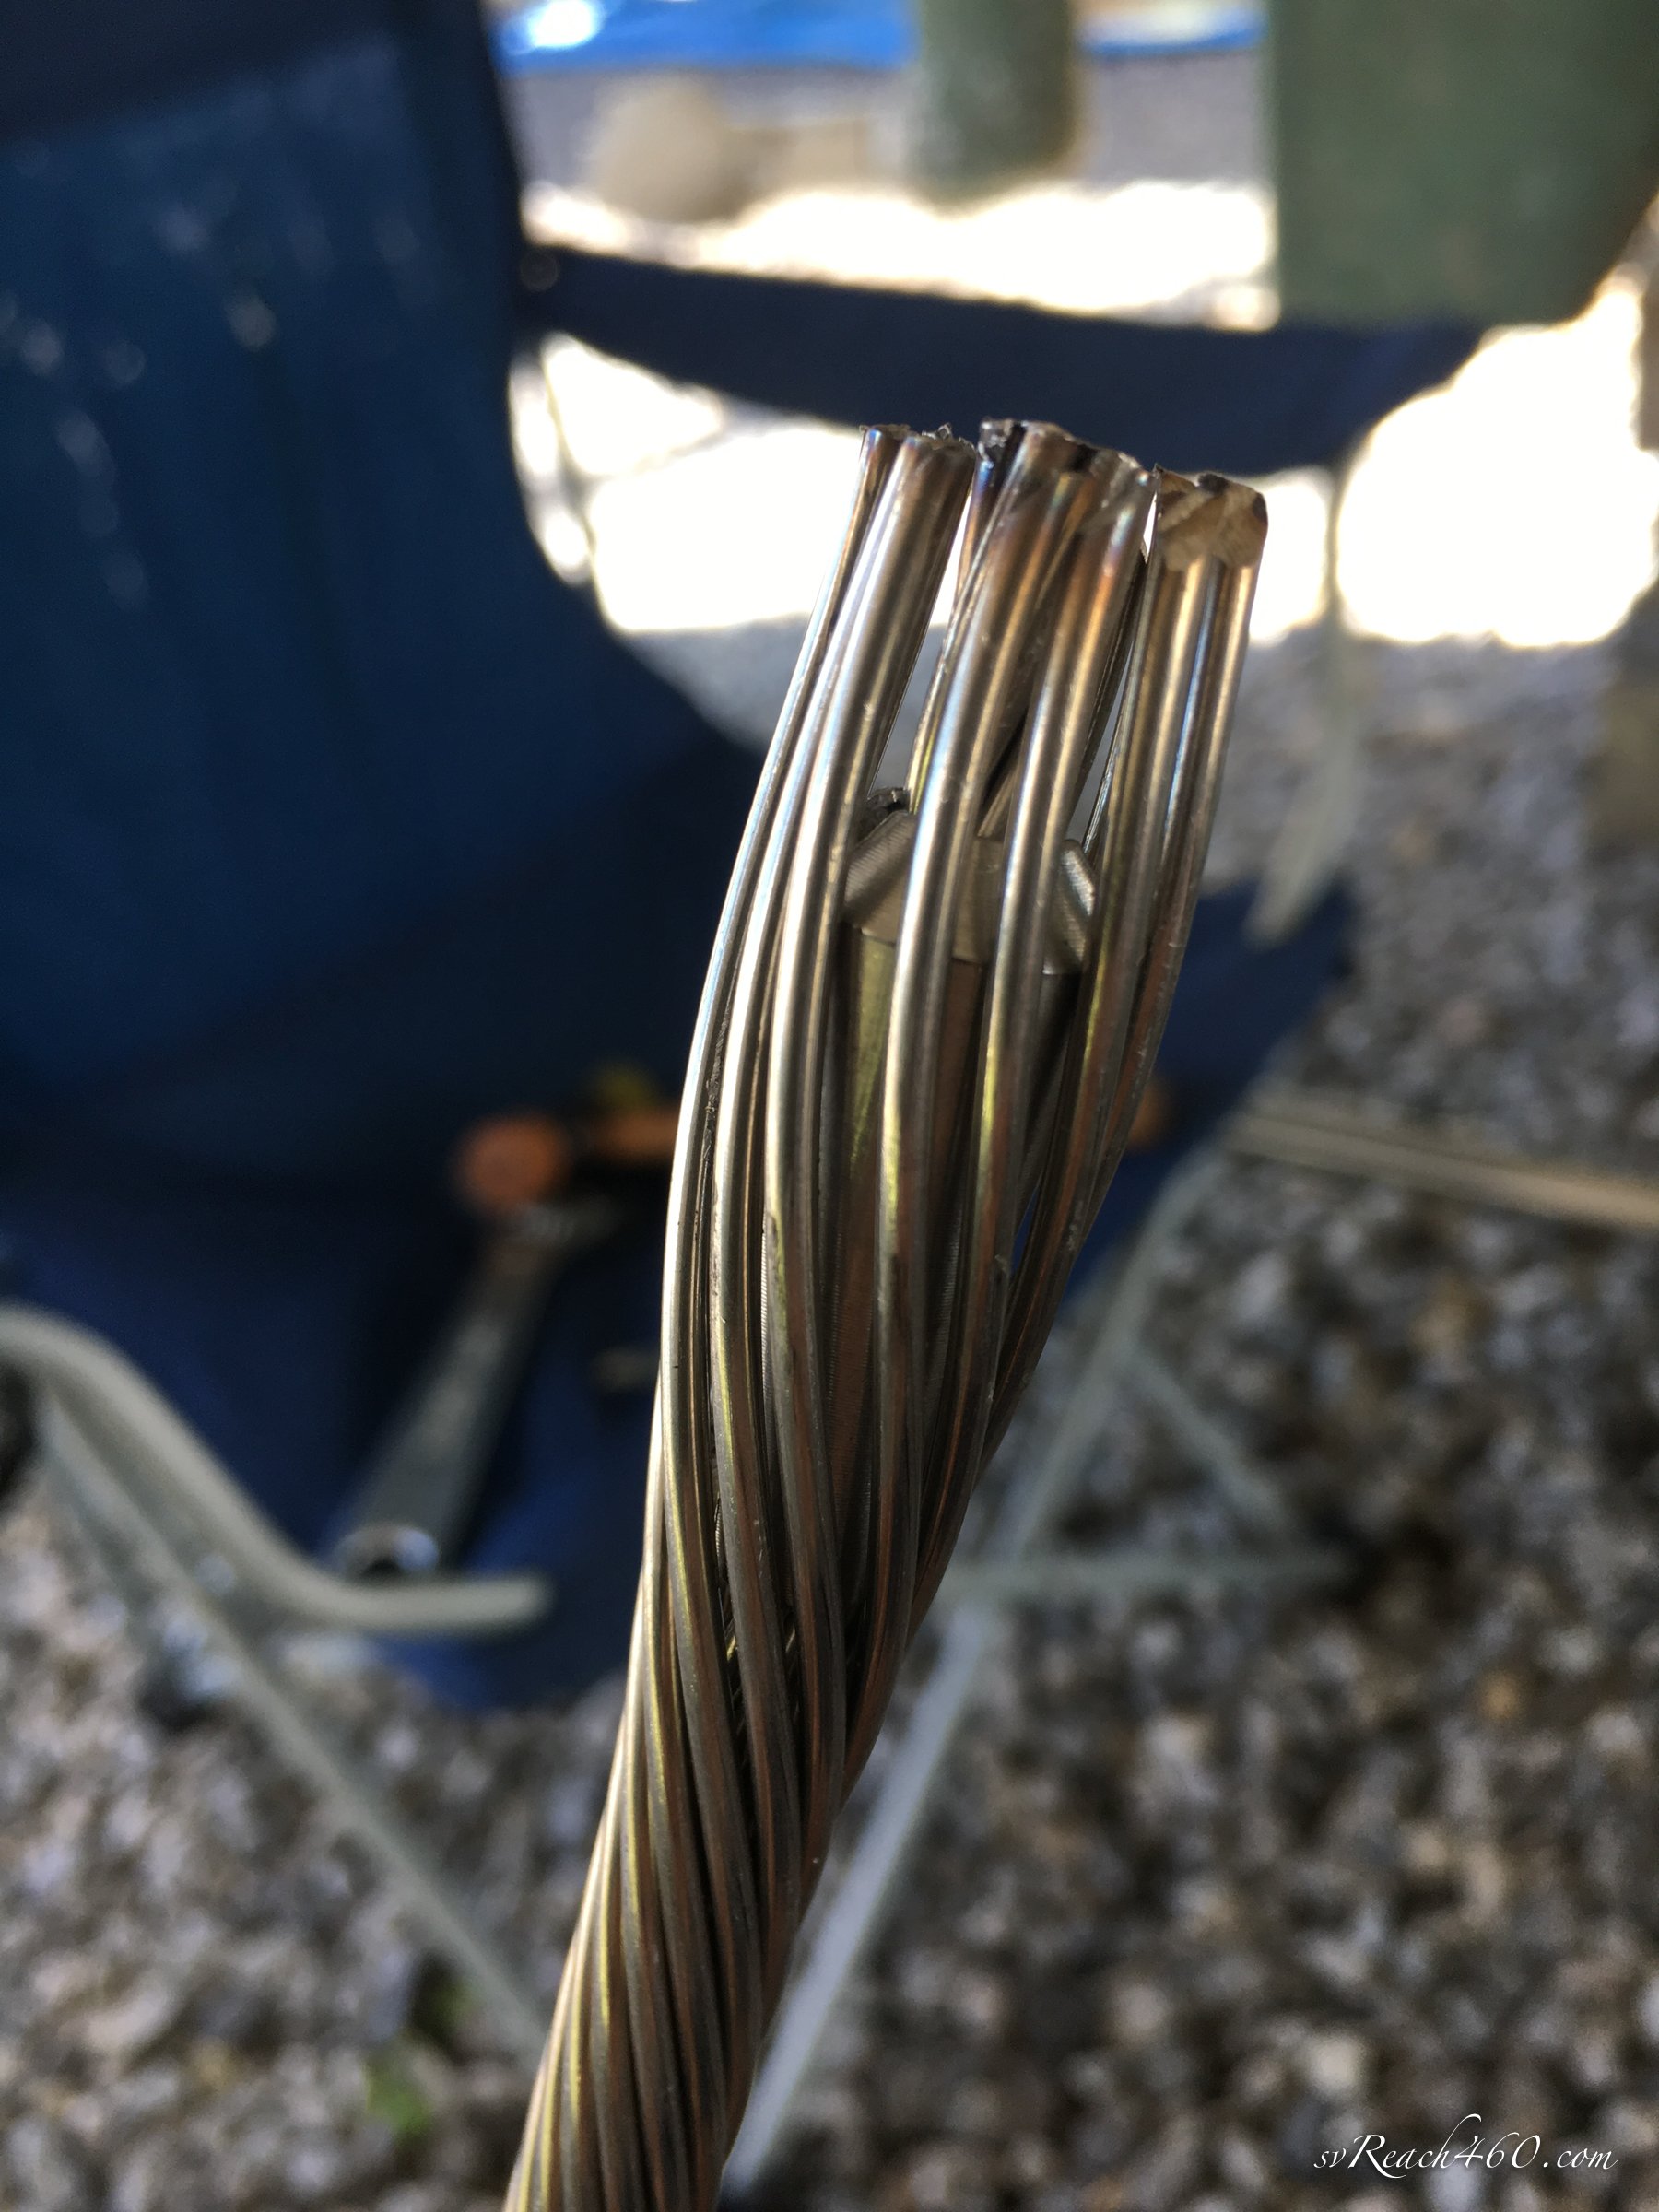
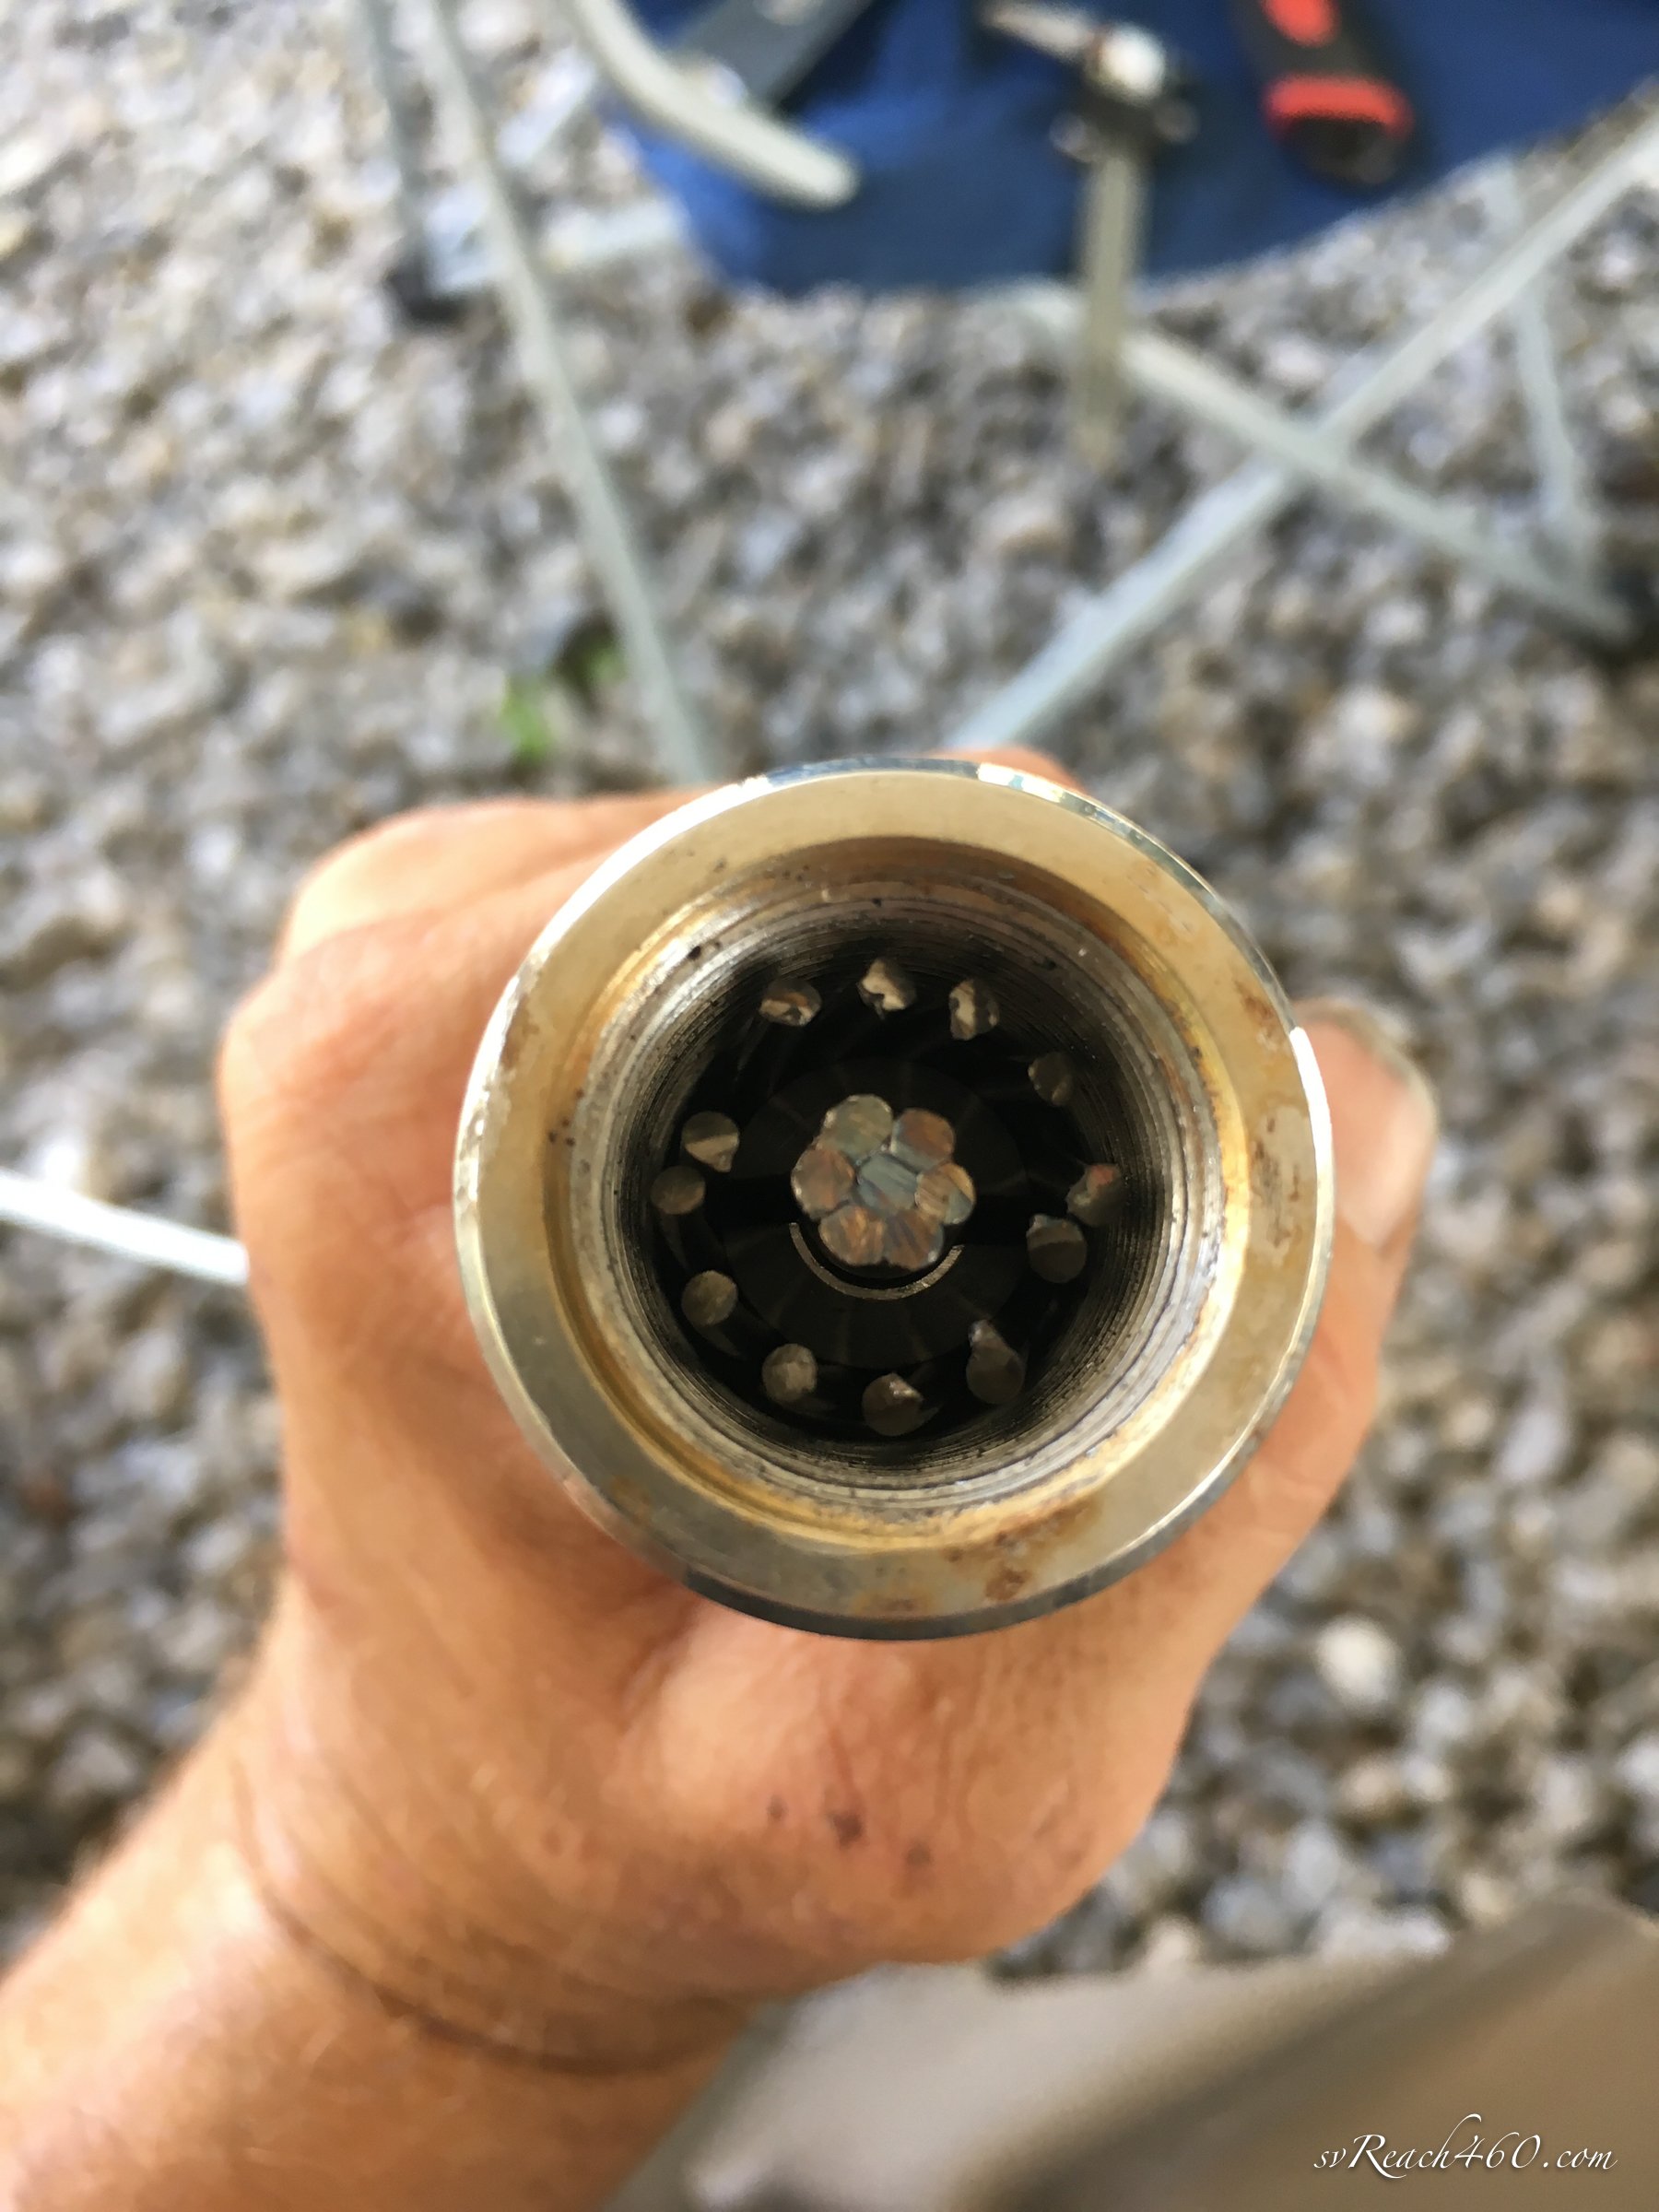
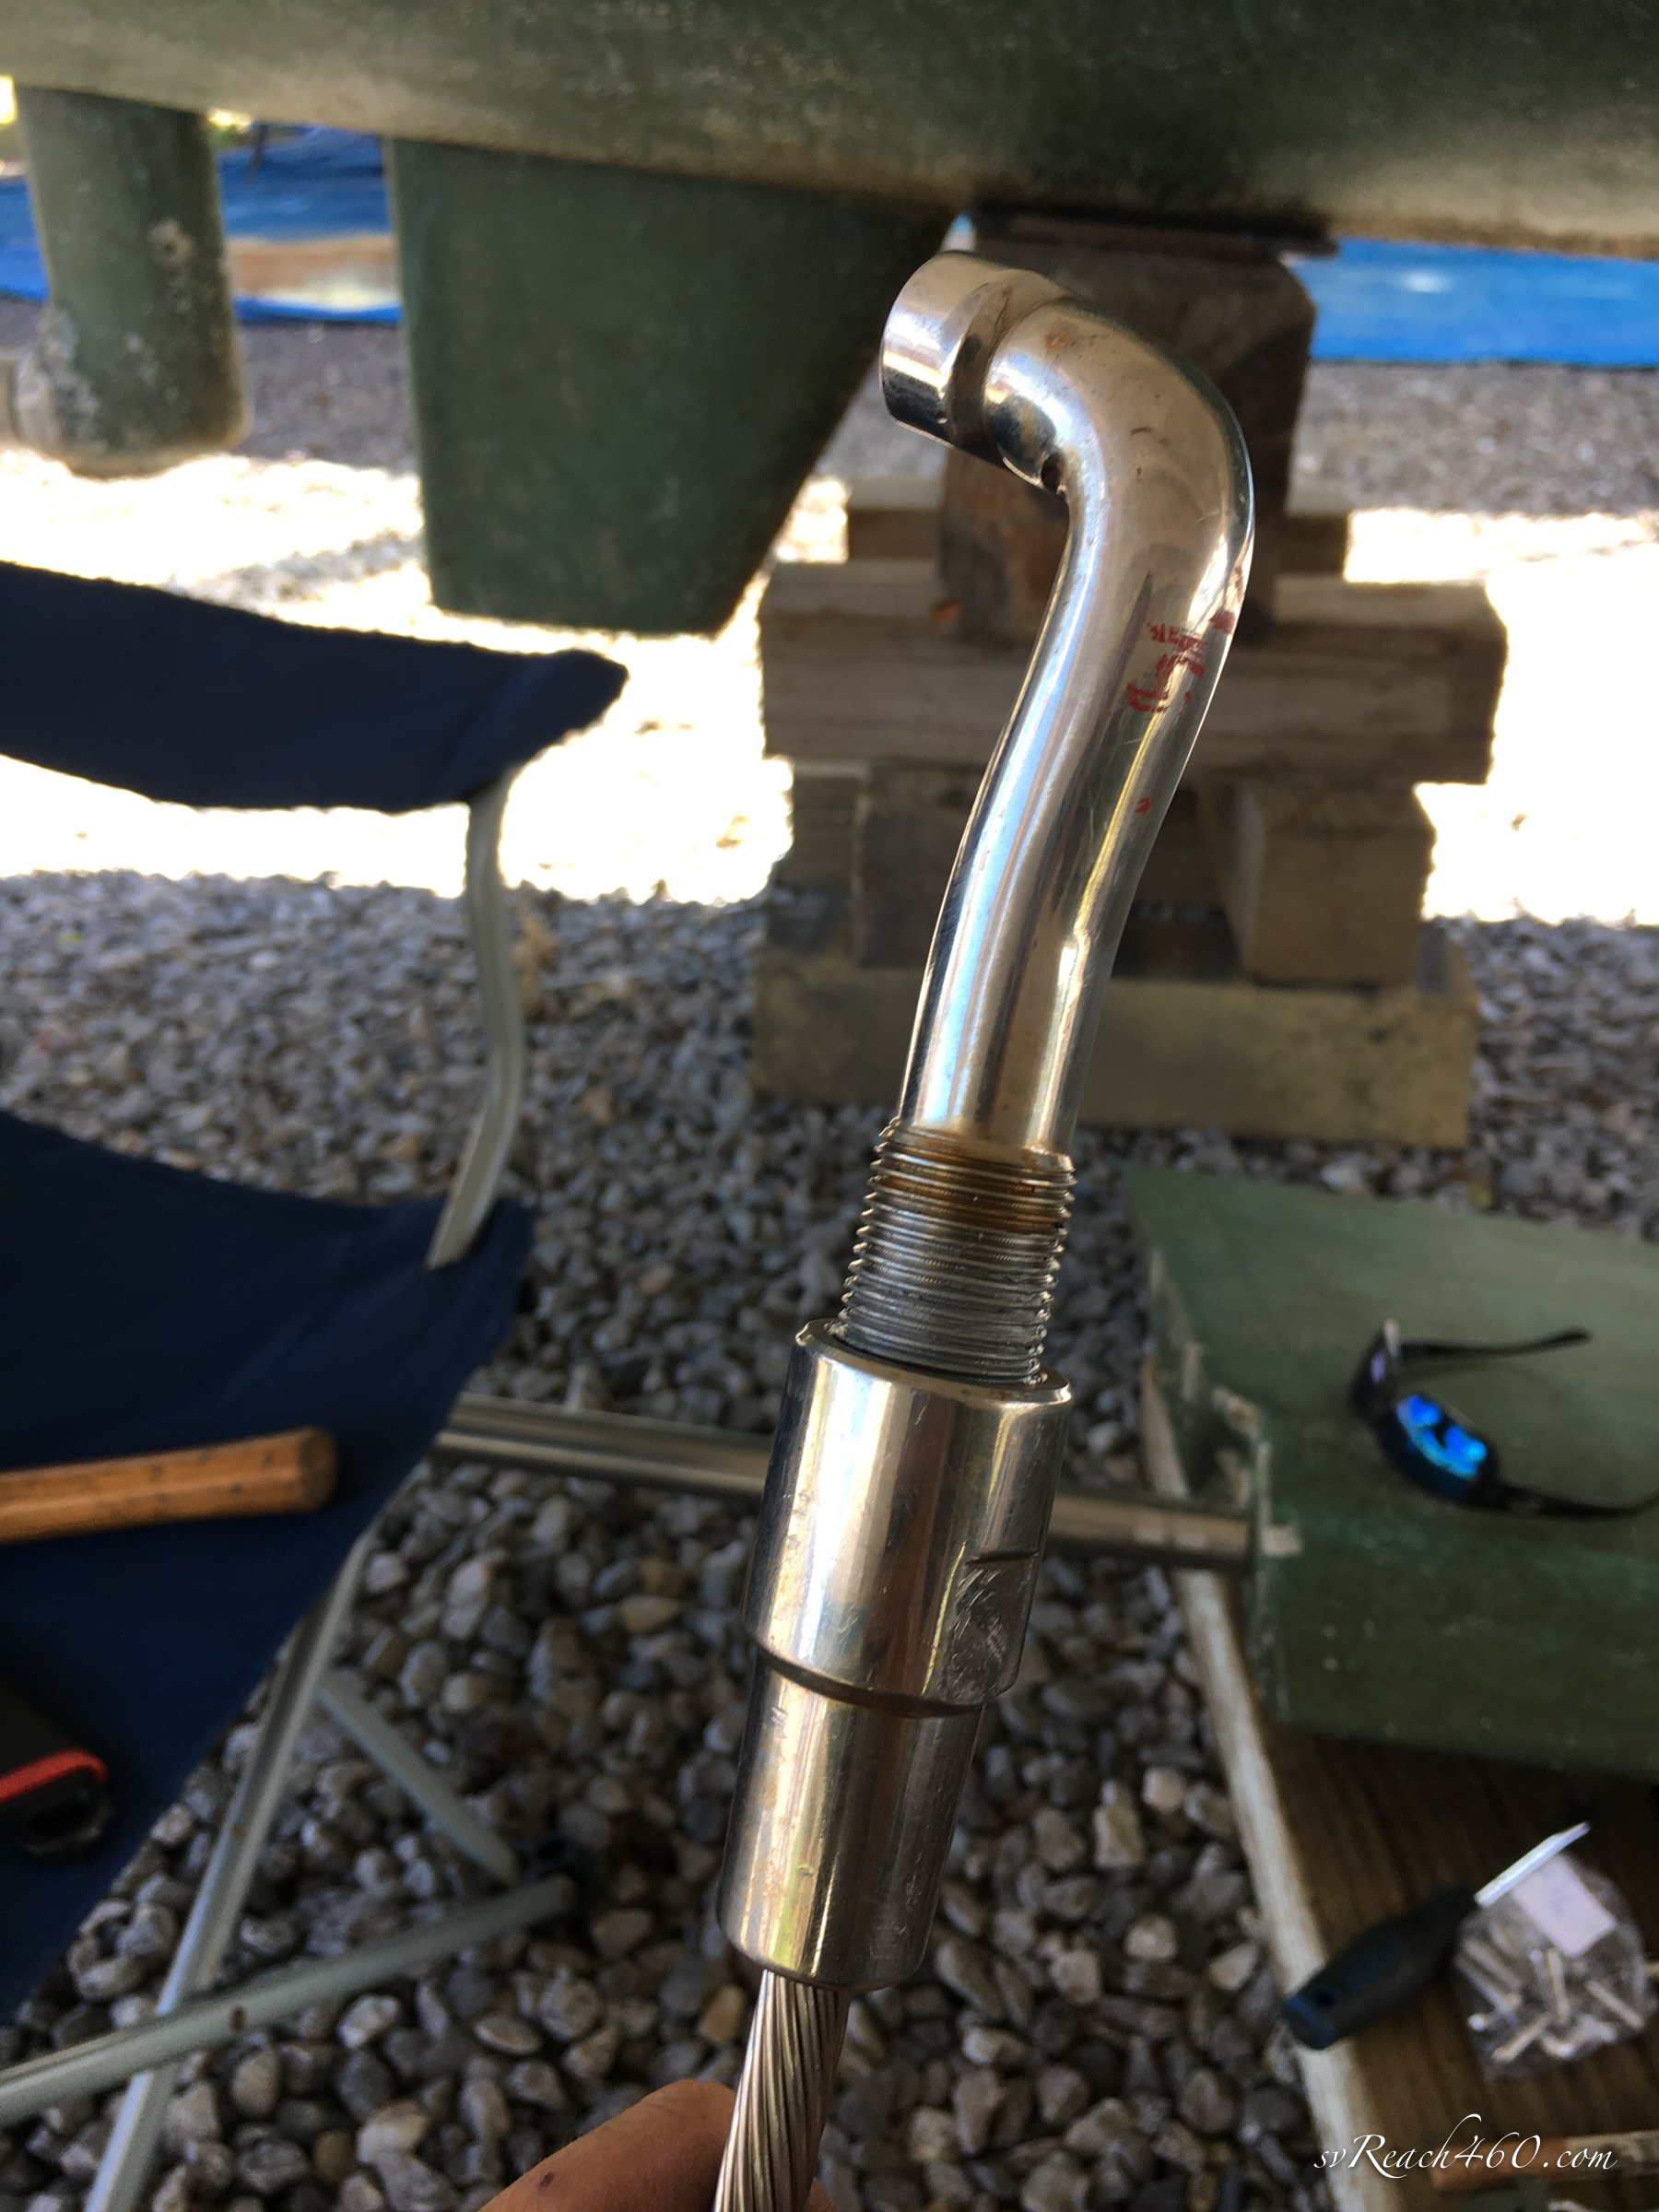
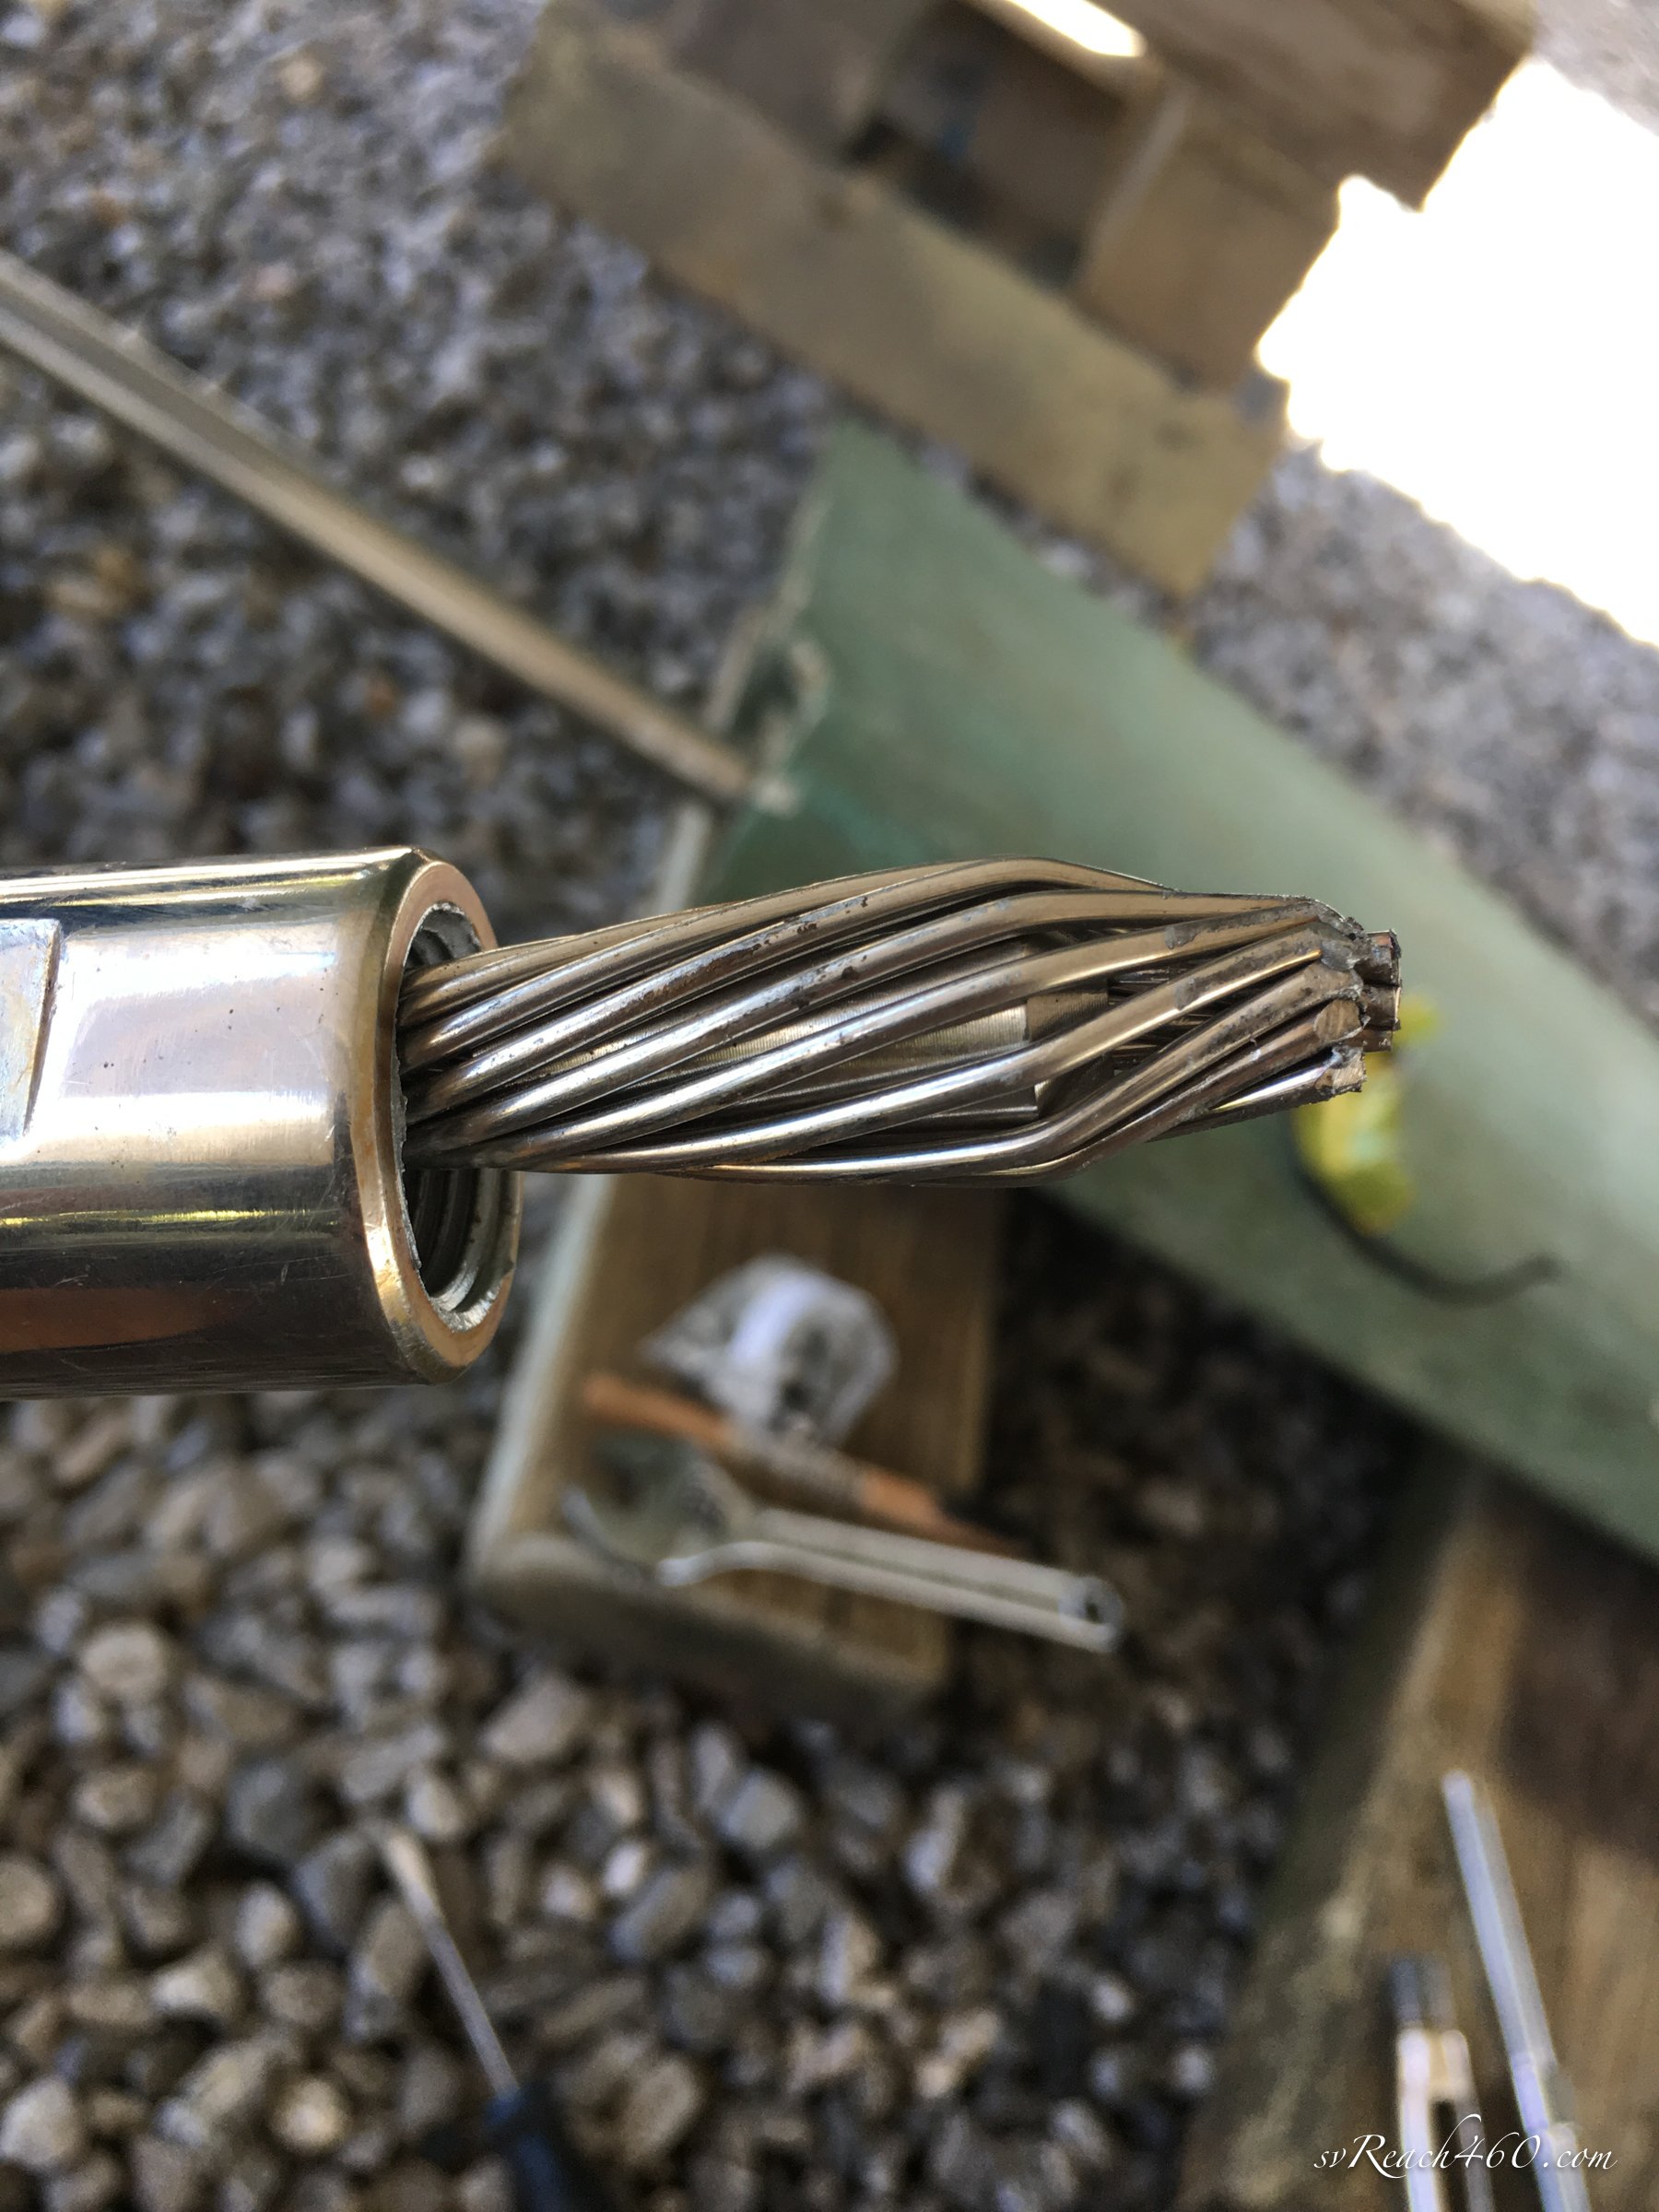
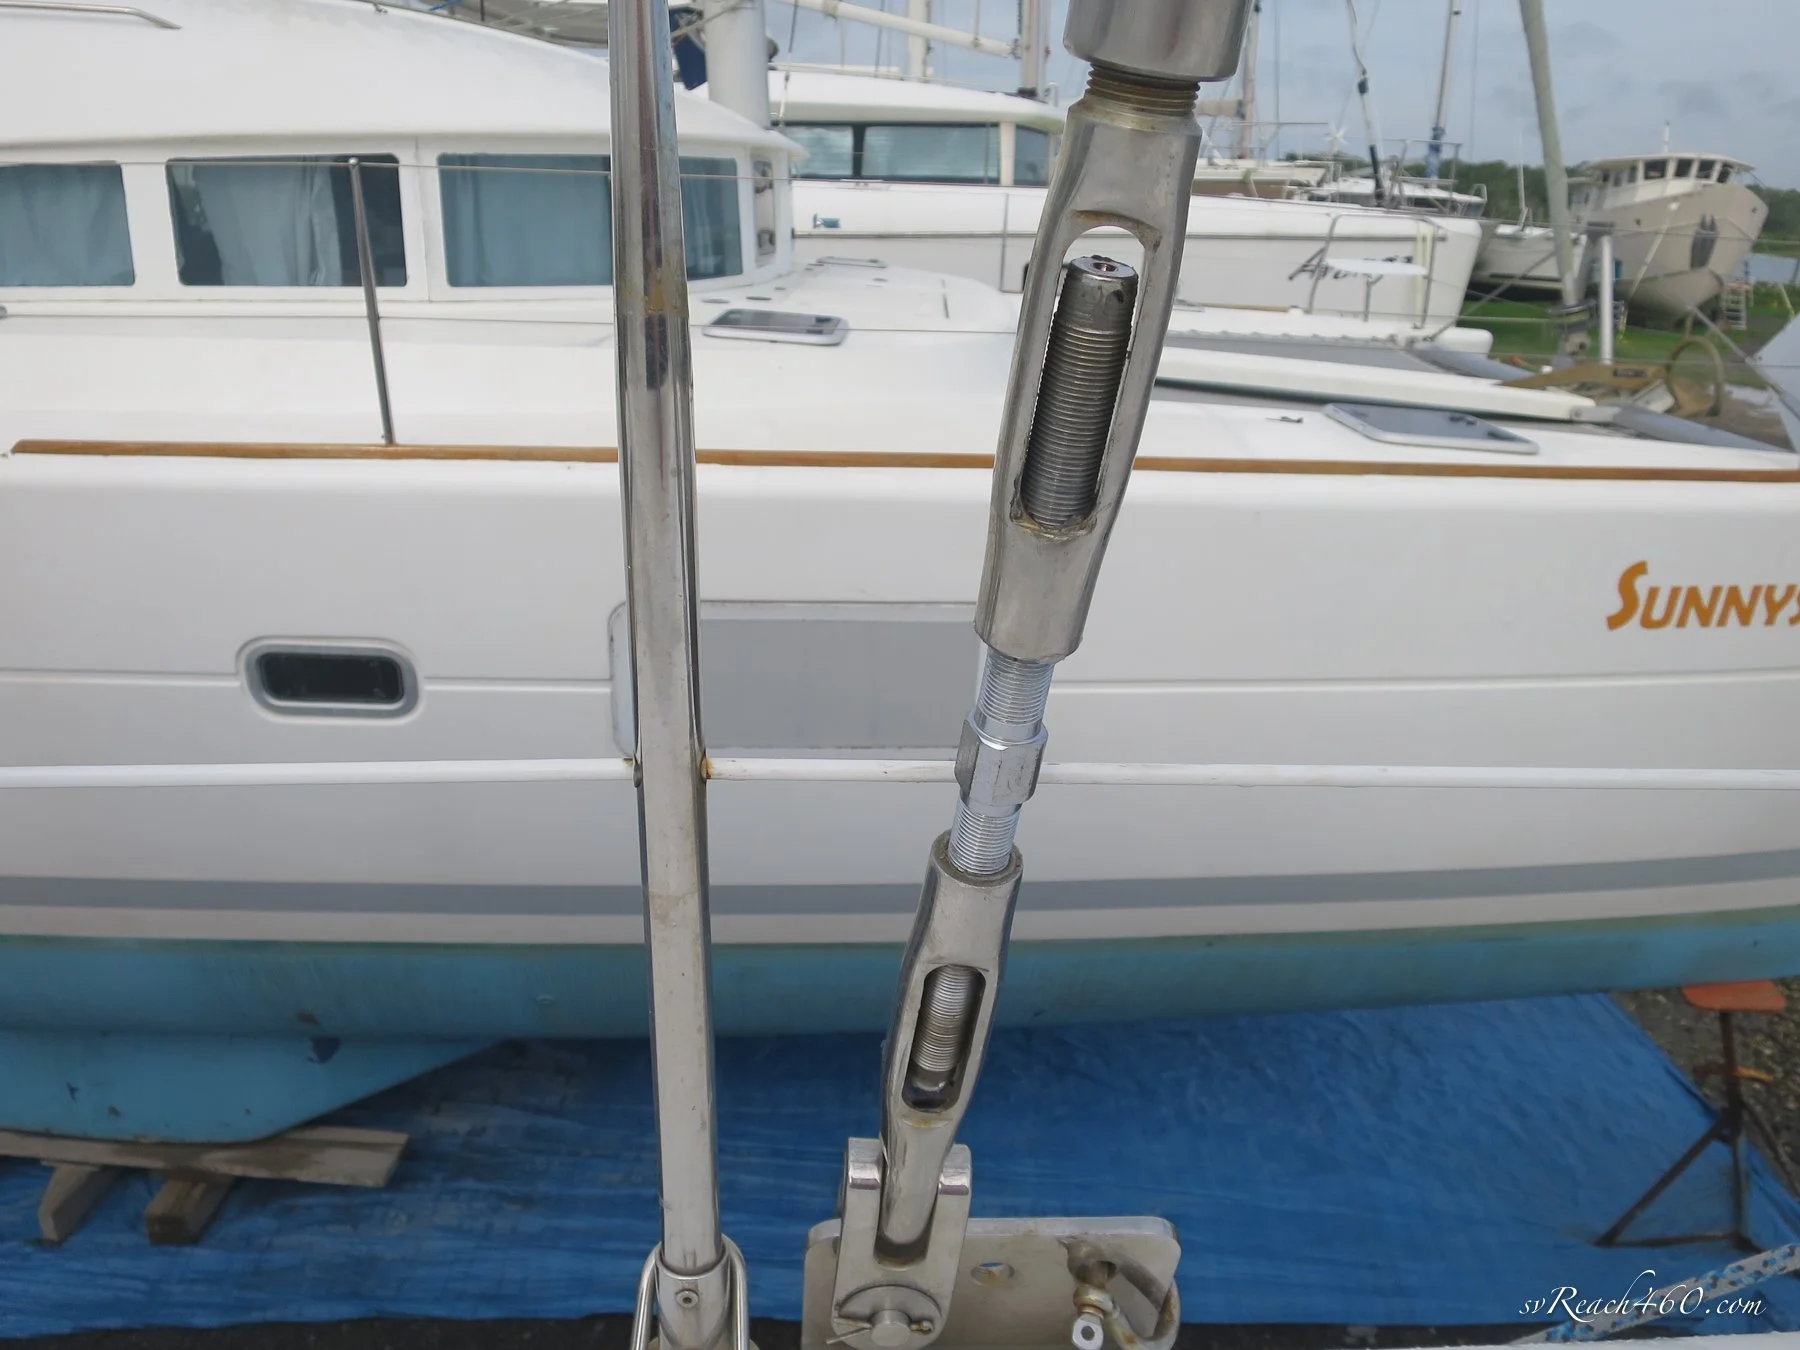
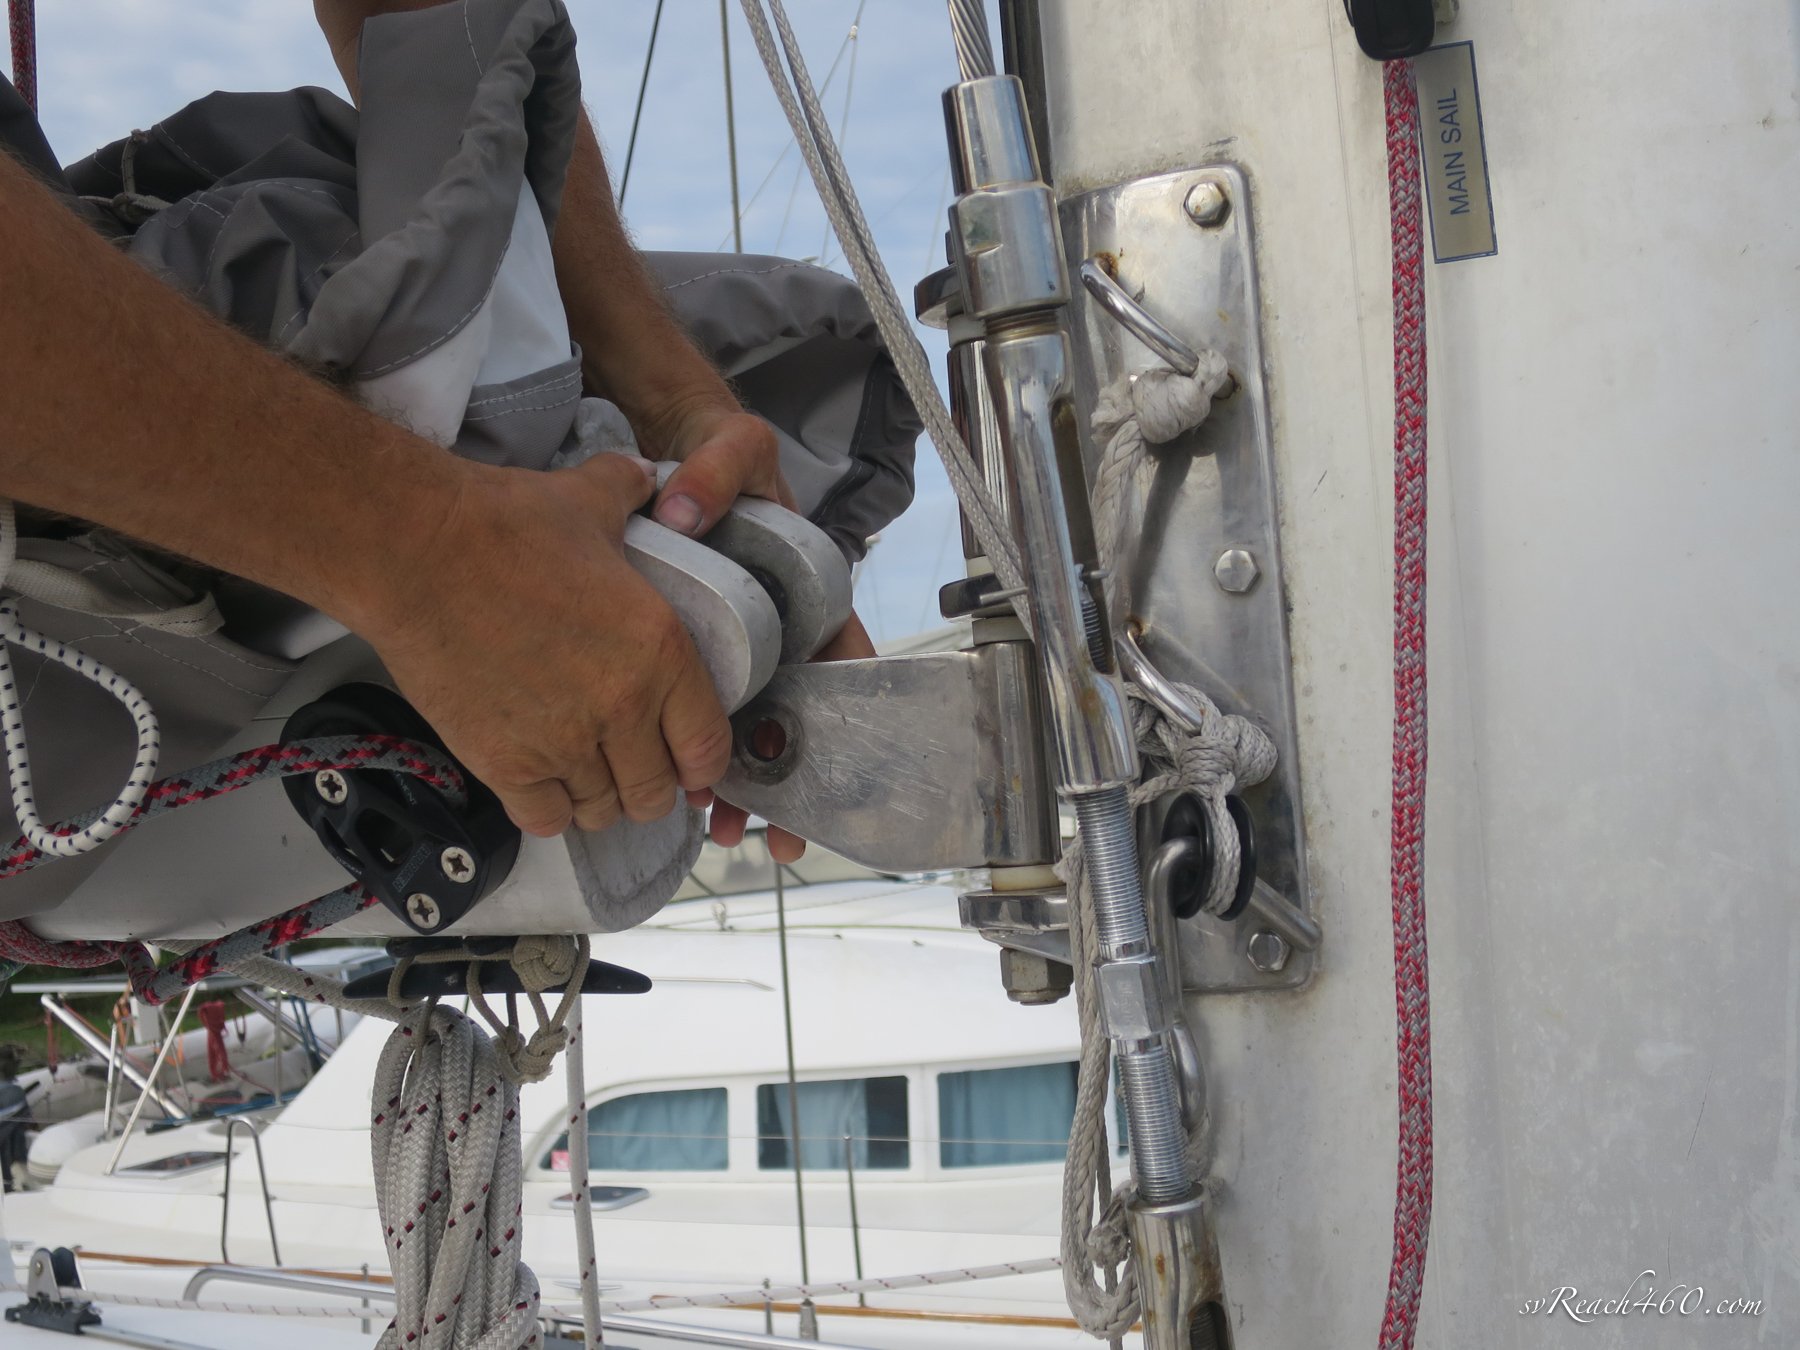
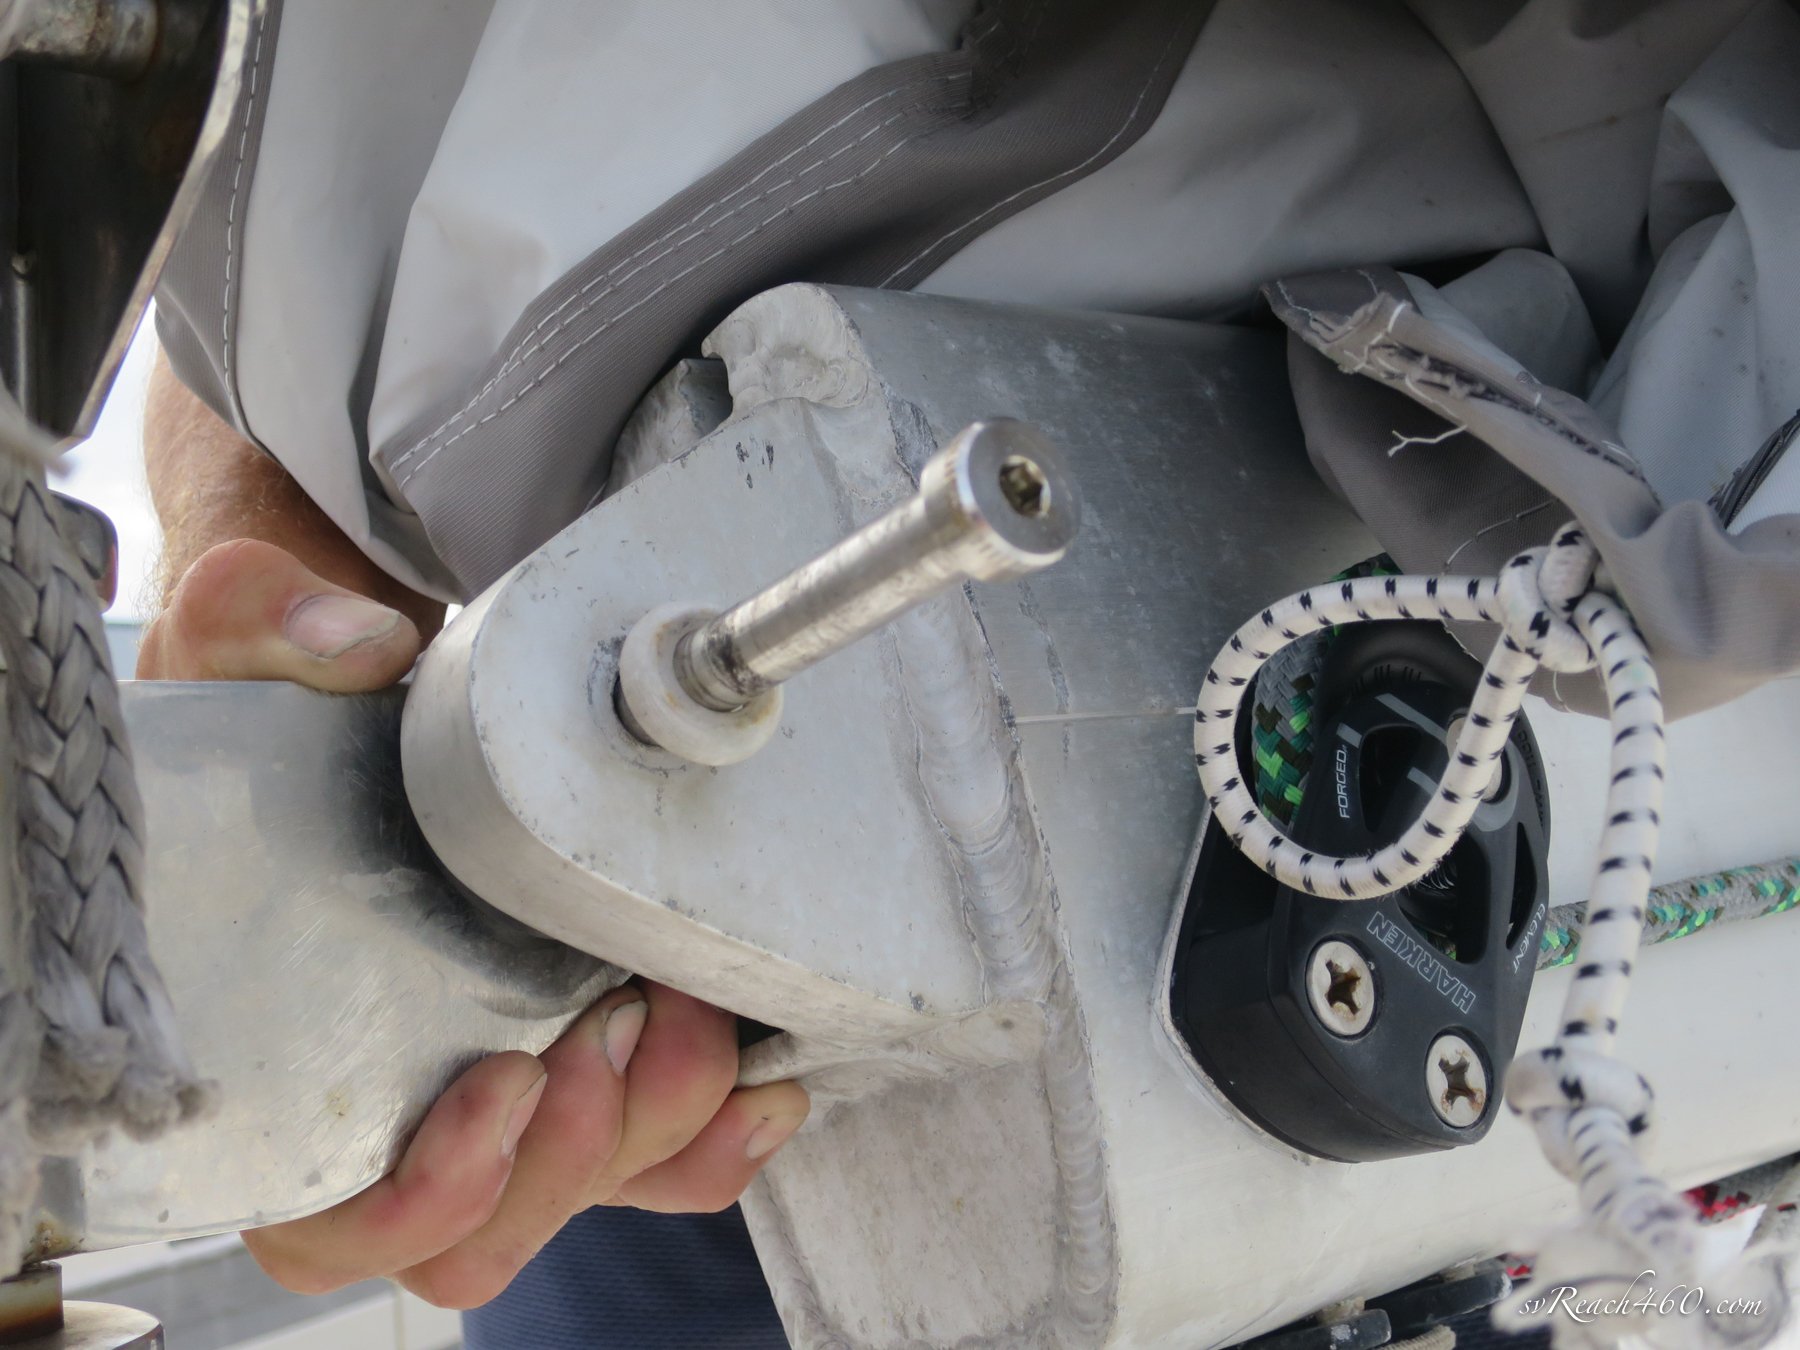
The original standing rigging had mechanical fittings that allows for them to be re-fit manually (versus wire swedge).
This allowed Mark to DIY the rigging ends without having to have special equipment.
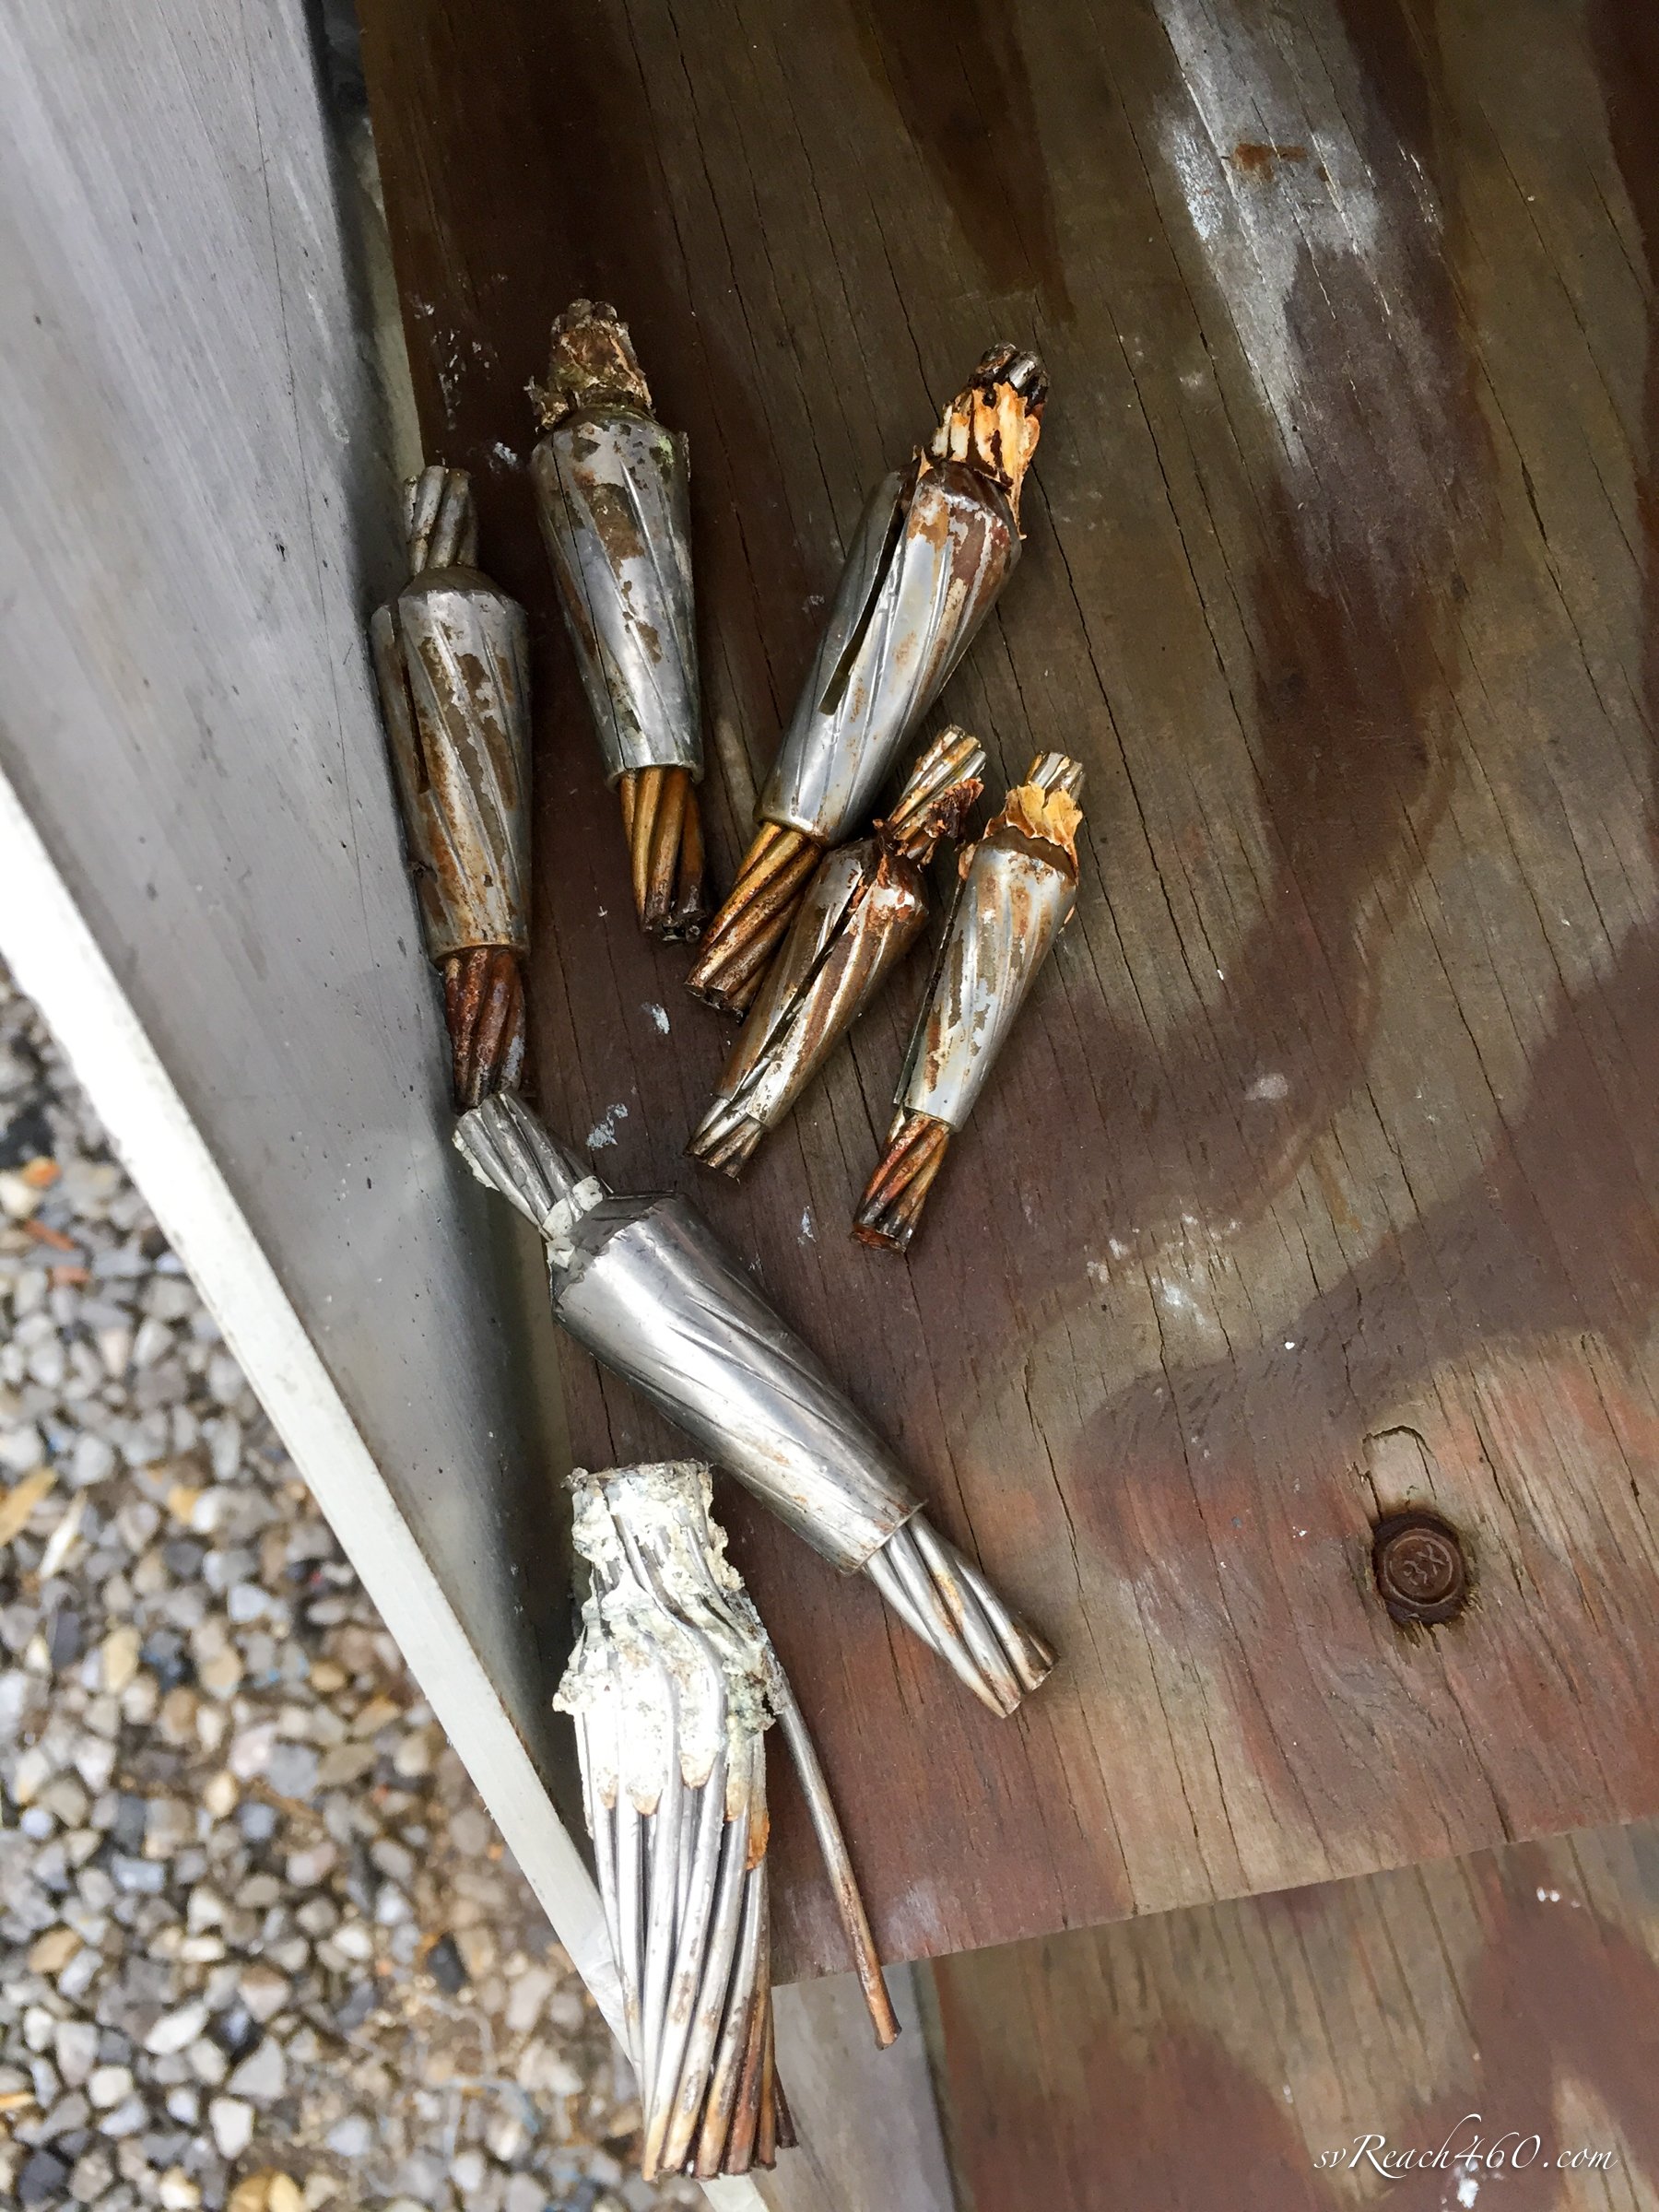
The outer fittings are re-used with new cones, the old ones being unusable.
Having the mast off made it easier to replace the diamond stays. It also allowed for Mark to put more prebend in the mast at 3”, which was a bit “stuck” at the spreaders when trying aloft with the old rigging, to match the mainsail luff.


The 14mm wire was pretty massive. Mark did end up having to borrow a huge vice and use two wrenches and a lot of torque and muscle for this wire in particular.


The forebeam was supported with a jack and blocked up to add bushings to the crossbeam fittings.
The 14mm wire was replaced that holds the crossbeam down, counterbalancing the pull of the forestay pulling up.


Mark had calculated wire lengths, pulling out a little high school trigonometry, and got them right with little room to spare.
Importantly, the stainless steel turnbuckle screws were replaced with coated bronze screws, following a manufacturer recall.
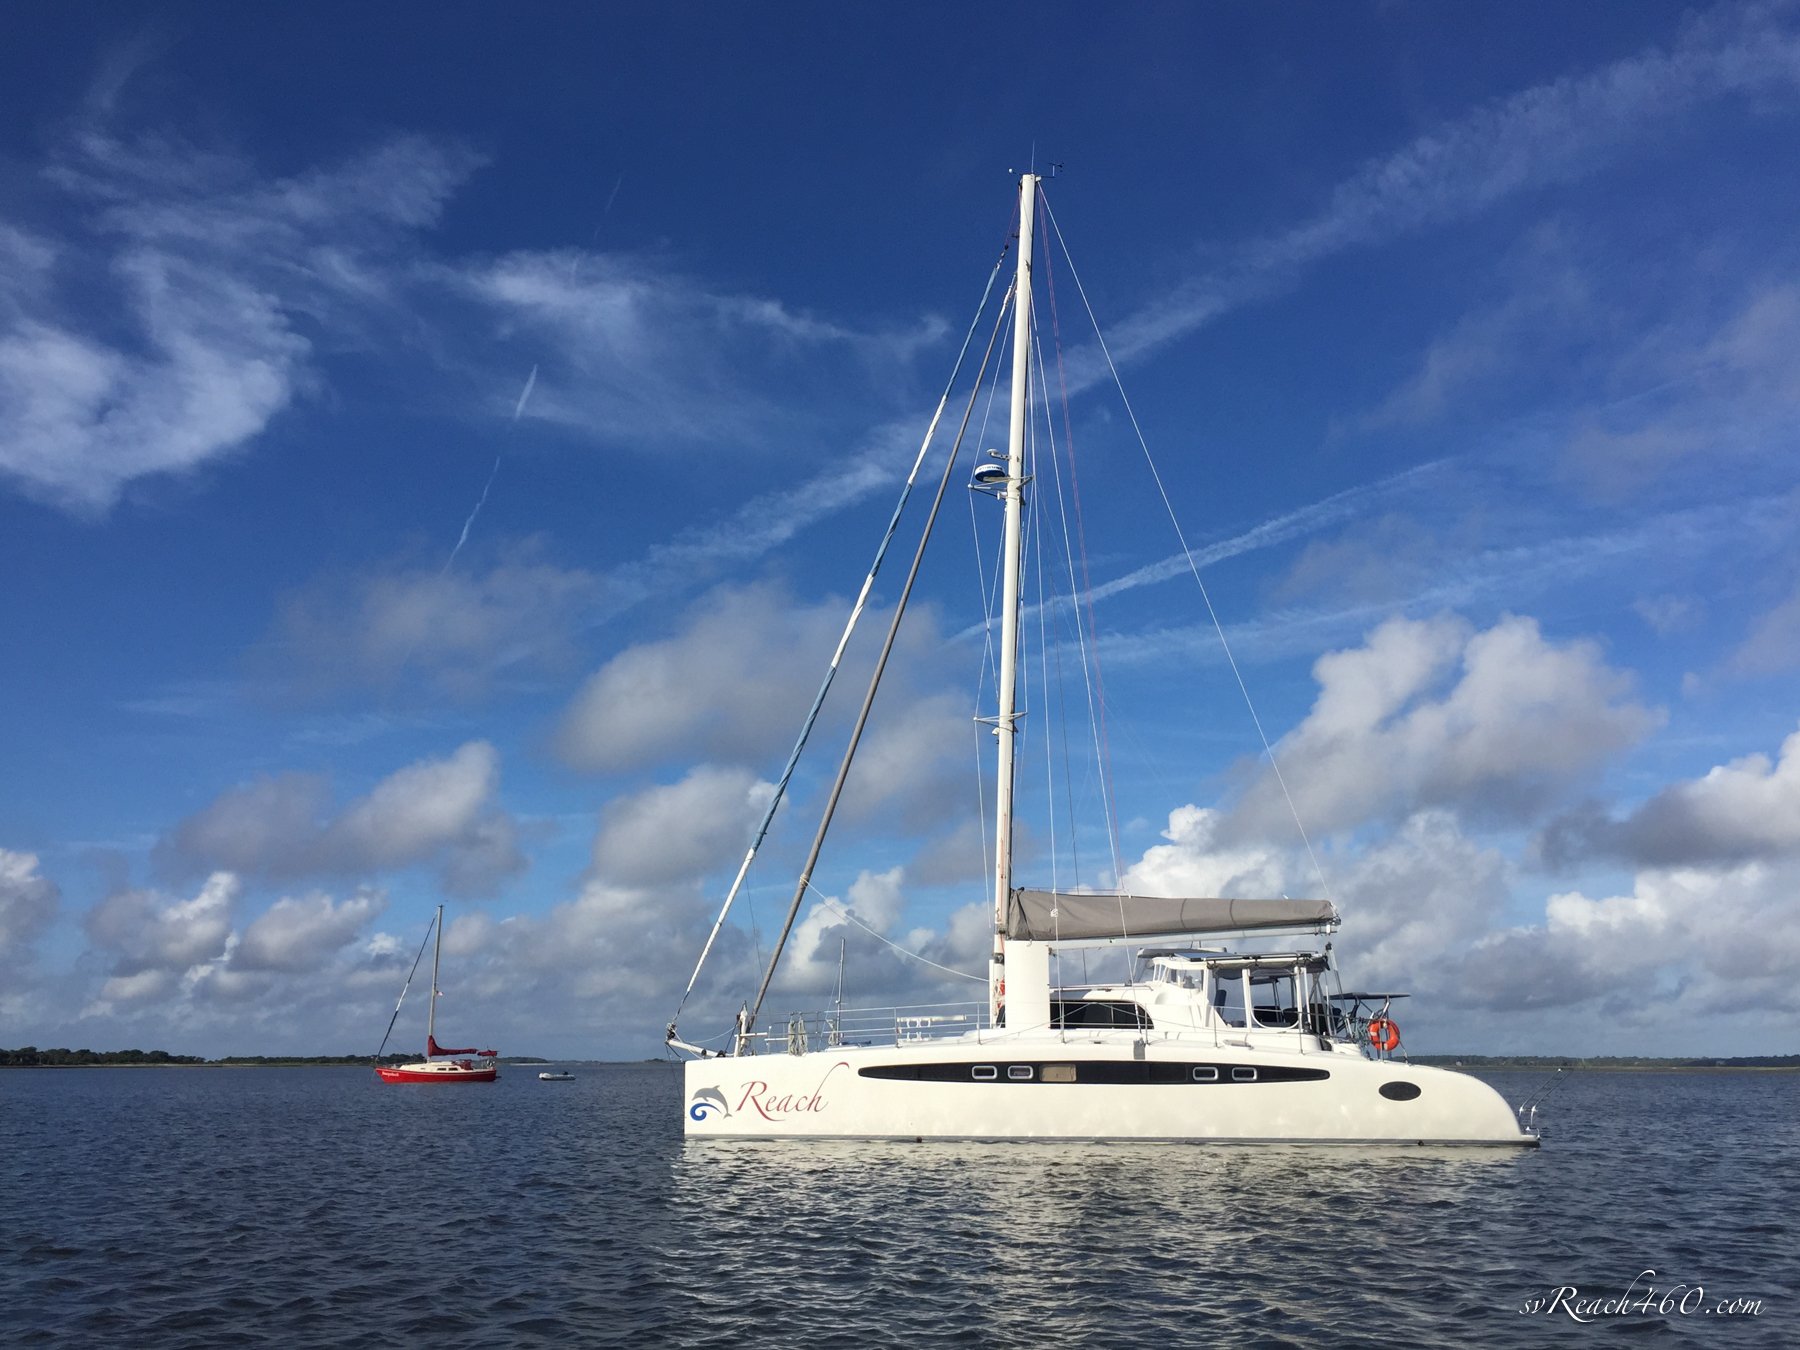
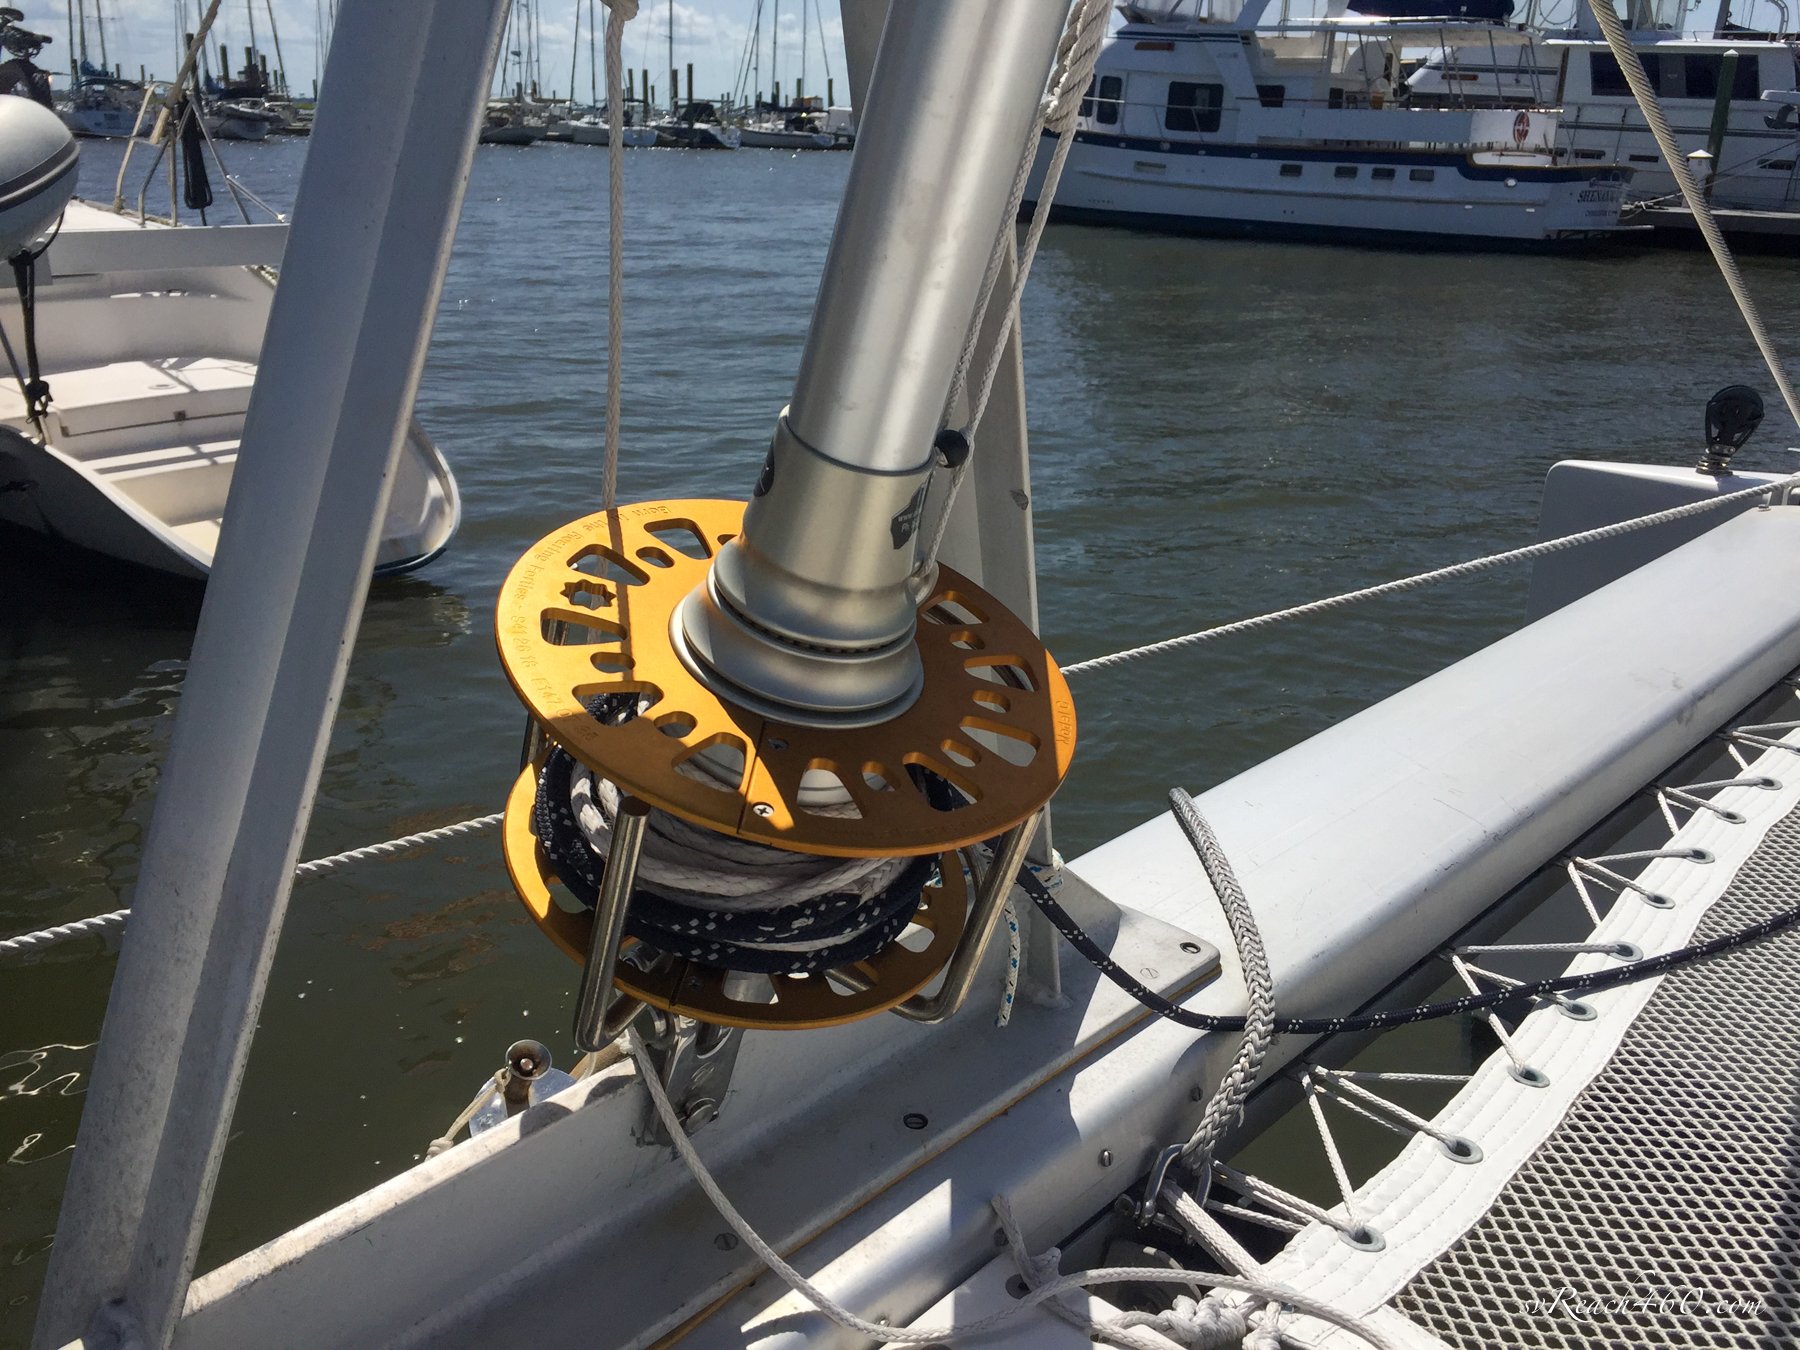
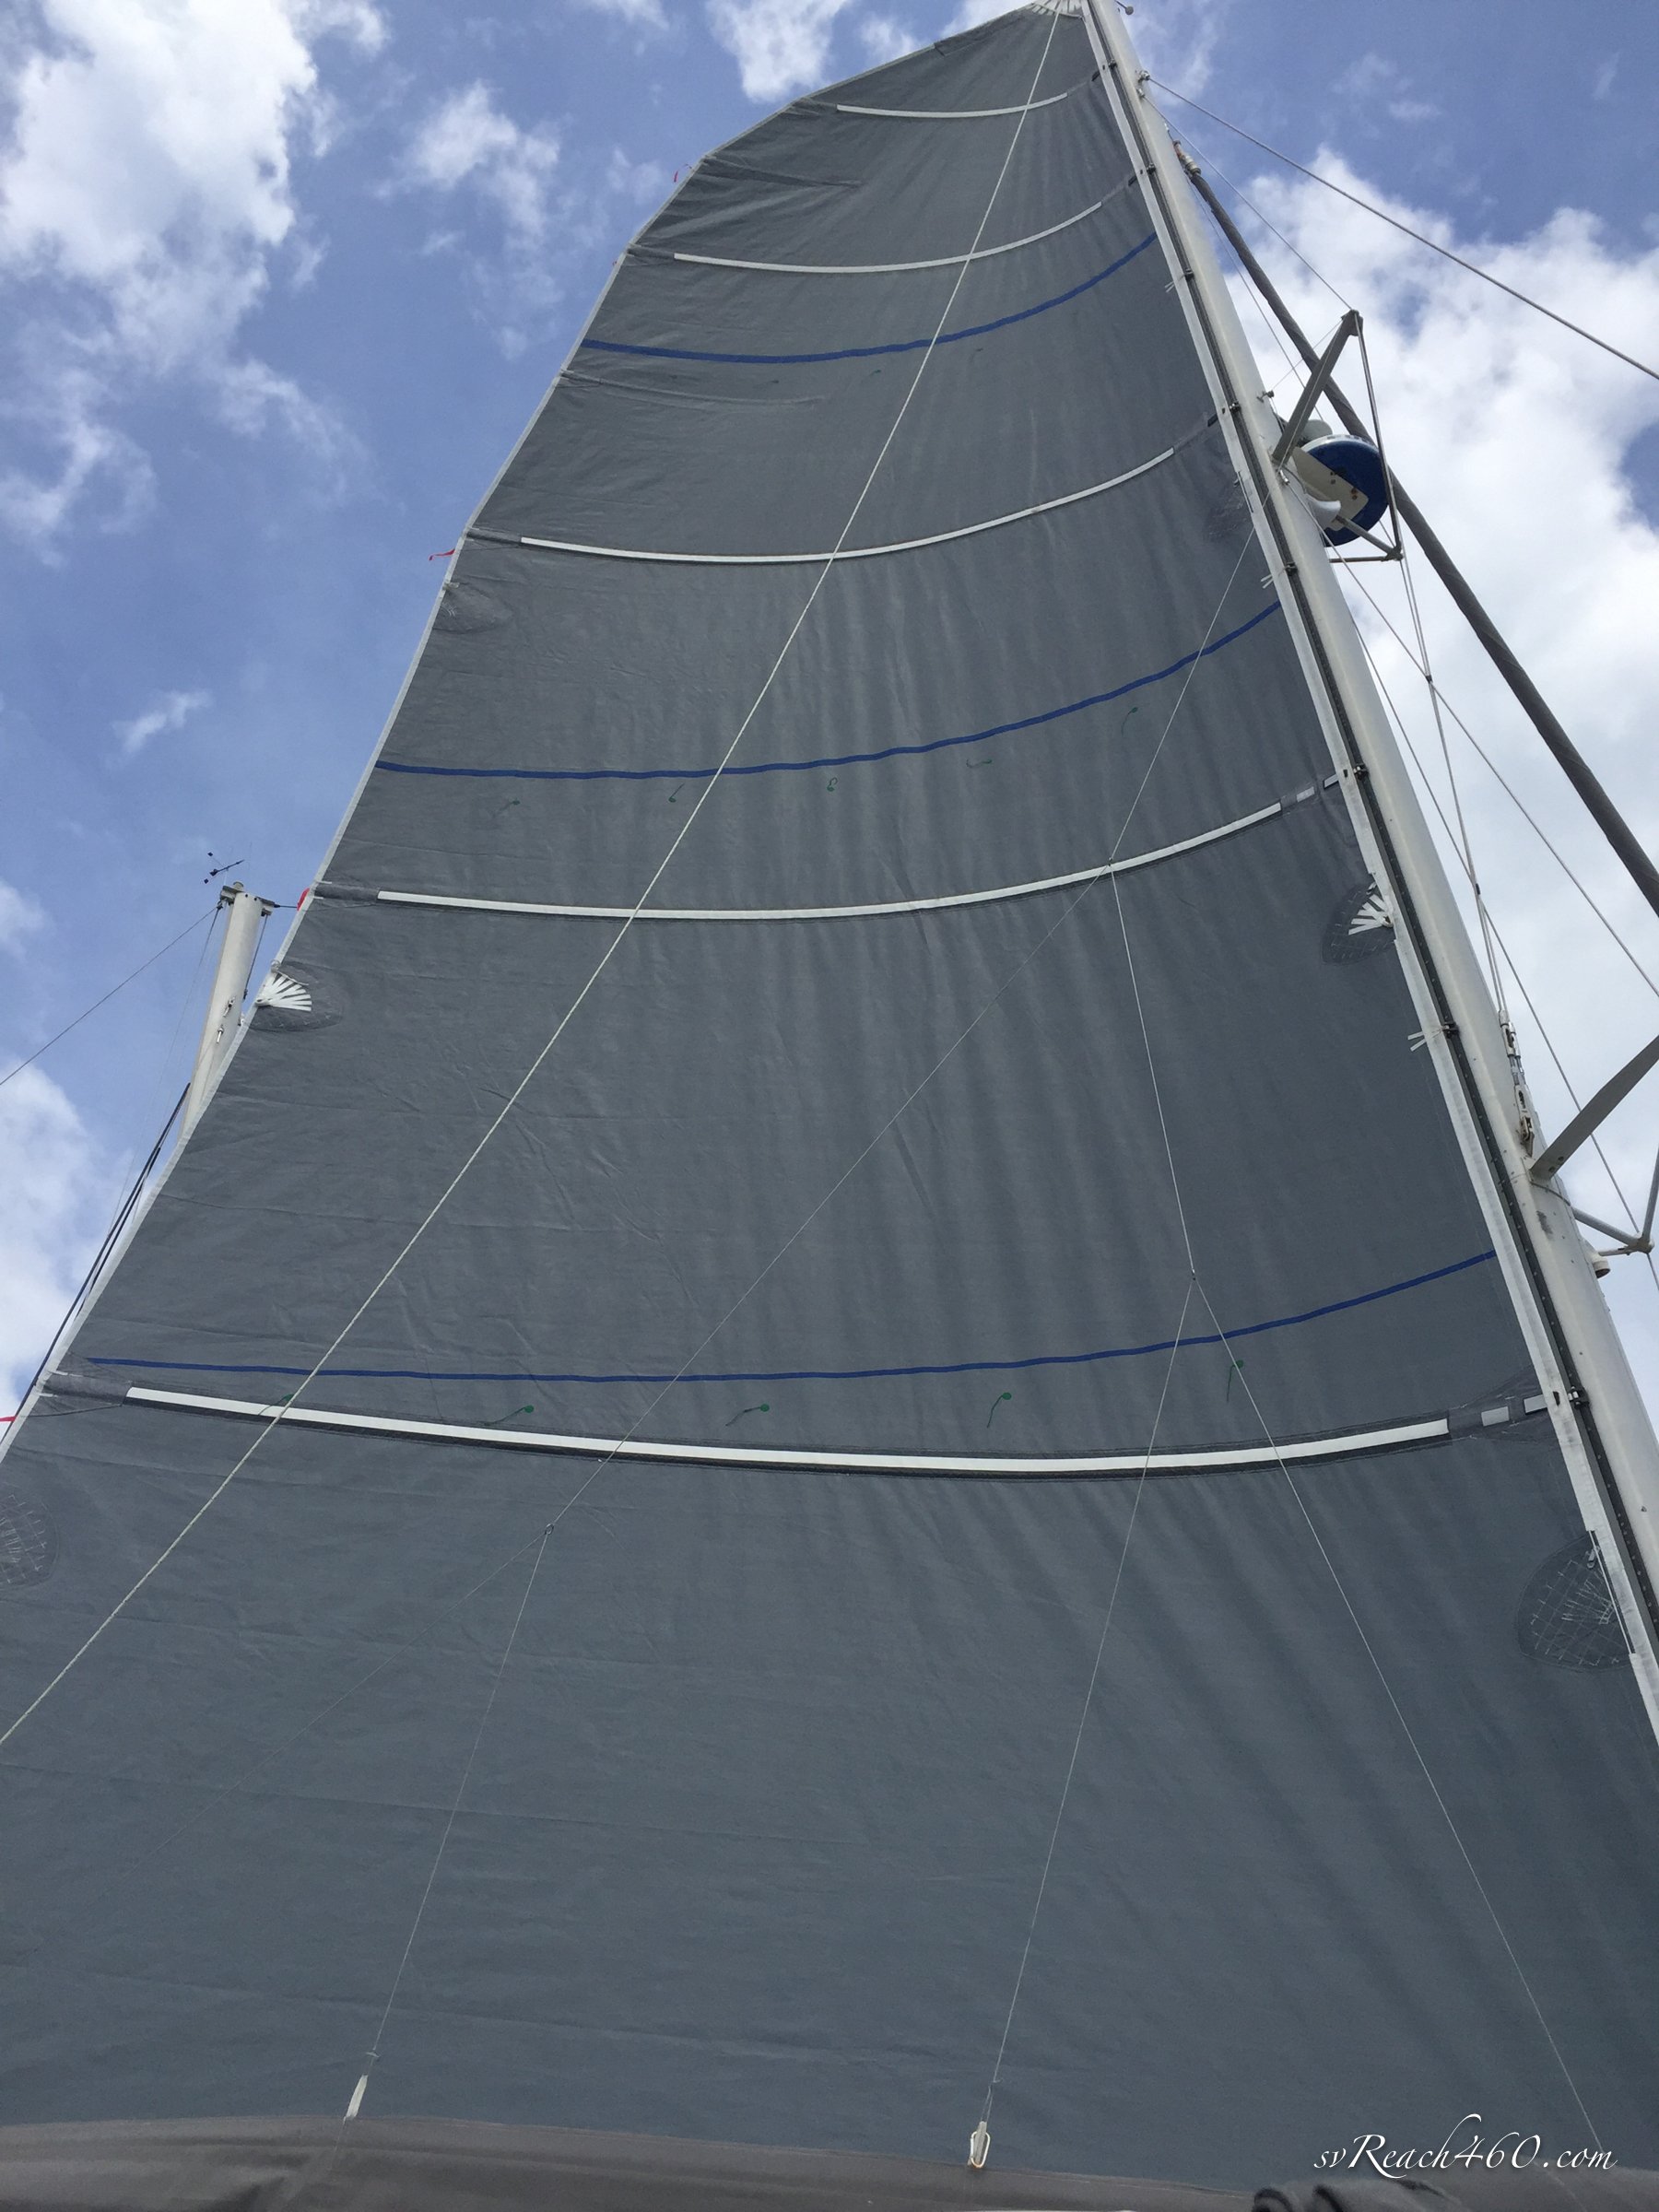
The mast went back on without a hitch and Mark went aloft to install instruments and for some final rig tuning at the spreaders.


Once all of the standing rigging was replaced, we also:
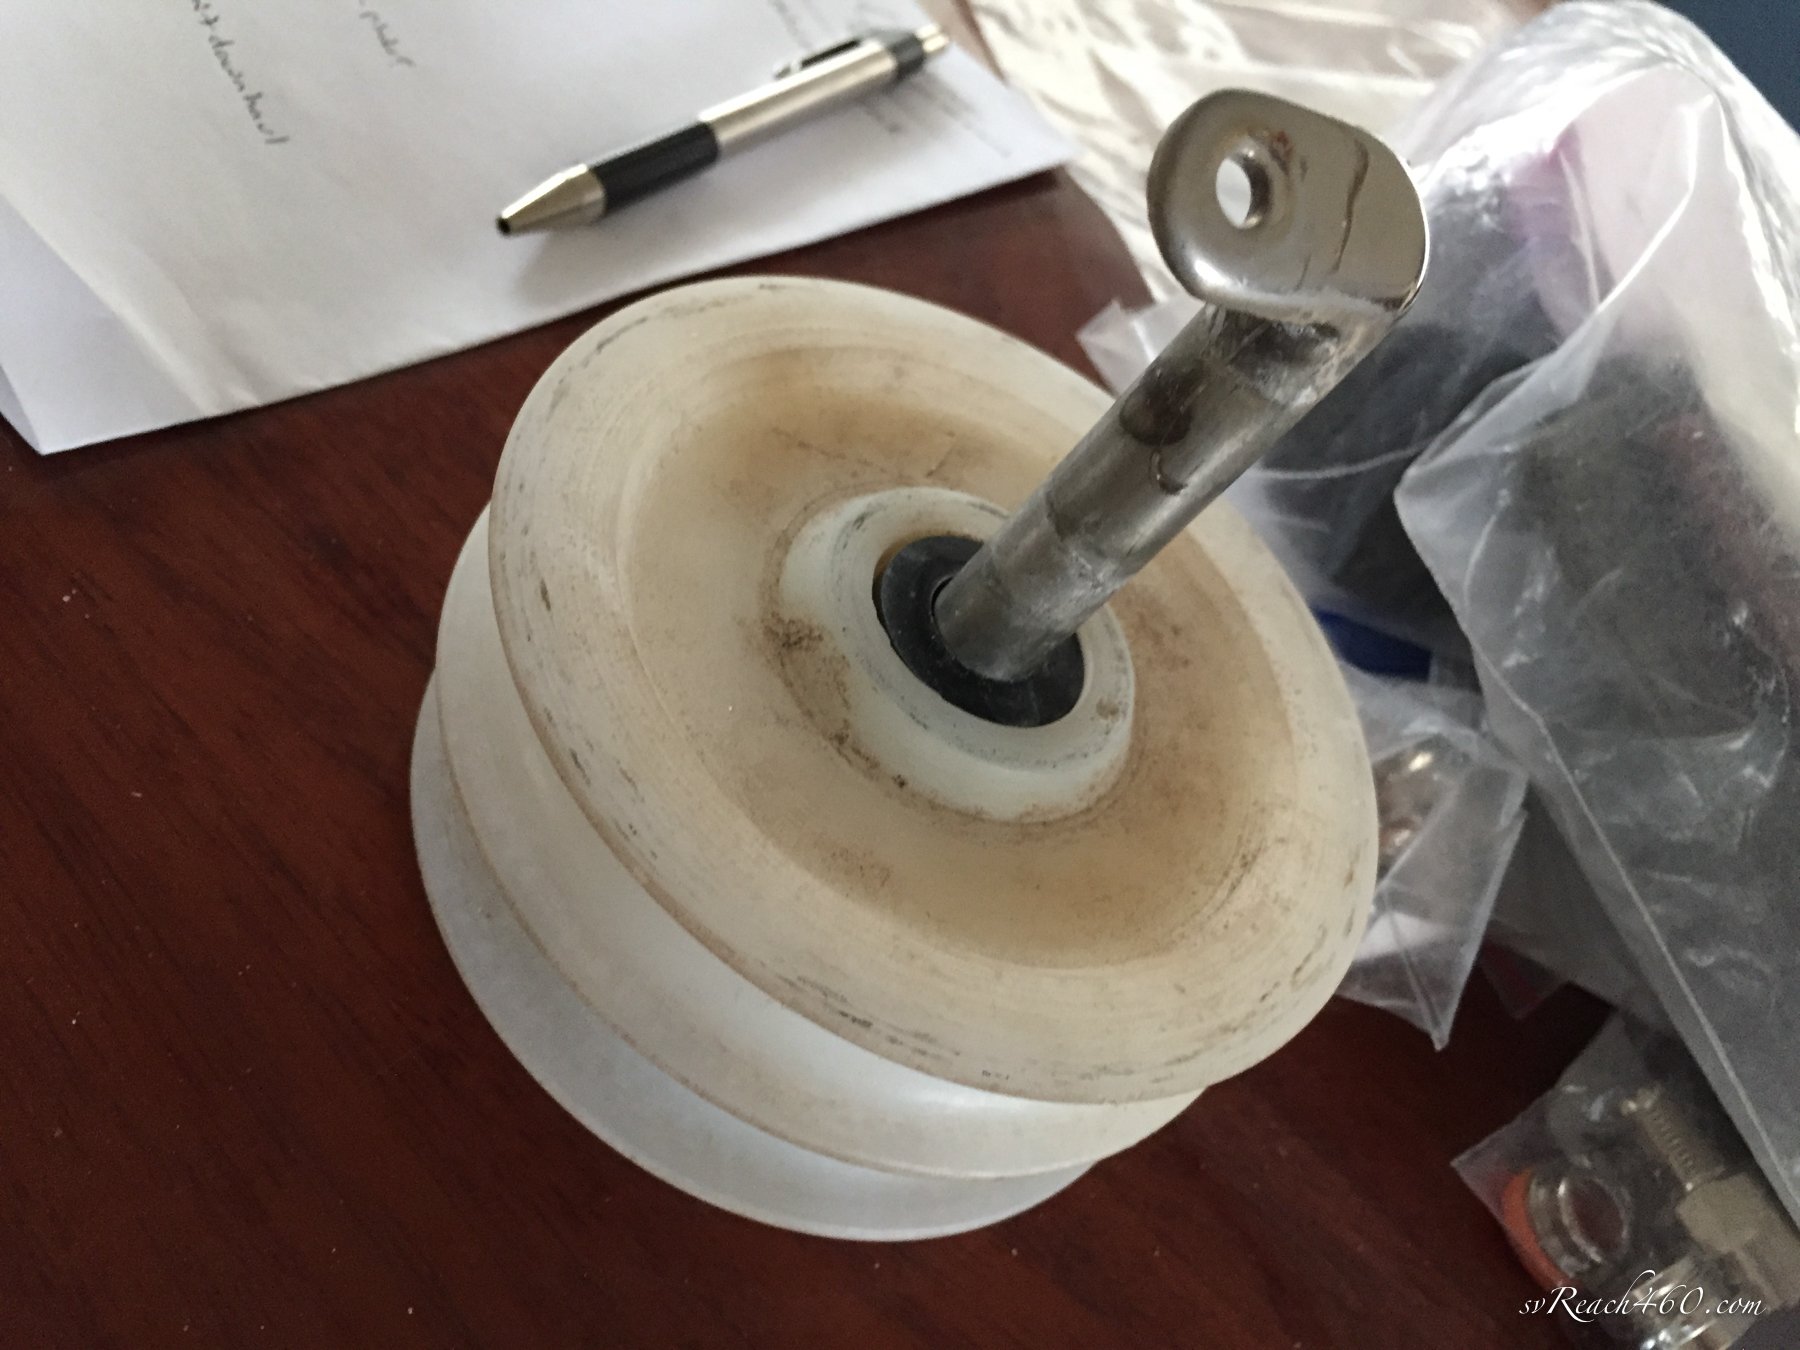
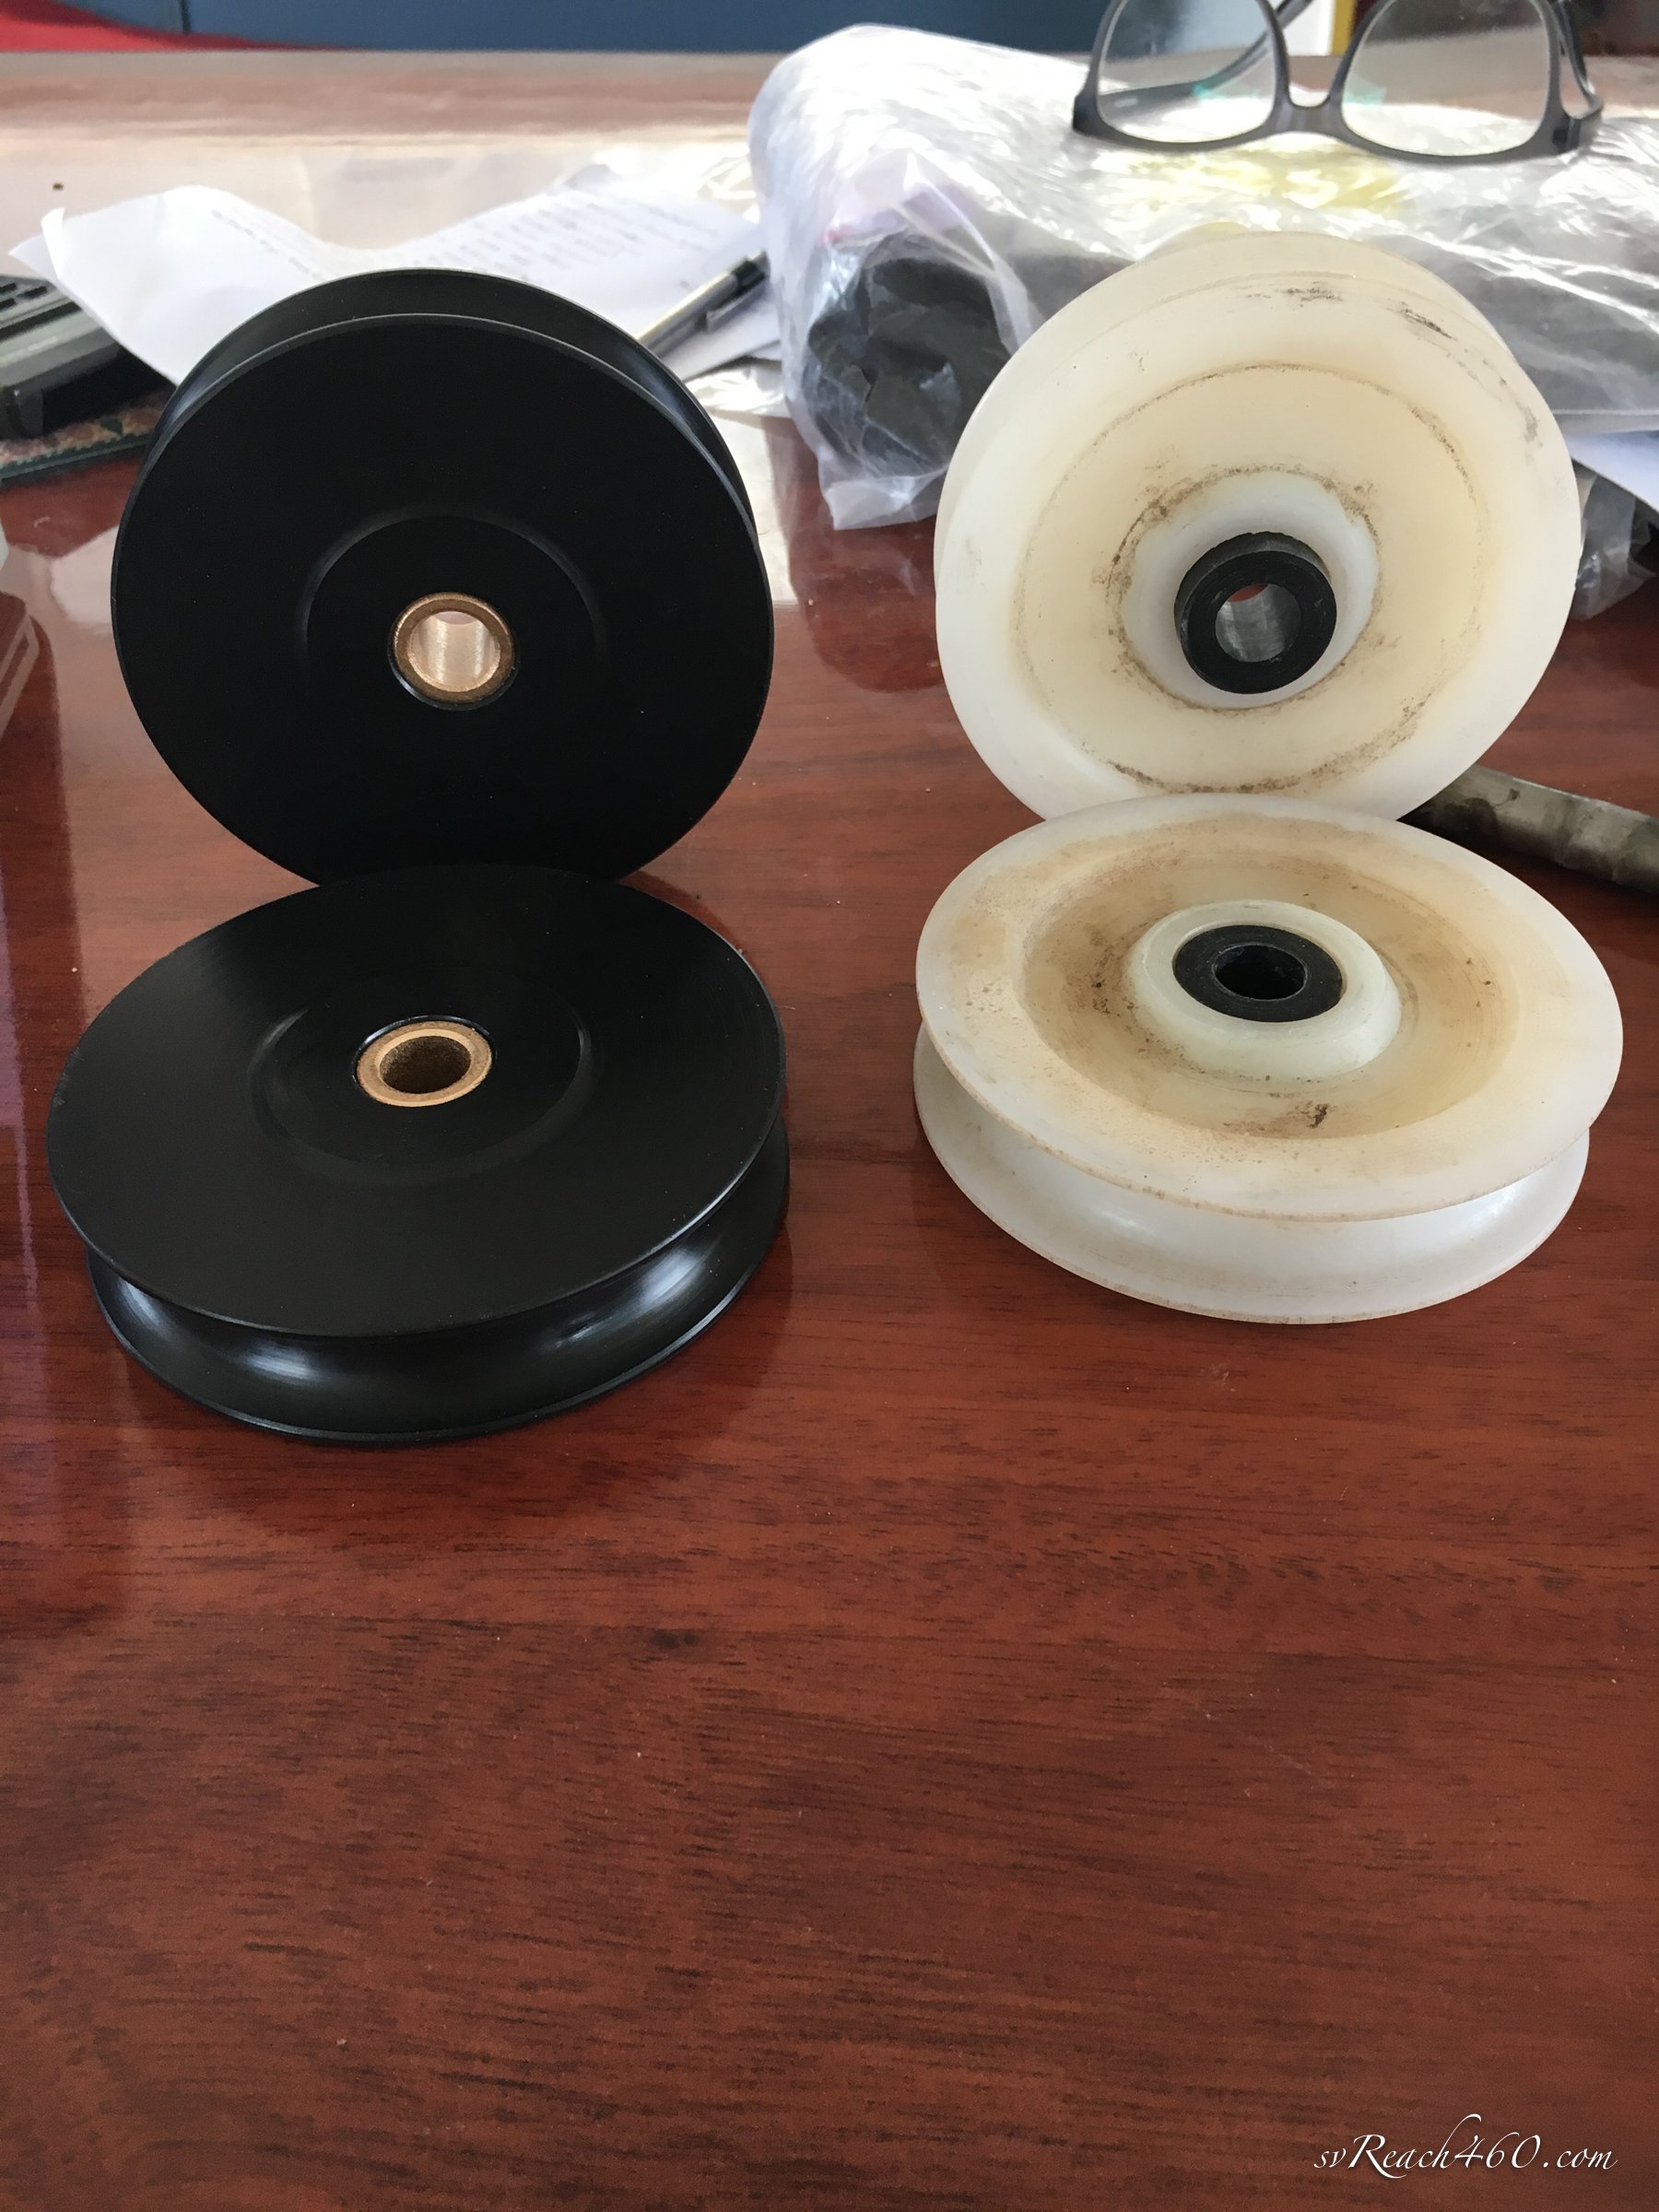
Replaced the main halyard and topping lift sheaves
Added a stainless swan neck pass-thru for all of the newly run cables and masthead wires
Installed a shiny new roller furler (all the way from Tasmania!)
Re-installed the boom with a new gooseneck bushing
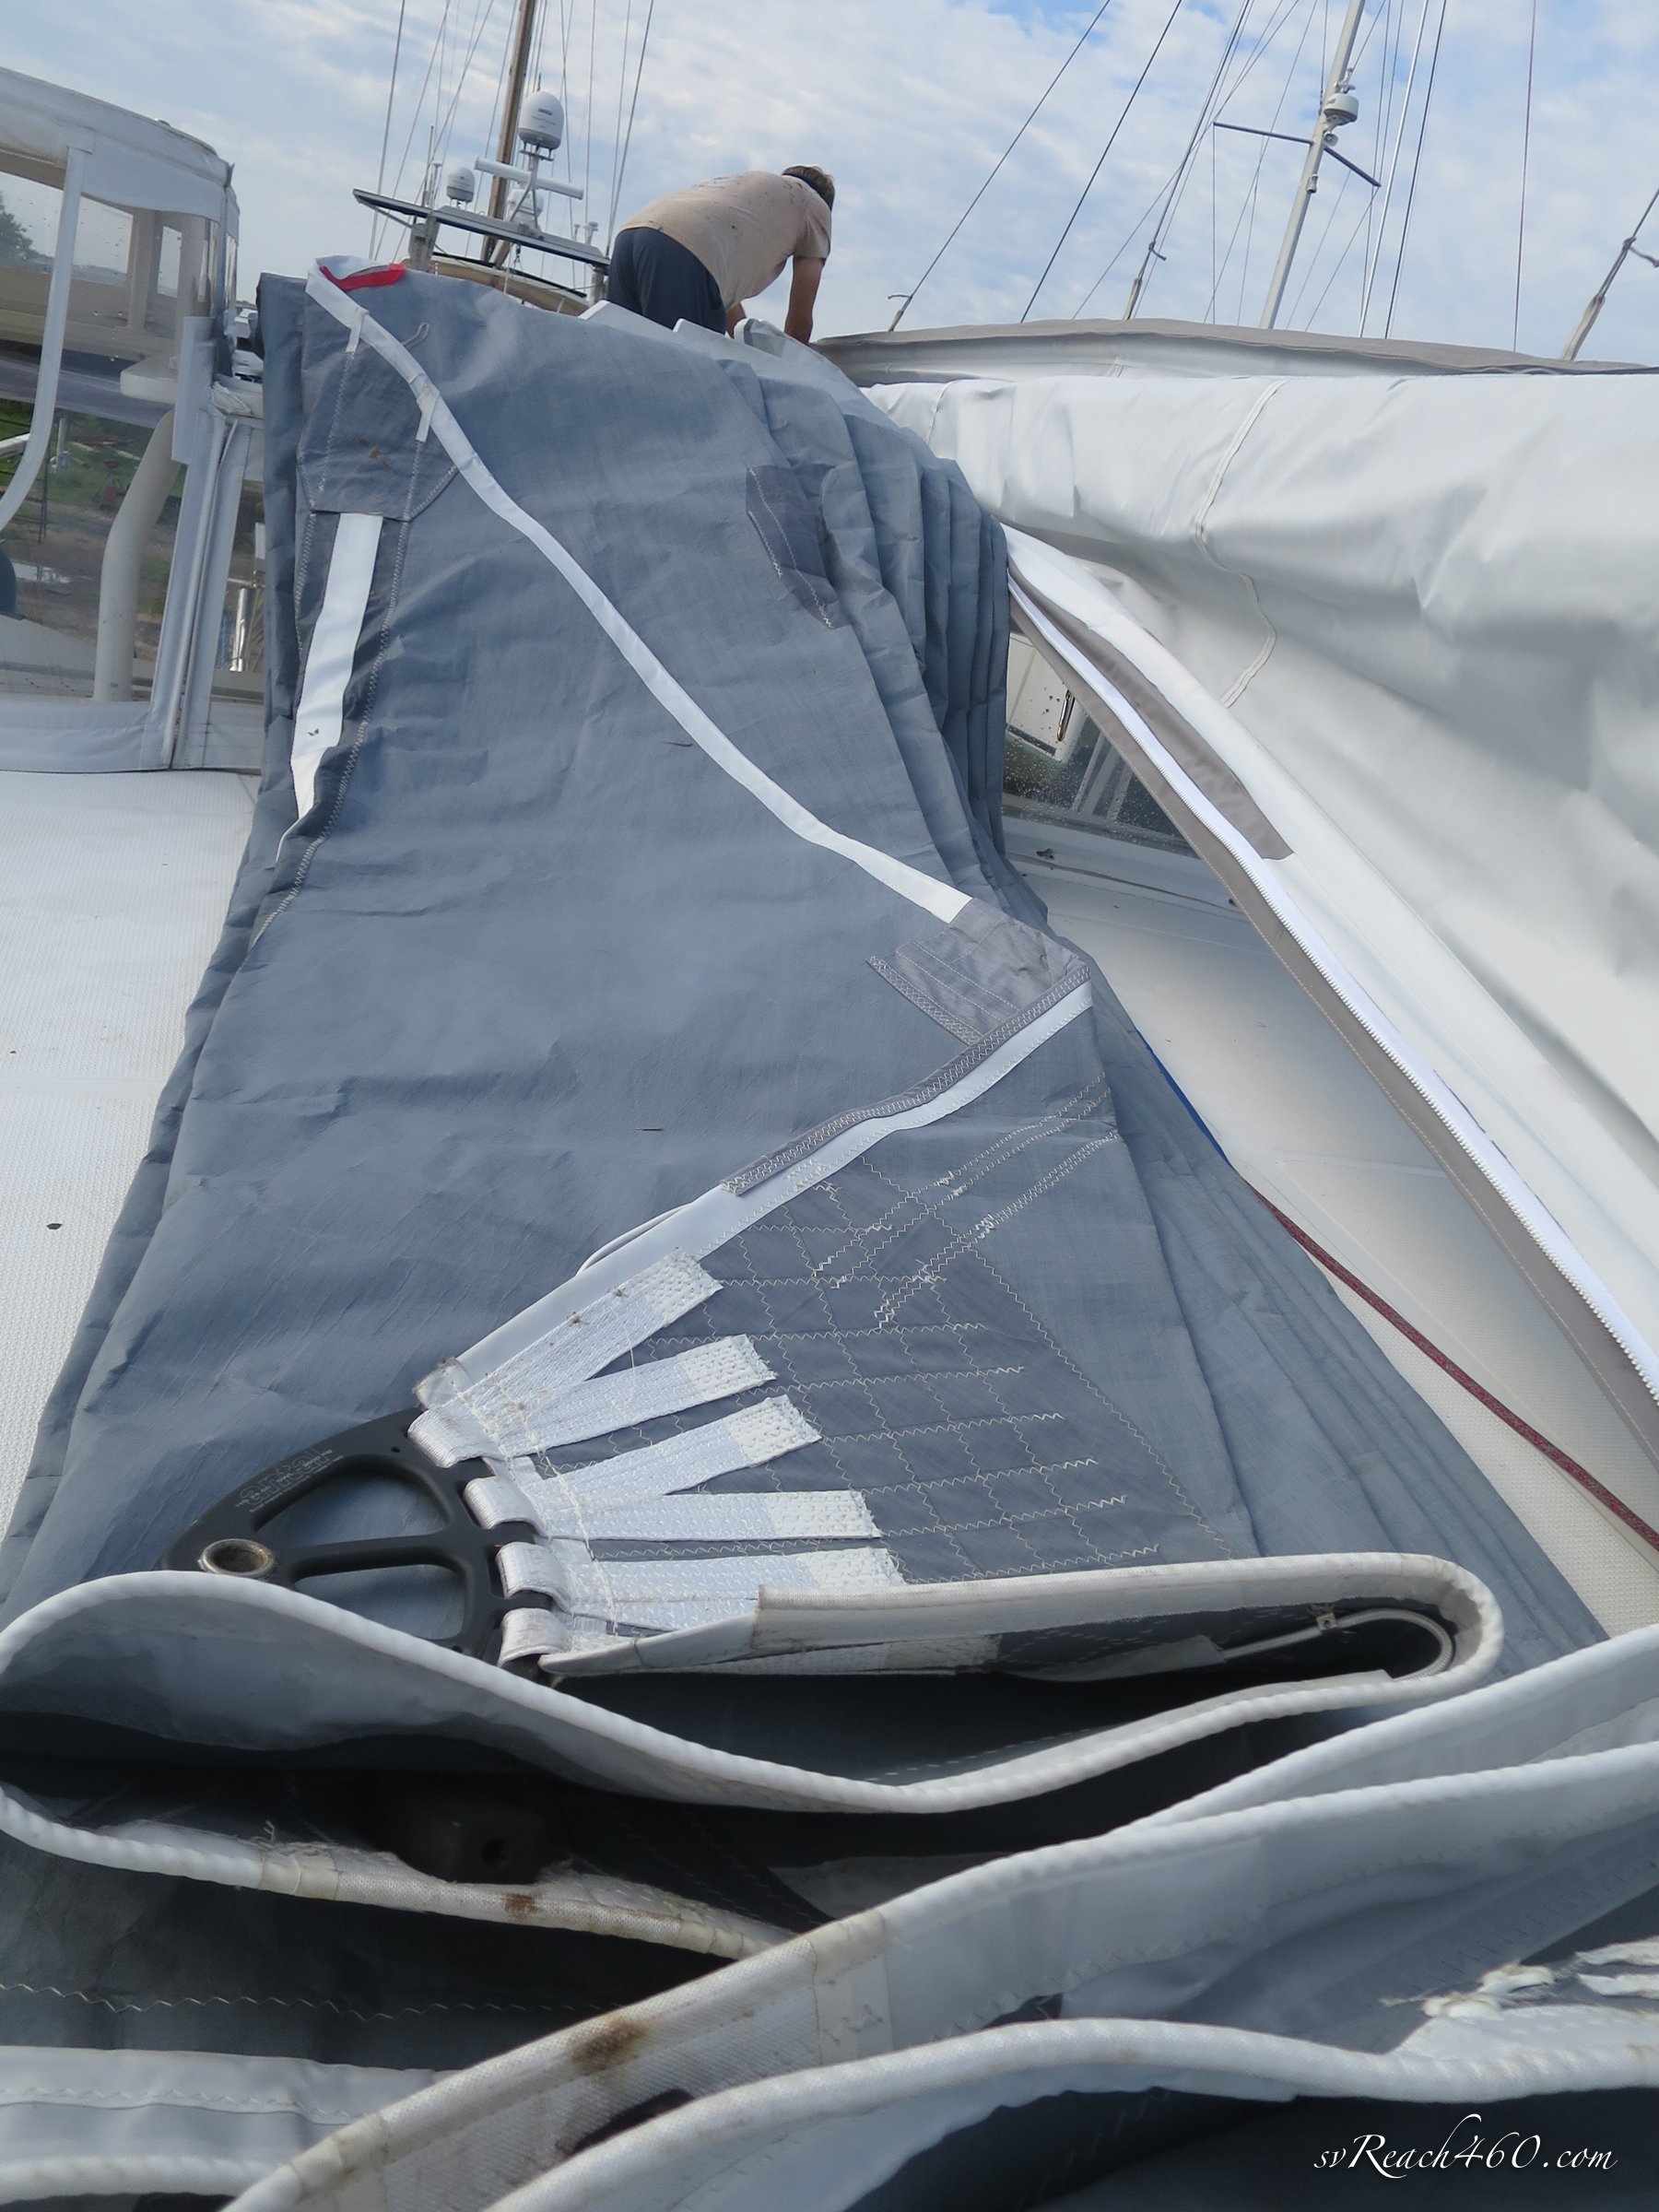
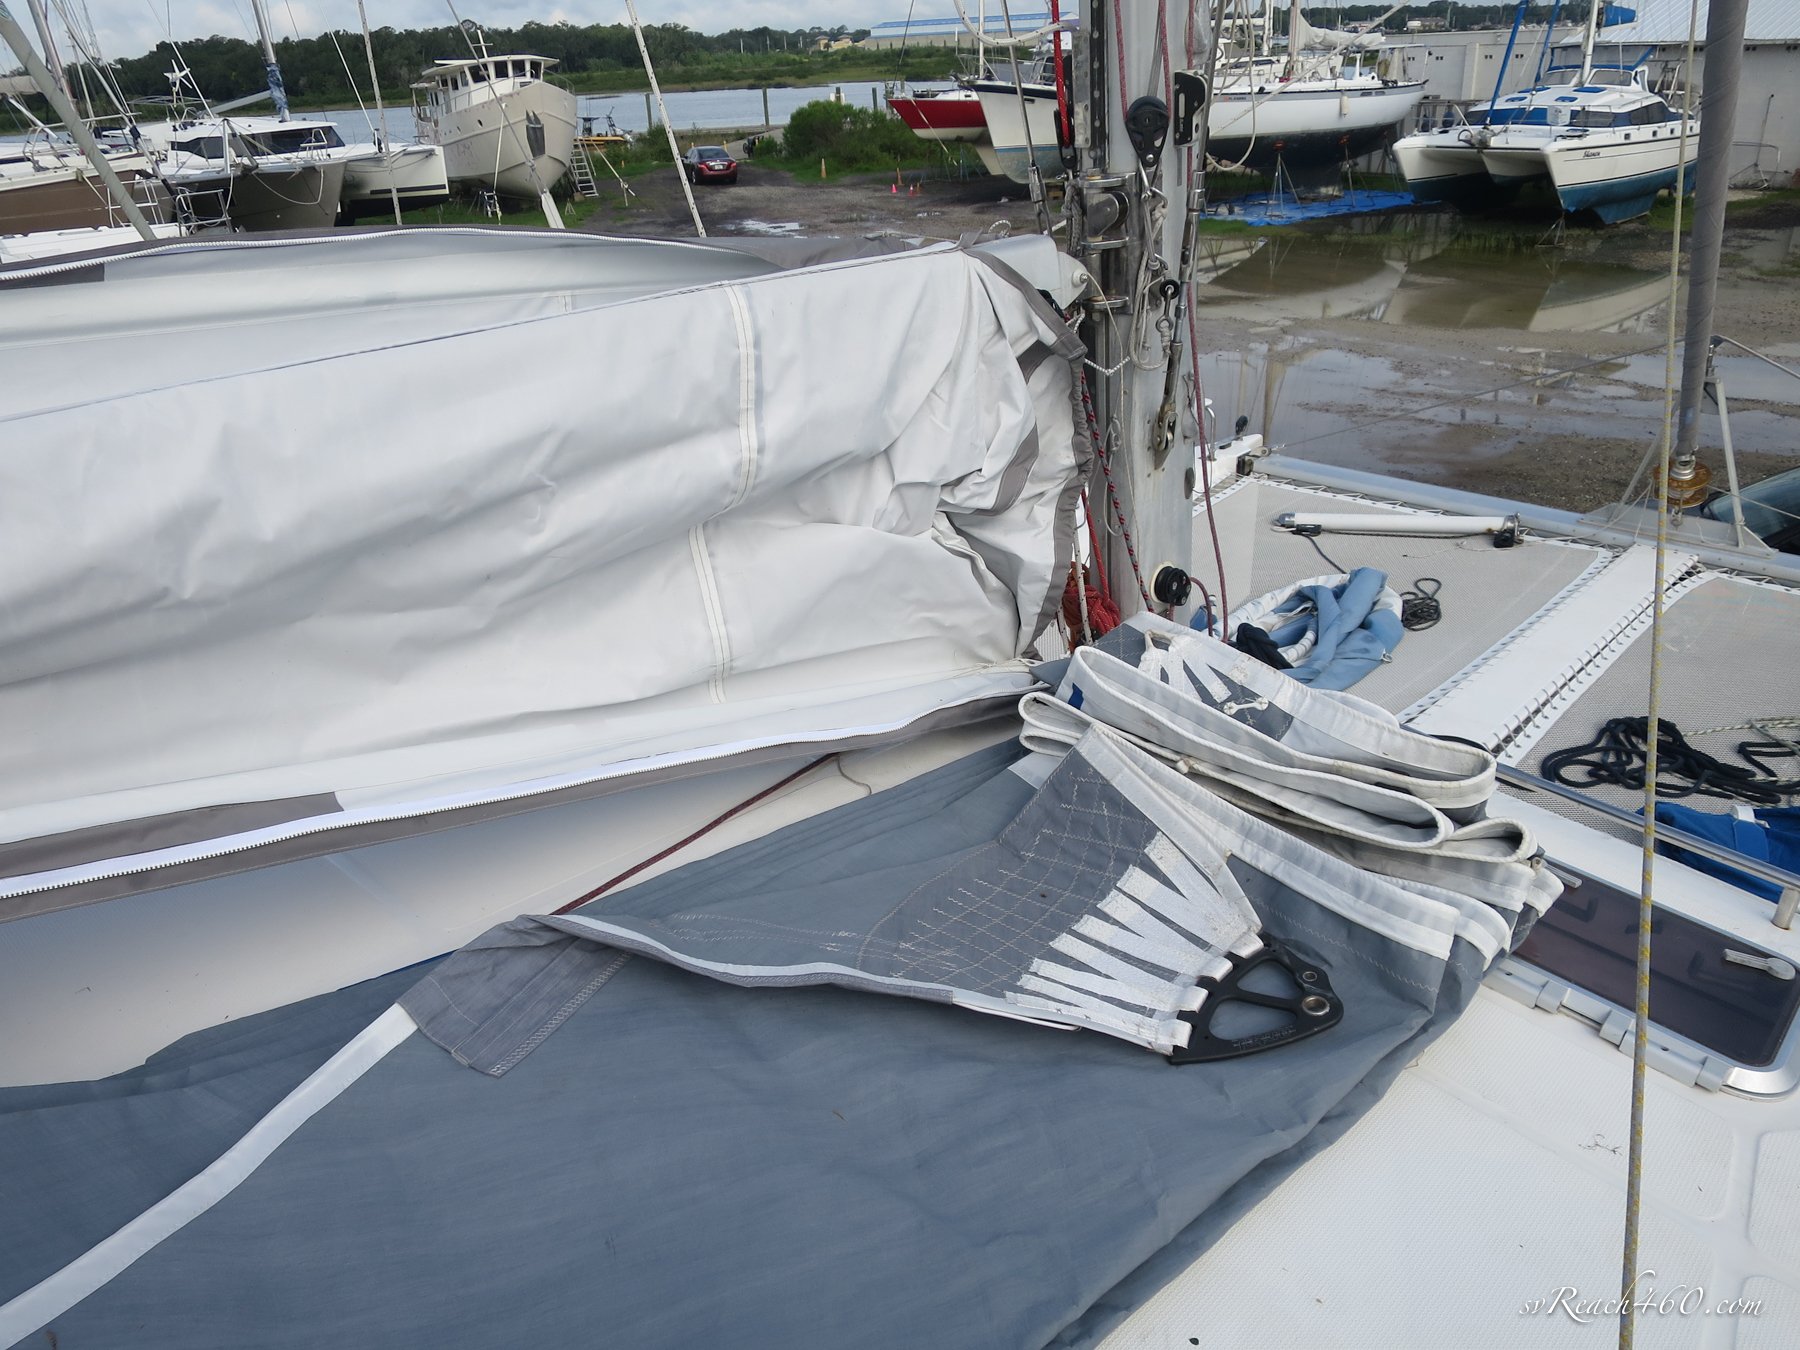
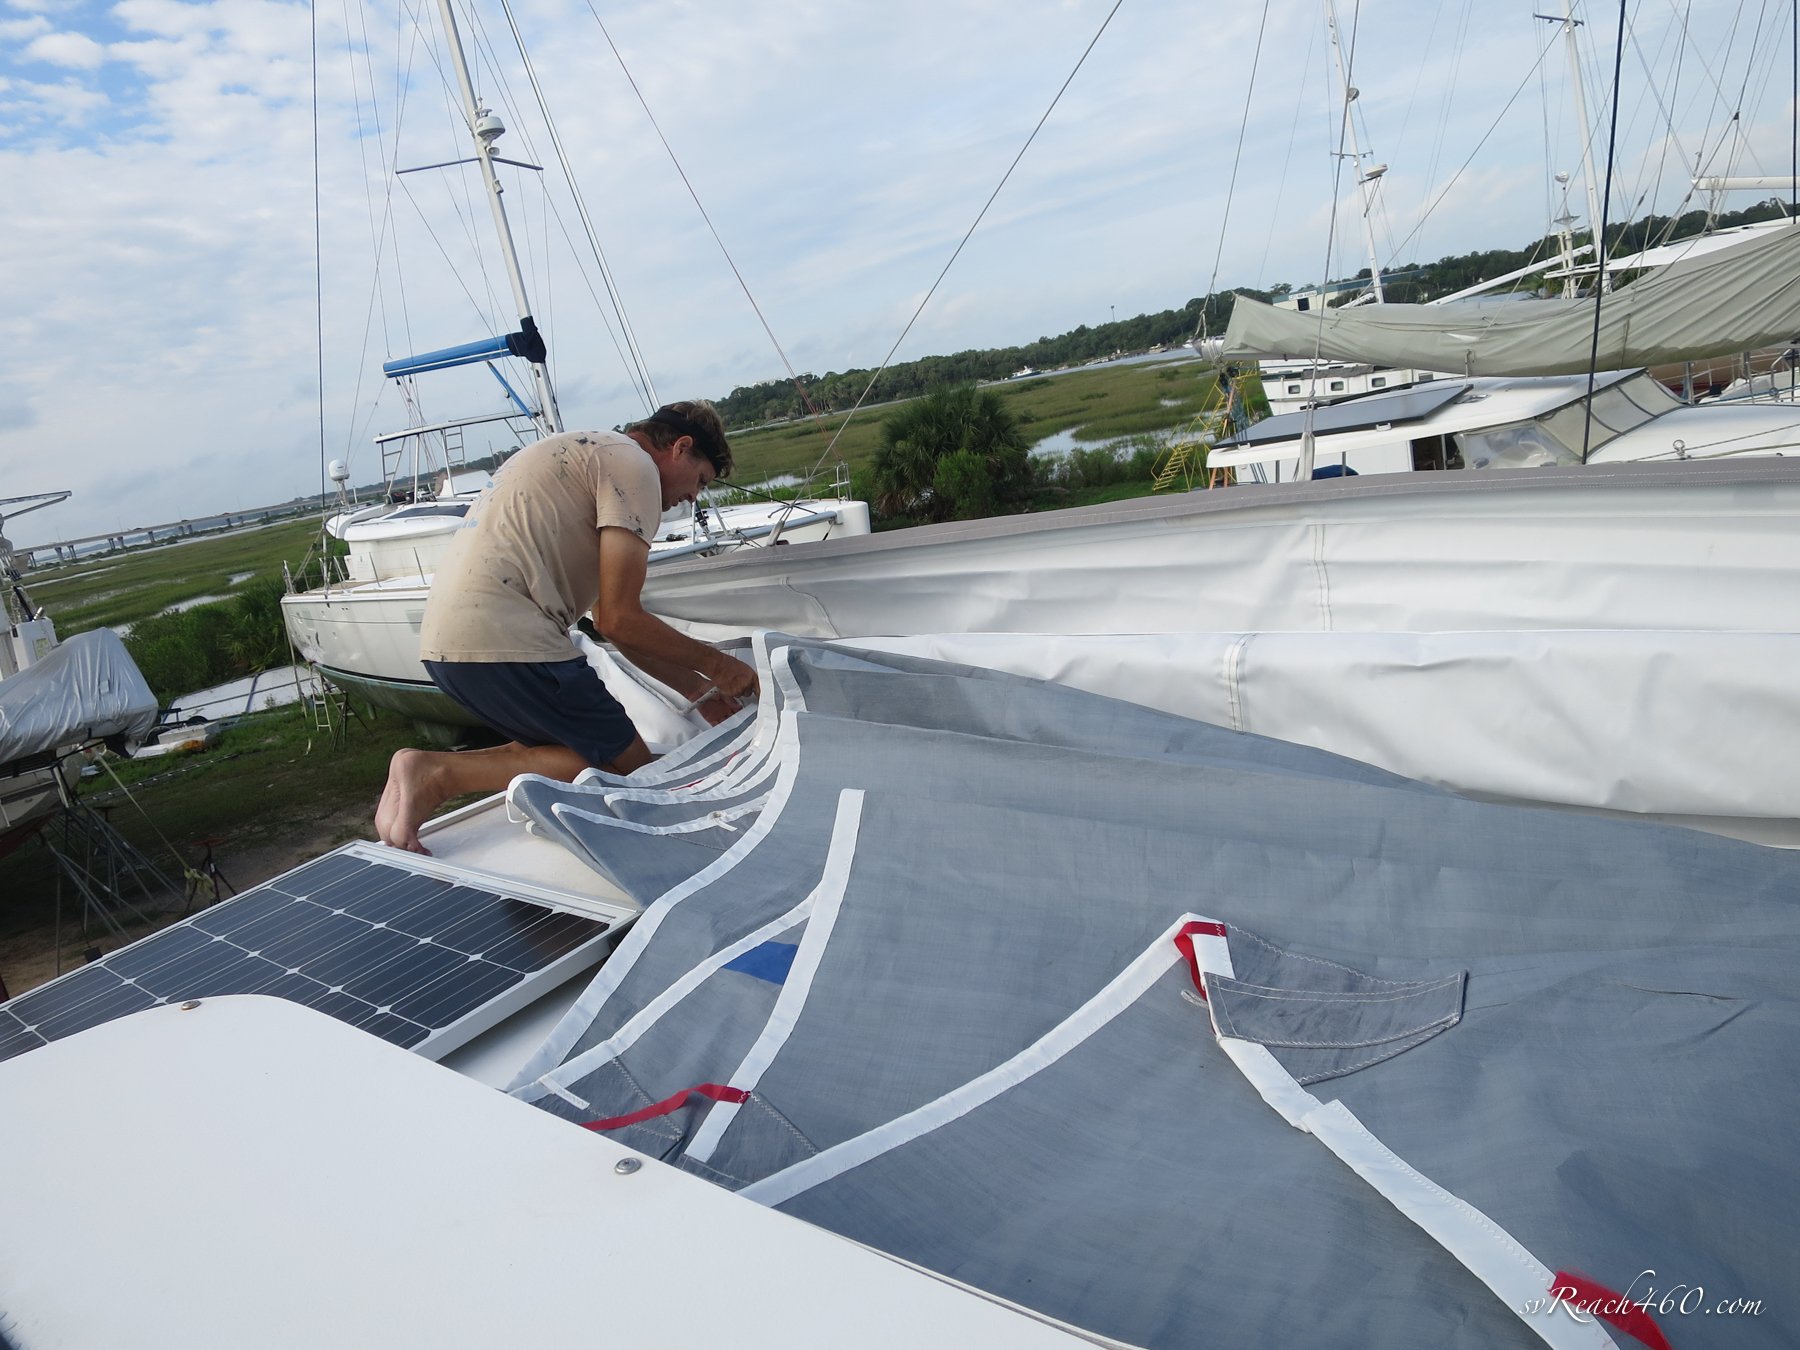
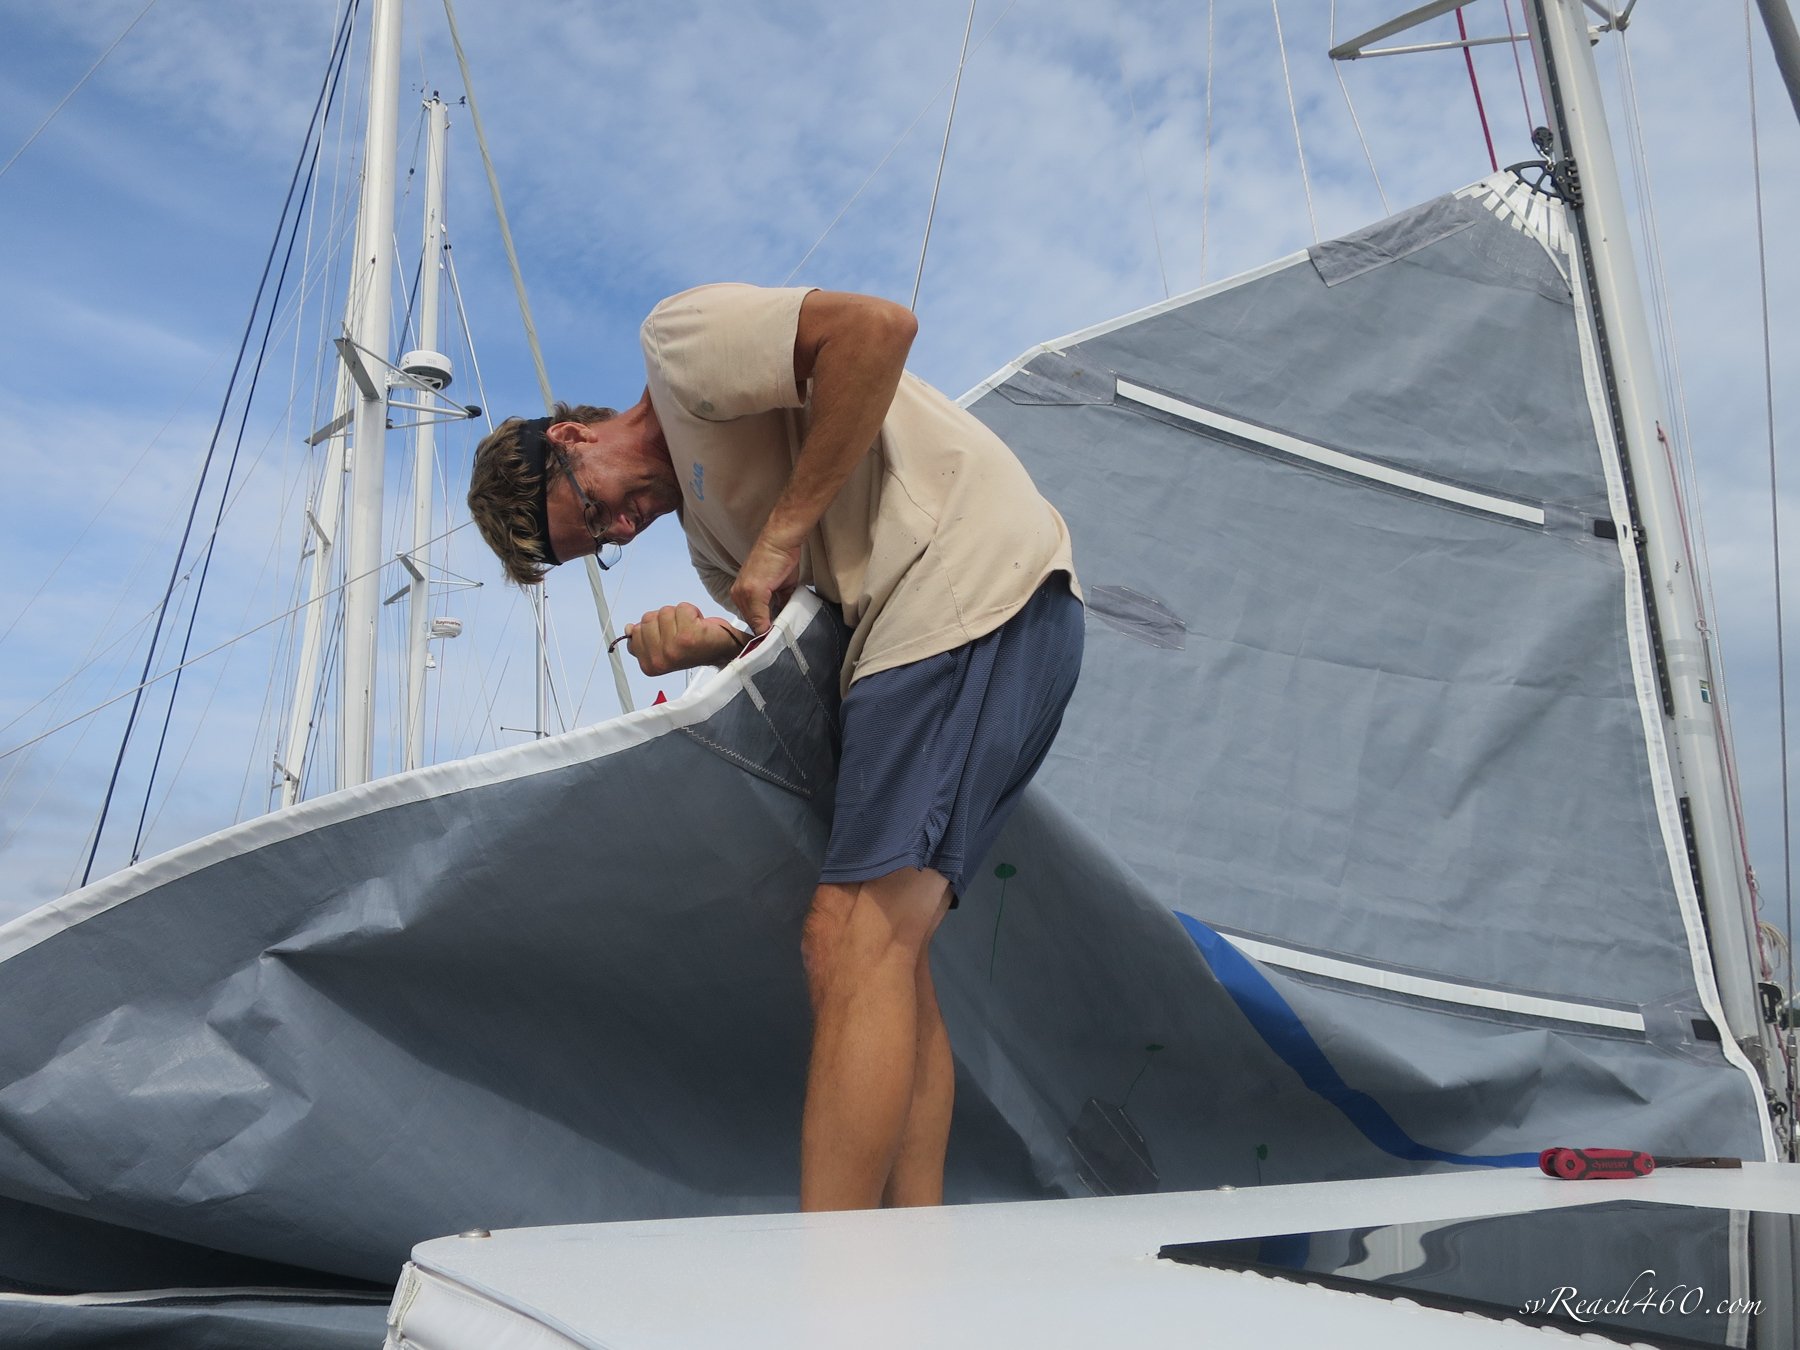
Re-installed the sails and battens
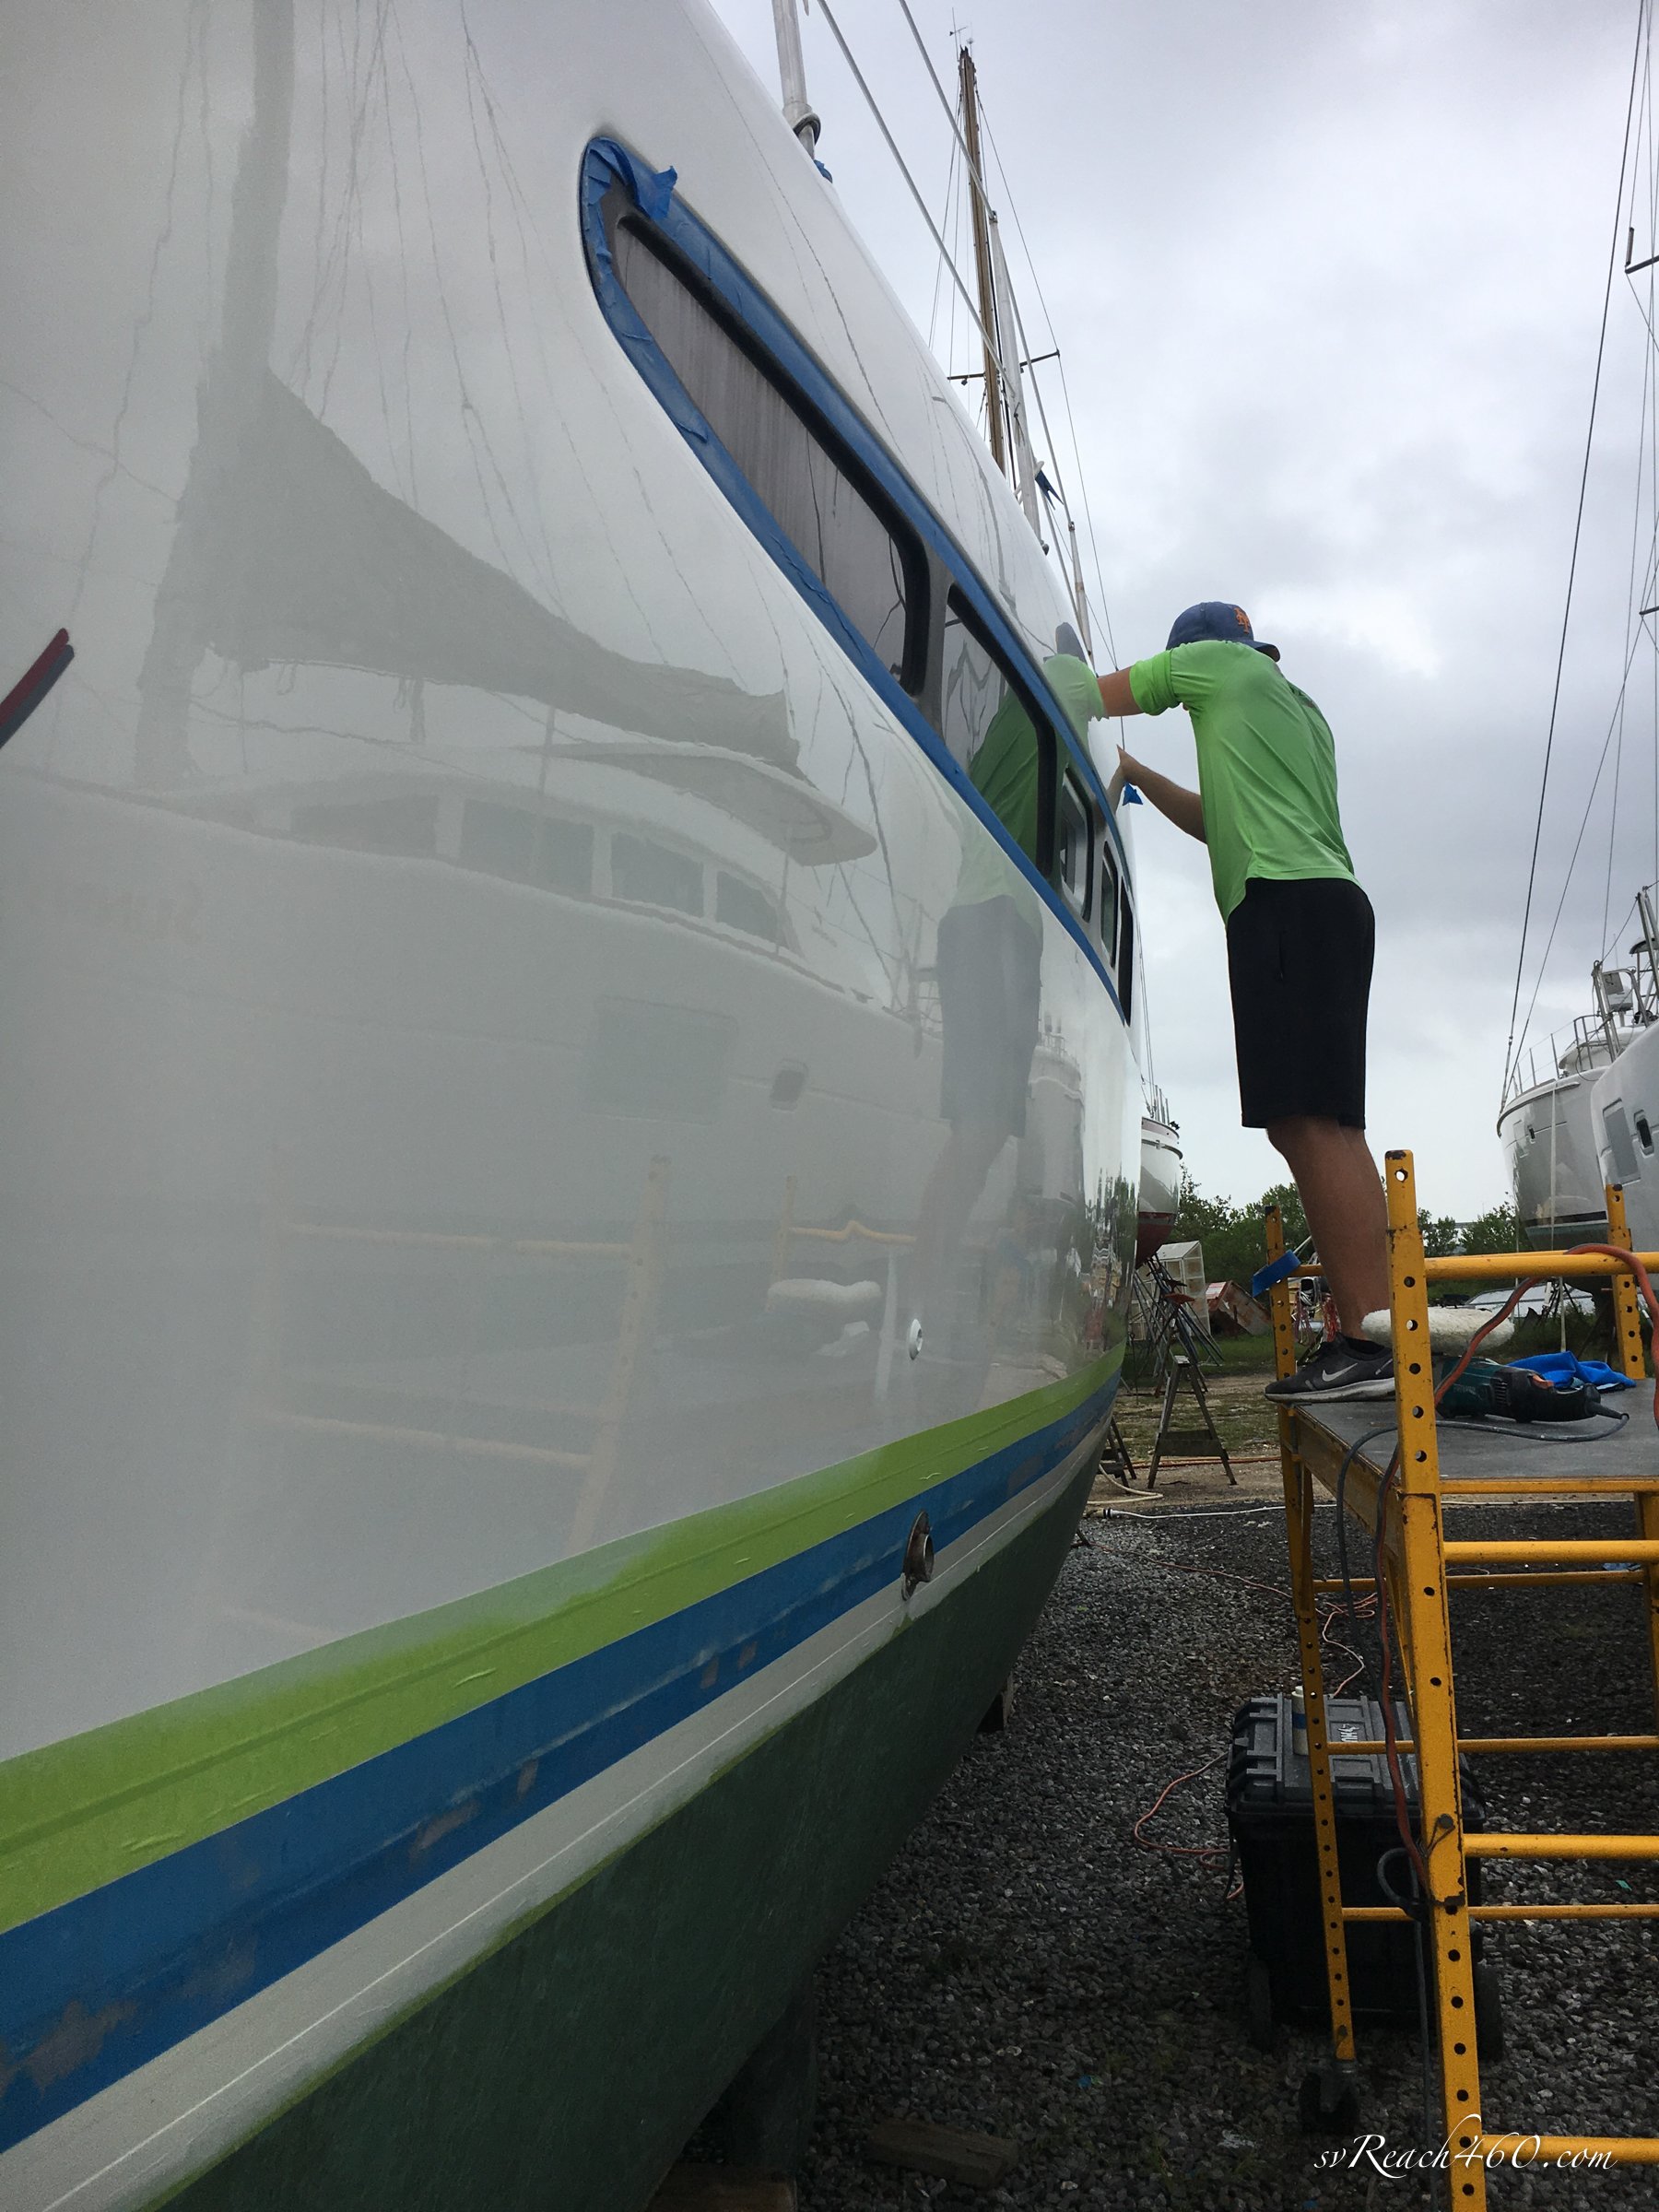
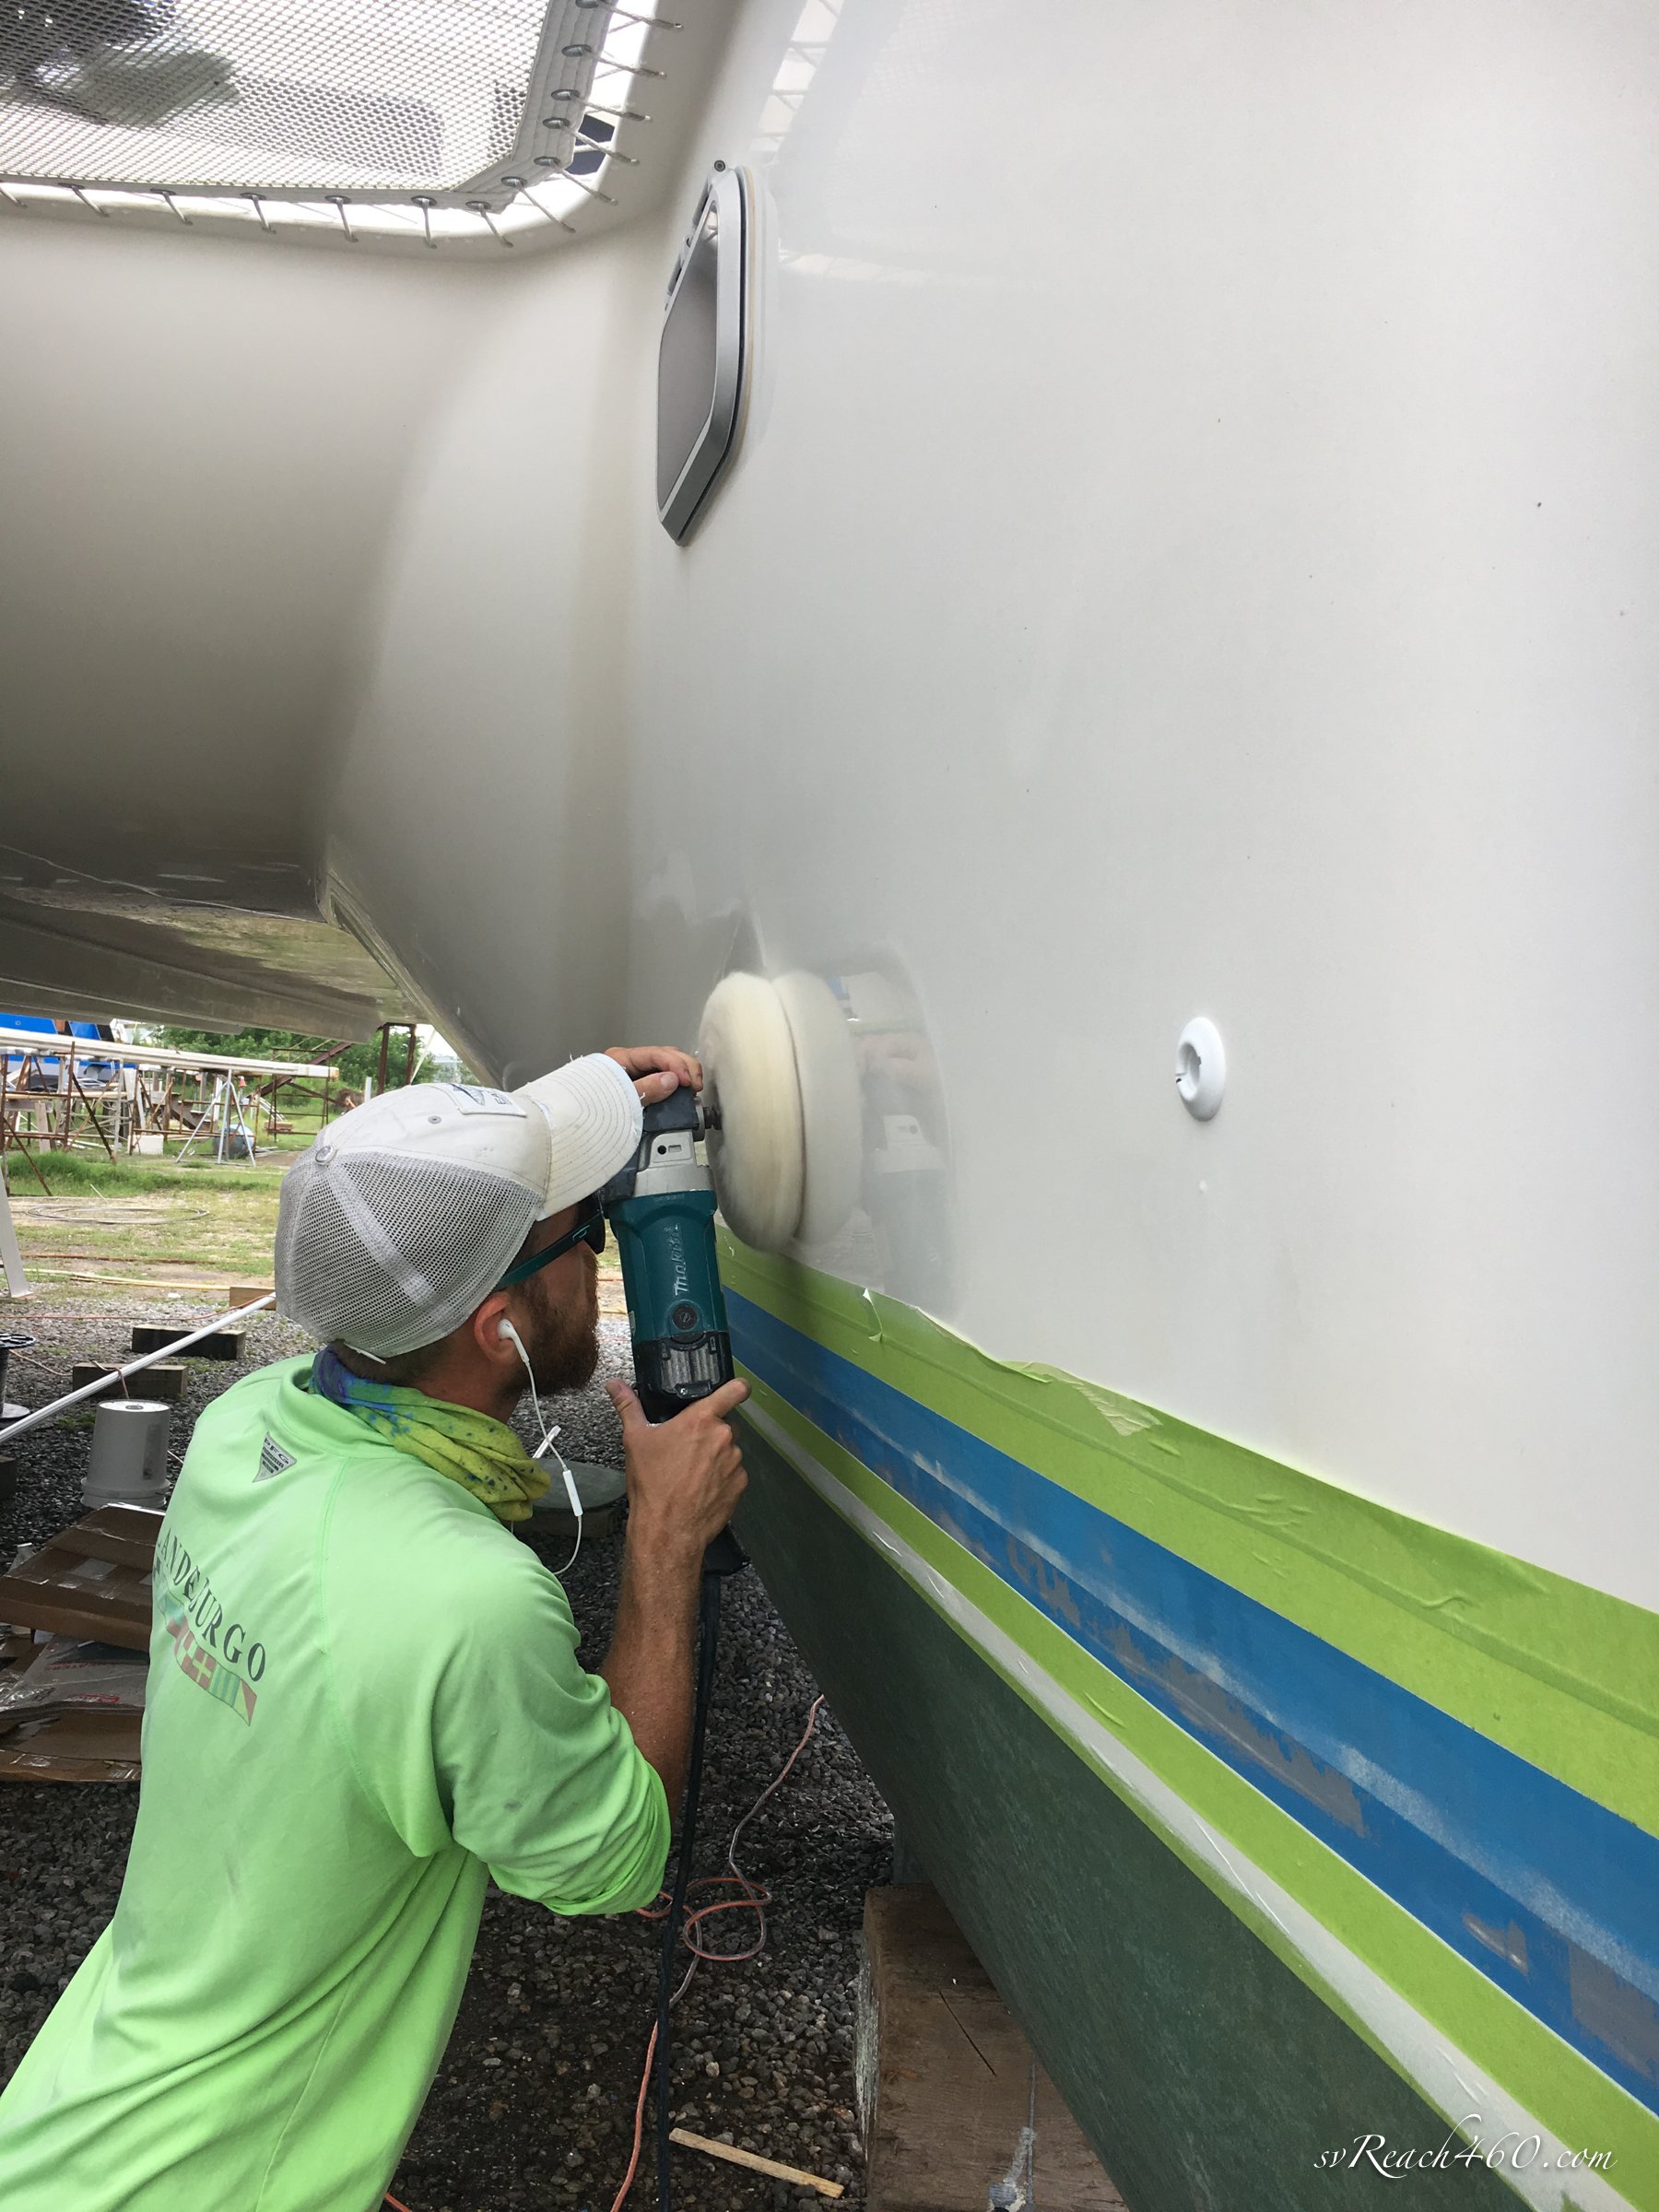
Cleaned the boat and had it polished

Daggerboards
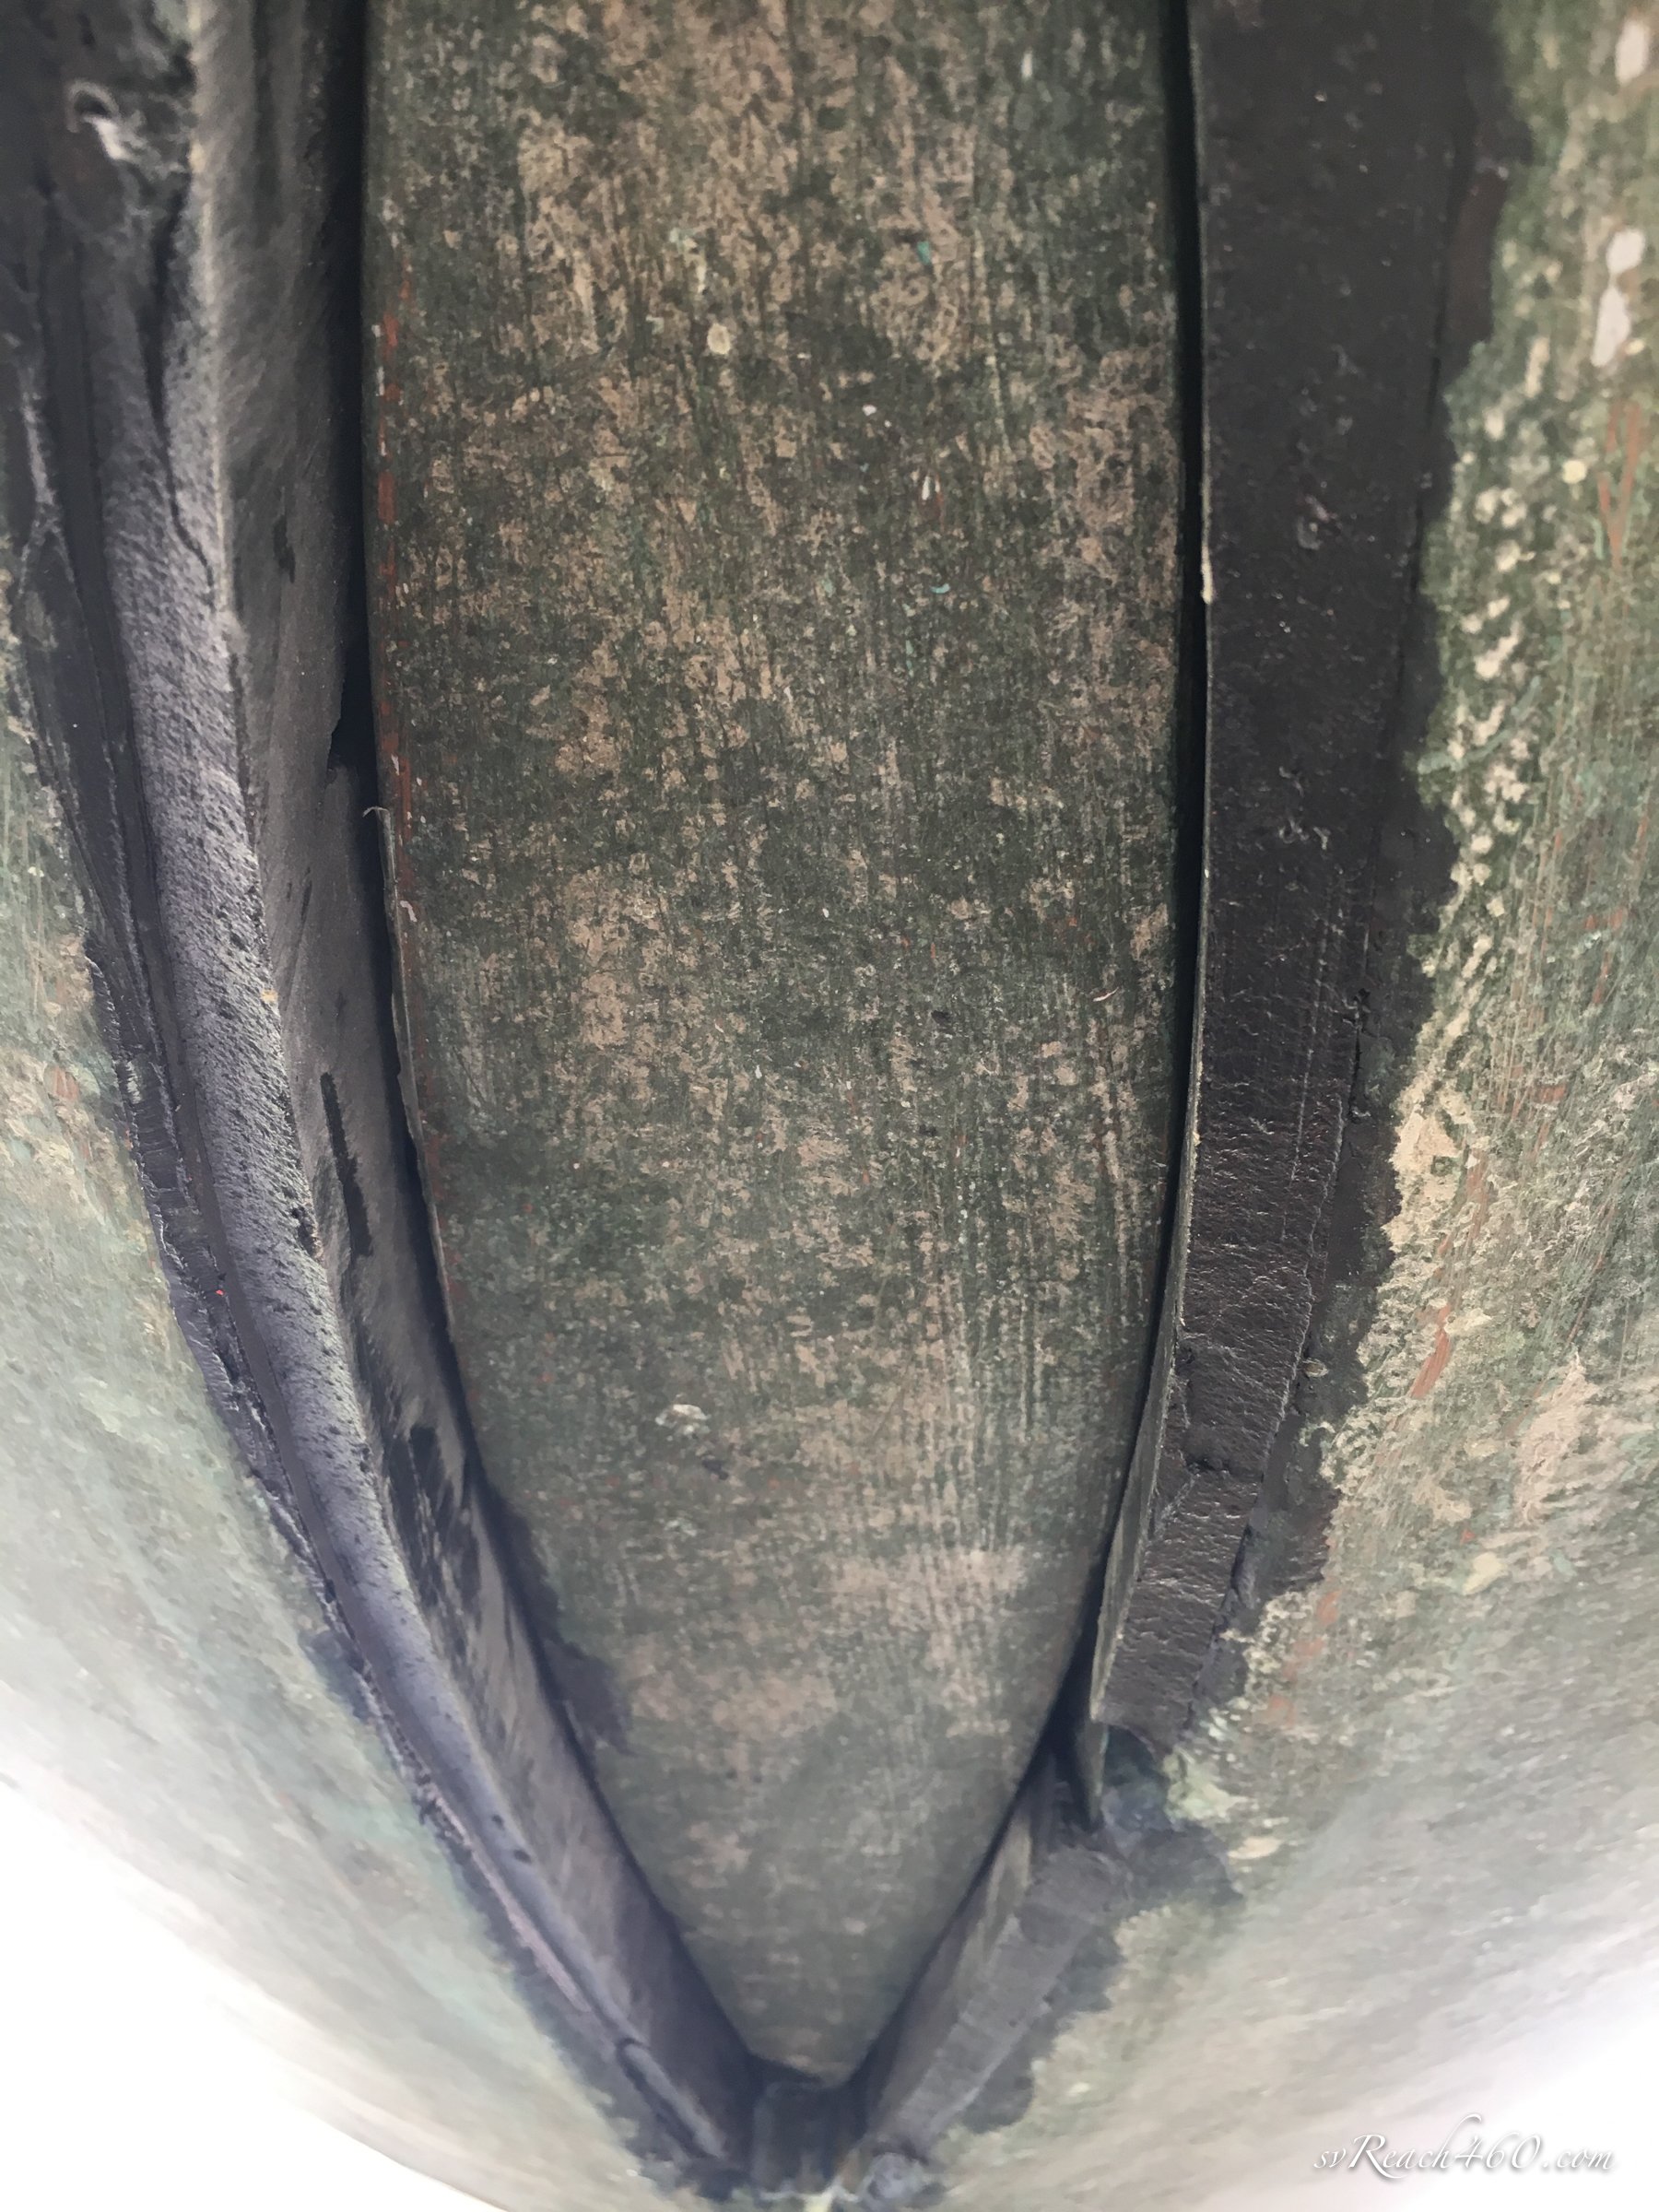
Our daggerboards are around 15’ long, adding 7’ of draft when all the way down. They travel down inboard of the boat in thick cases, integral to the interior layout. When at anchor or underway, they do move around in the case a bit, making a light banging noise, unless we put a doorstopper in them - Lol.
Mark got the idea from our friend Charlie to chock in the bottom of the board case. He used epoxy mixed with graphite powder to make it slippery for the daggerboards to be able to go up and down with ease.
To do this, he wrapped the bottom of the boards with packing tape out to around 1/16” thick and waxed the surface. The insides of the trunk case needed to be sanded to rough it up for the epoxy.
He then centered the board with a few sticks and inserted the thickened epoxy to cure.


Sprit Stays
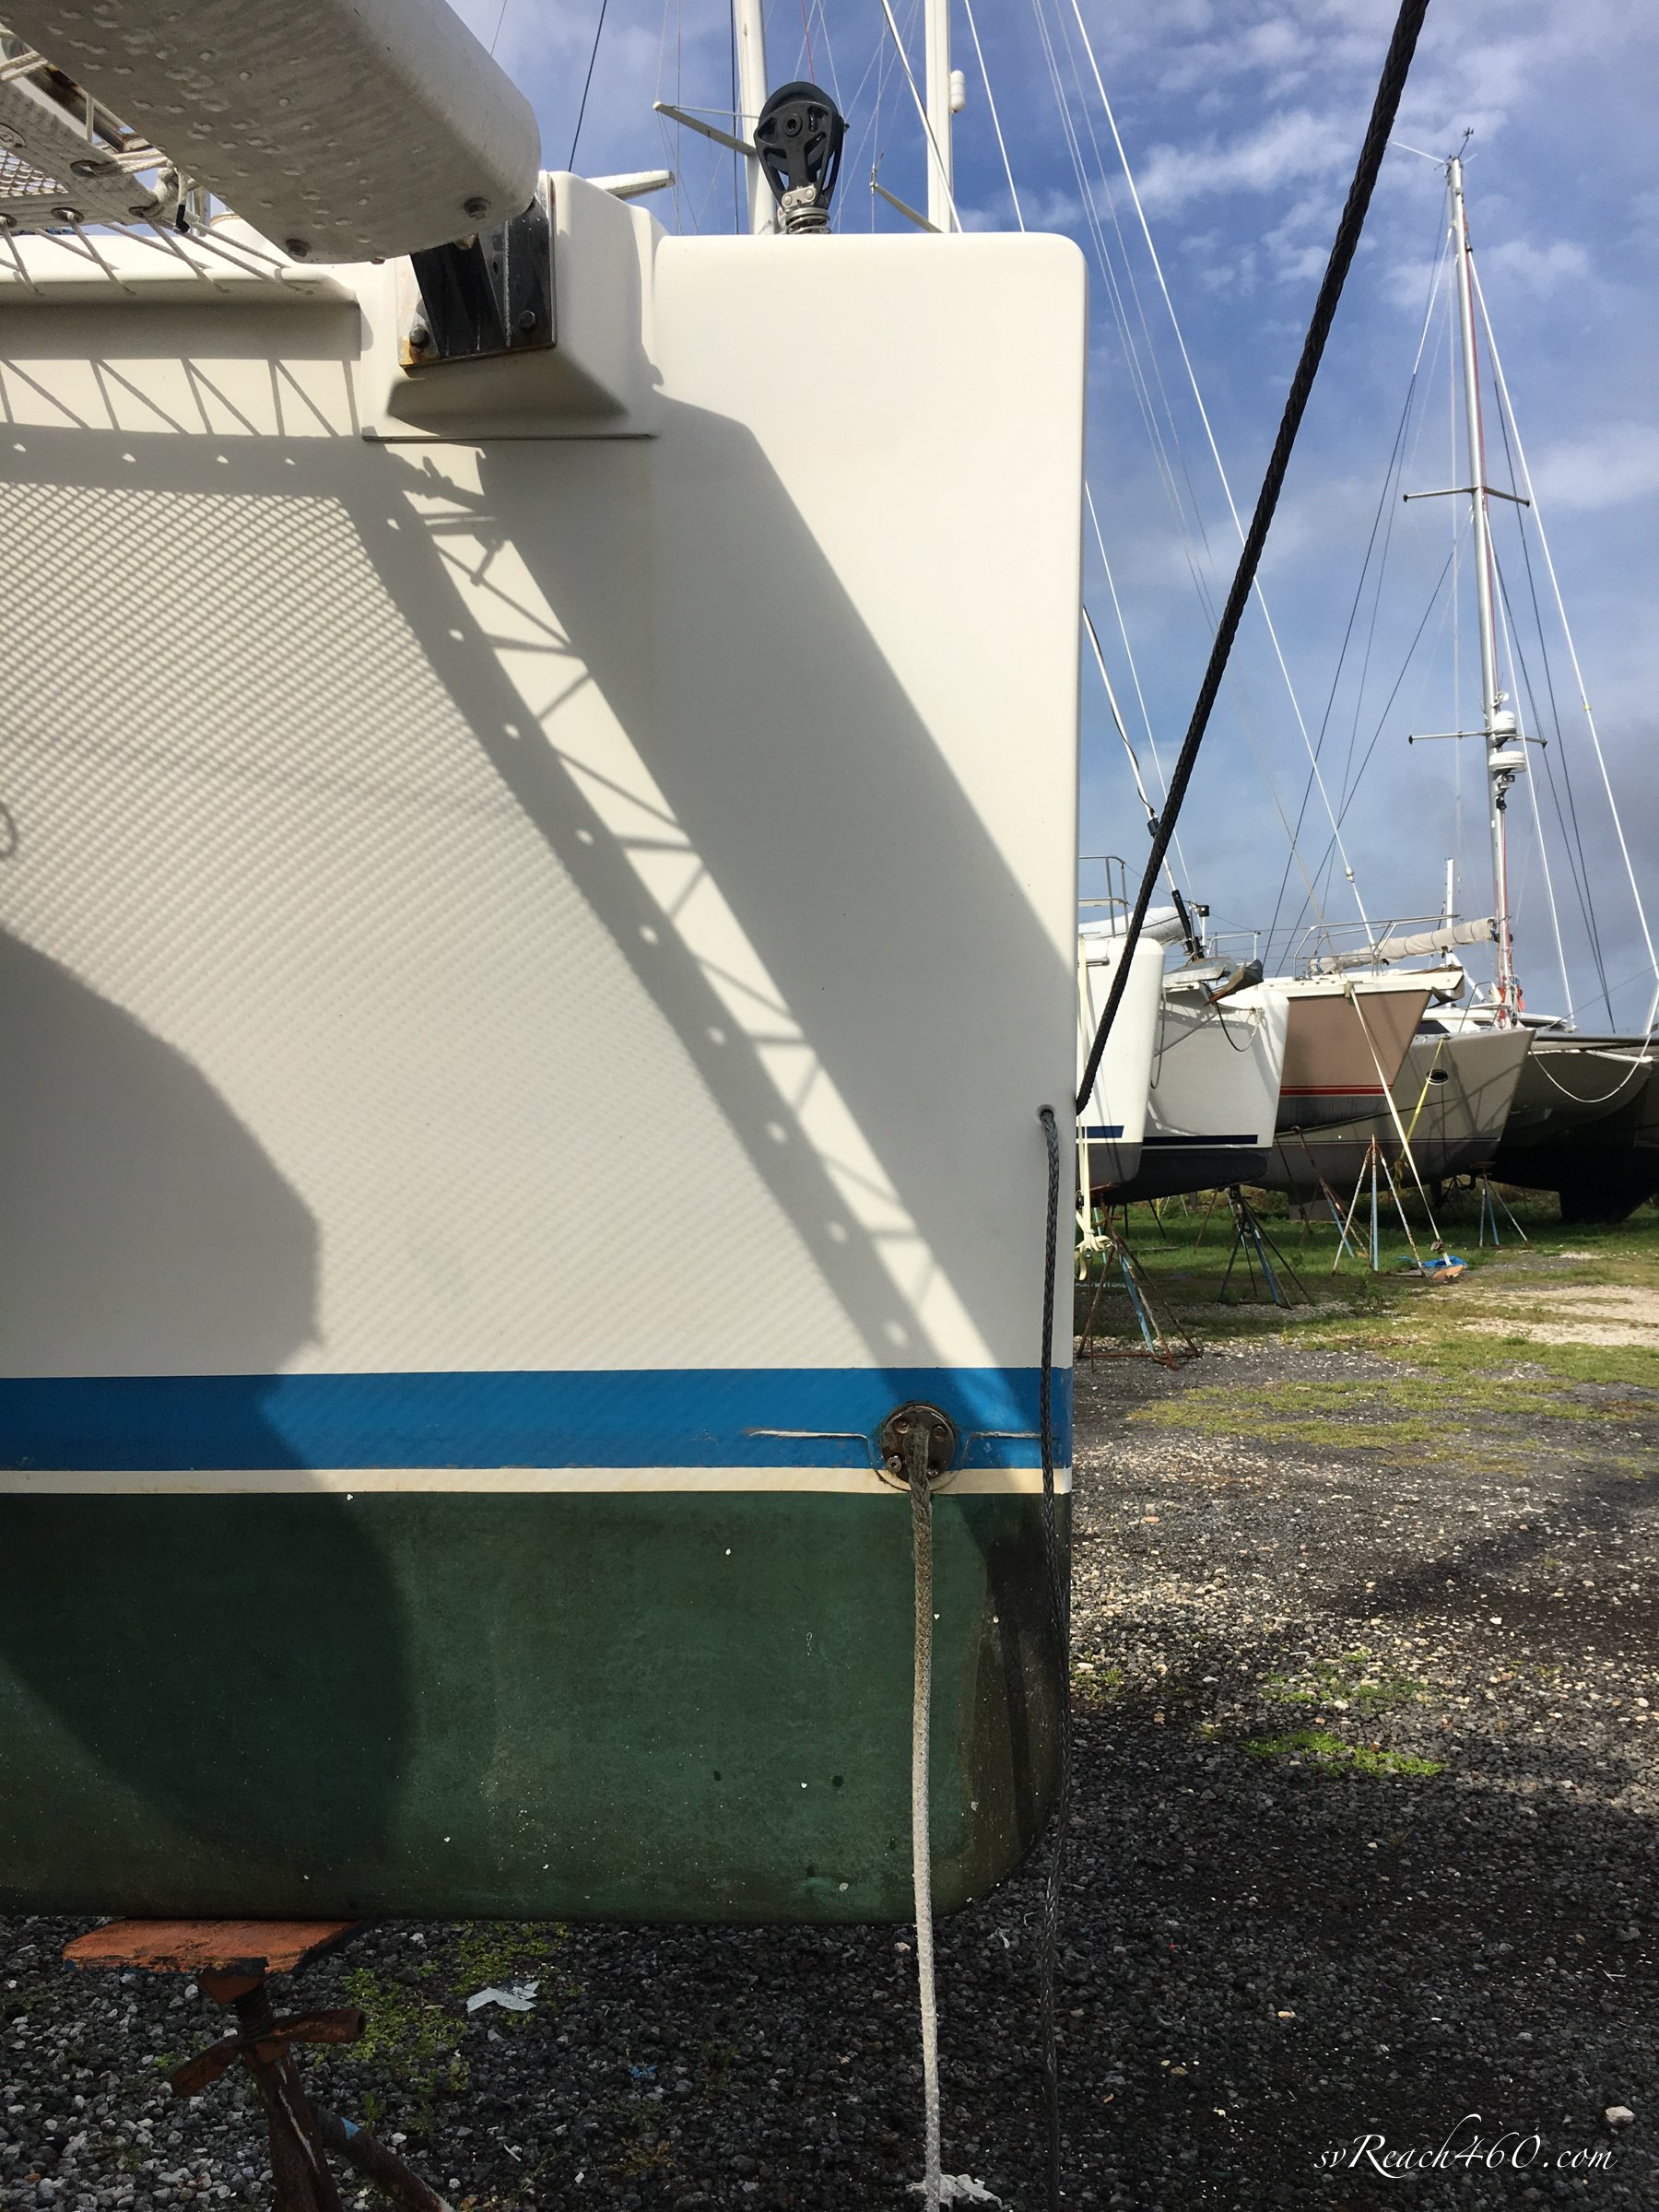
The padeyes connecting the sprit stays were mounted low at the waterline and vulnerable to breakage, since they were only screwed into the glass at the bow with no backing plates. Not great for withstanding the forces there, especially under sail.

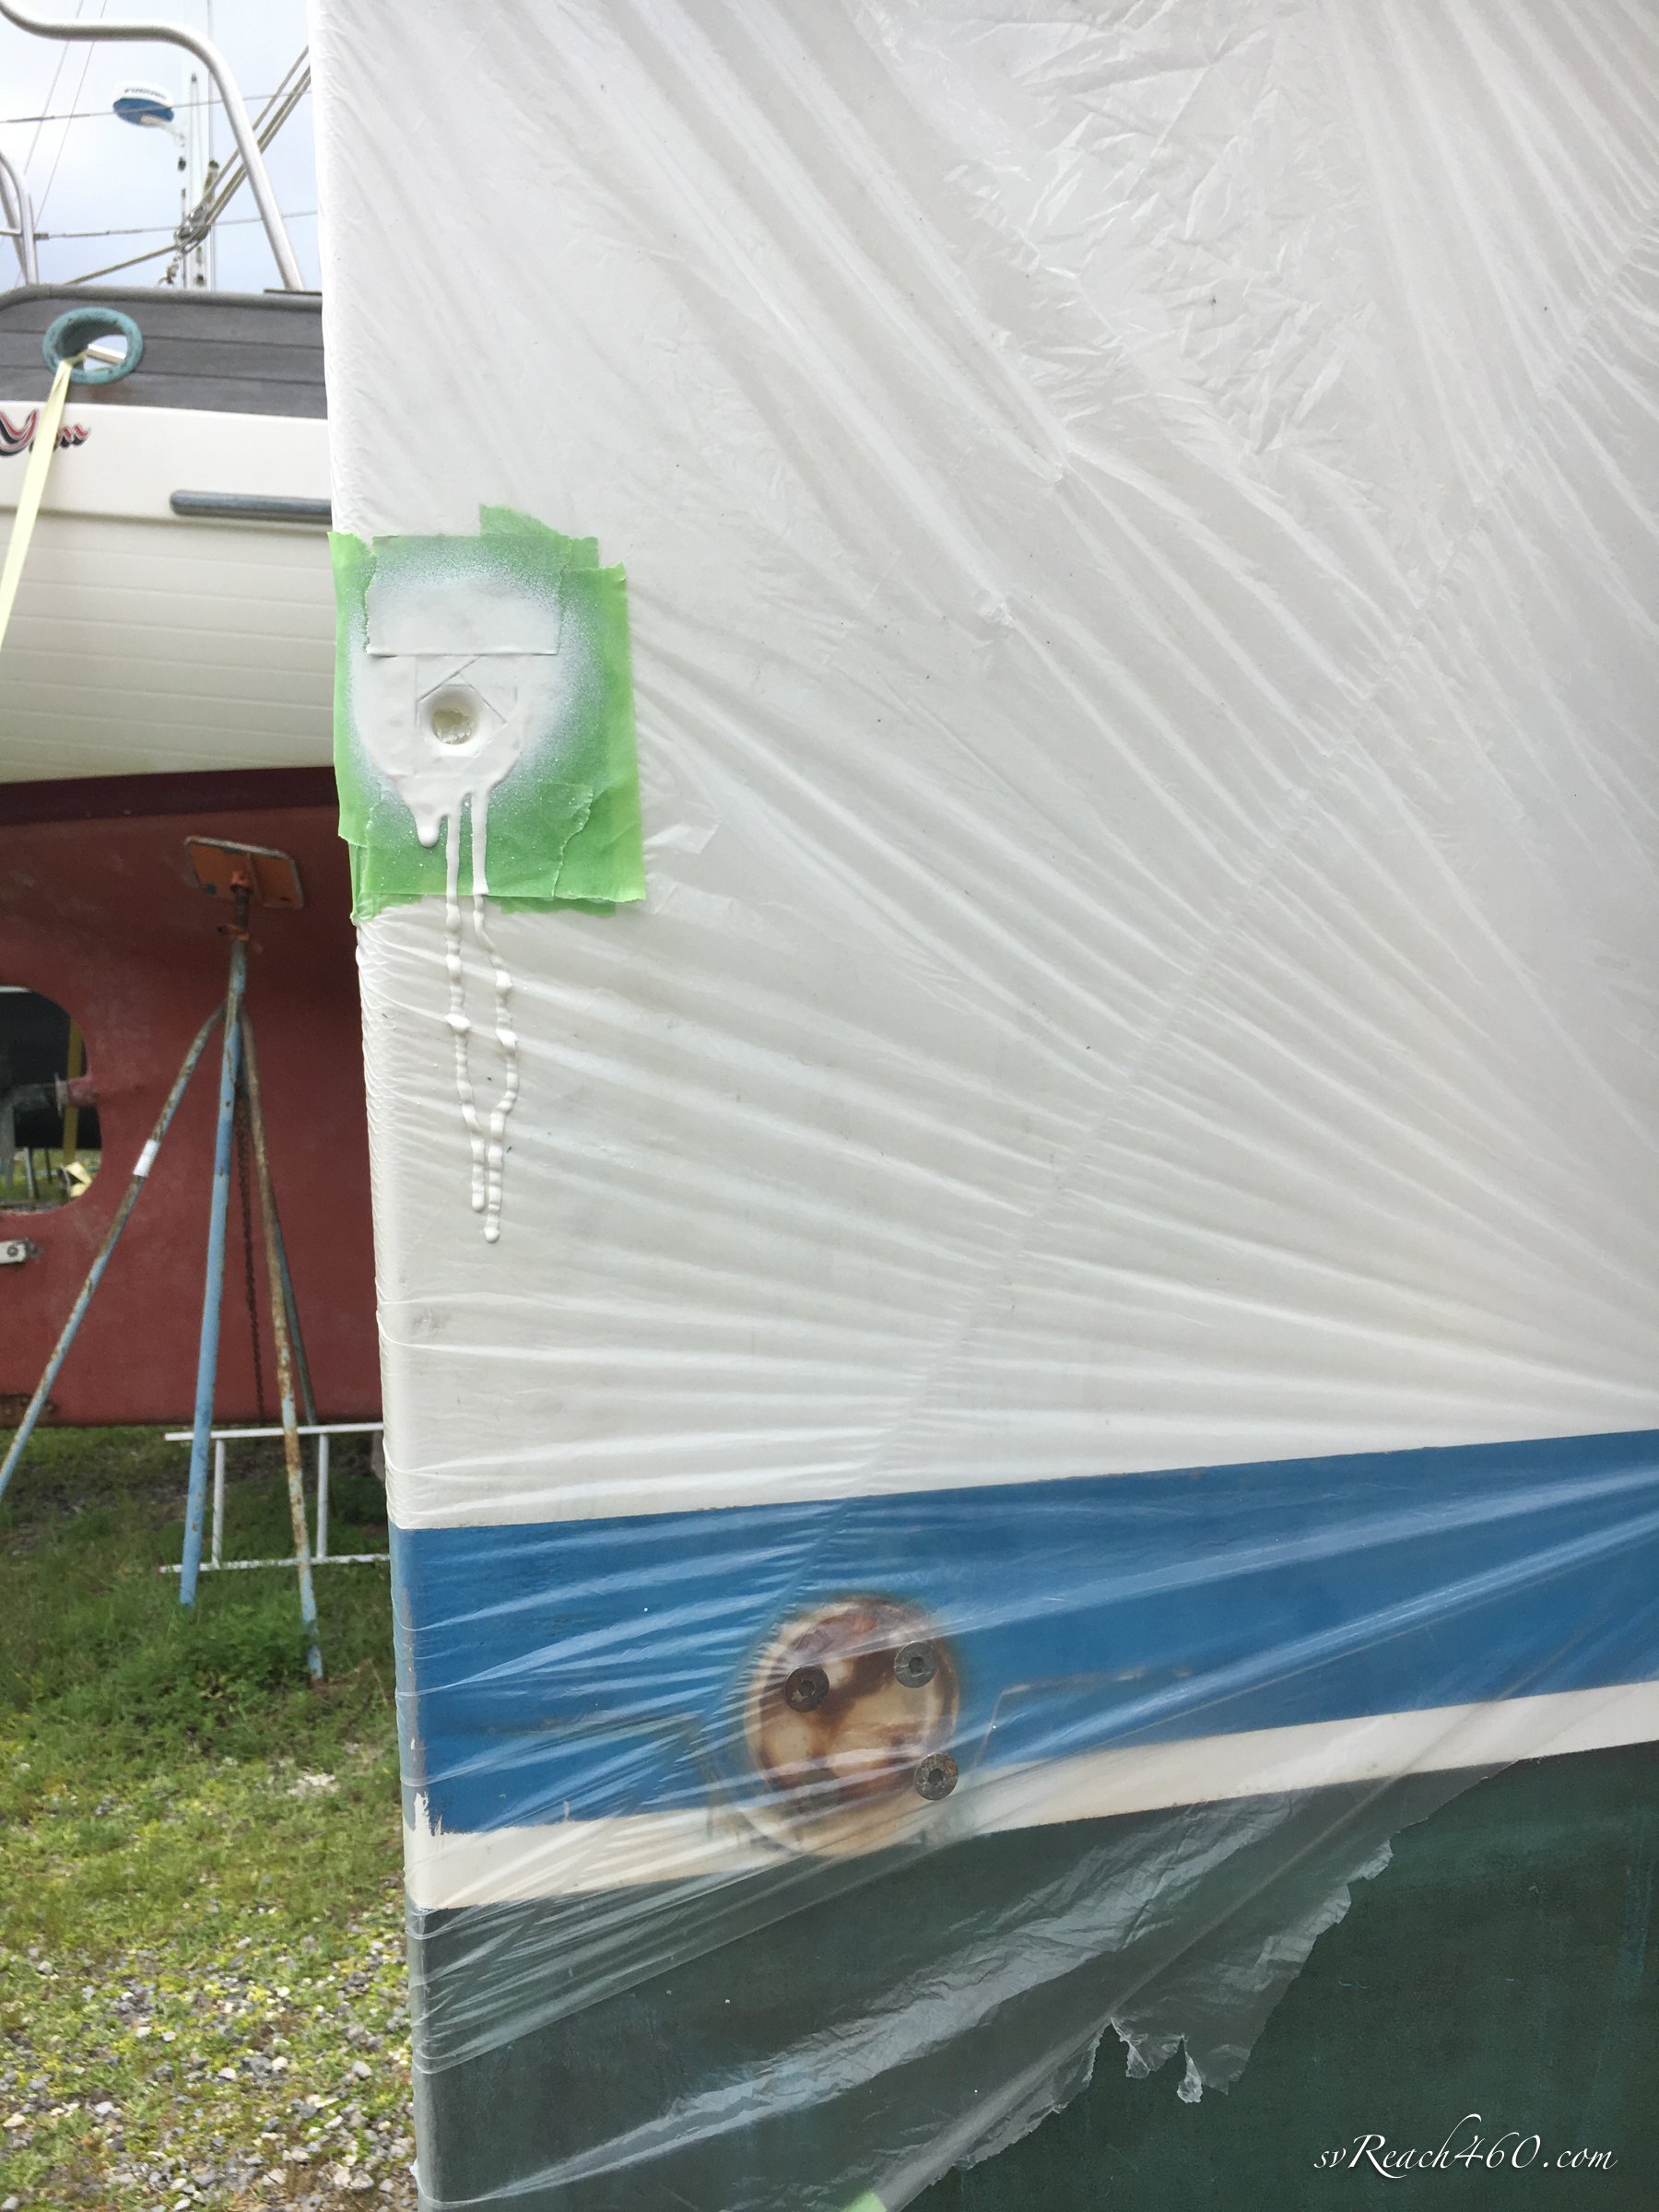
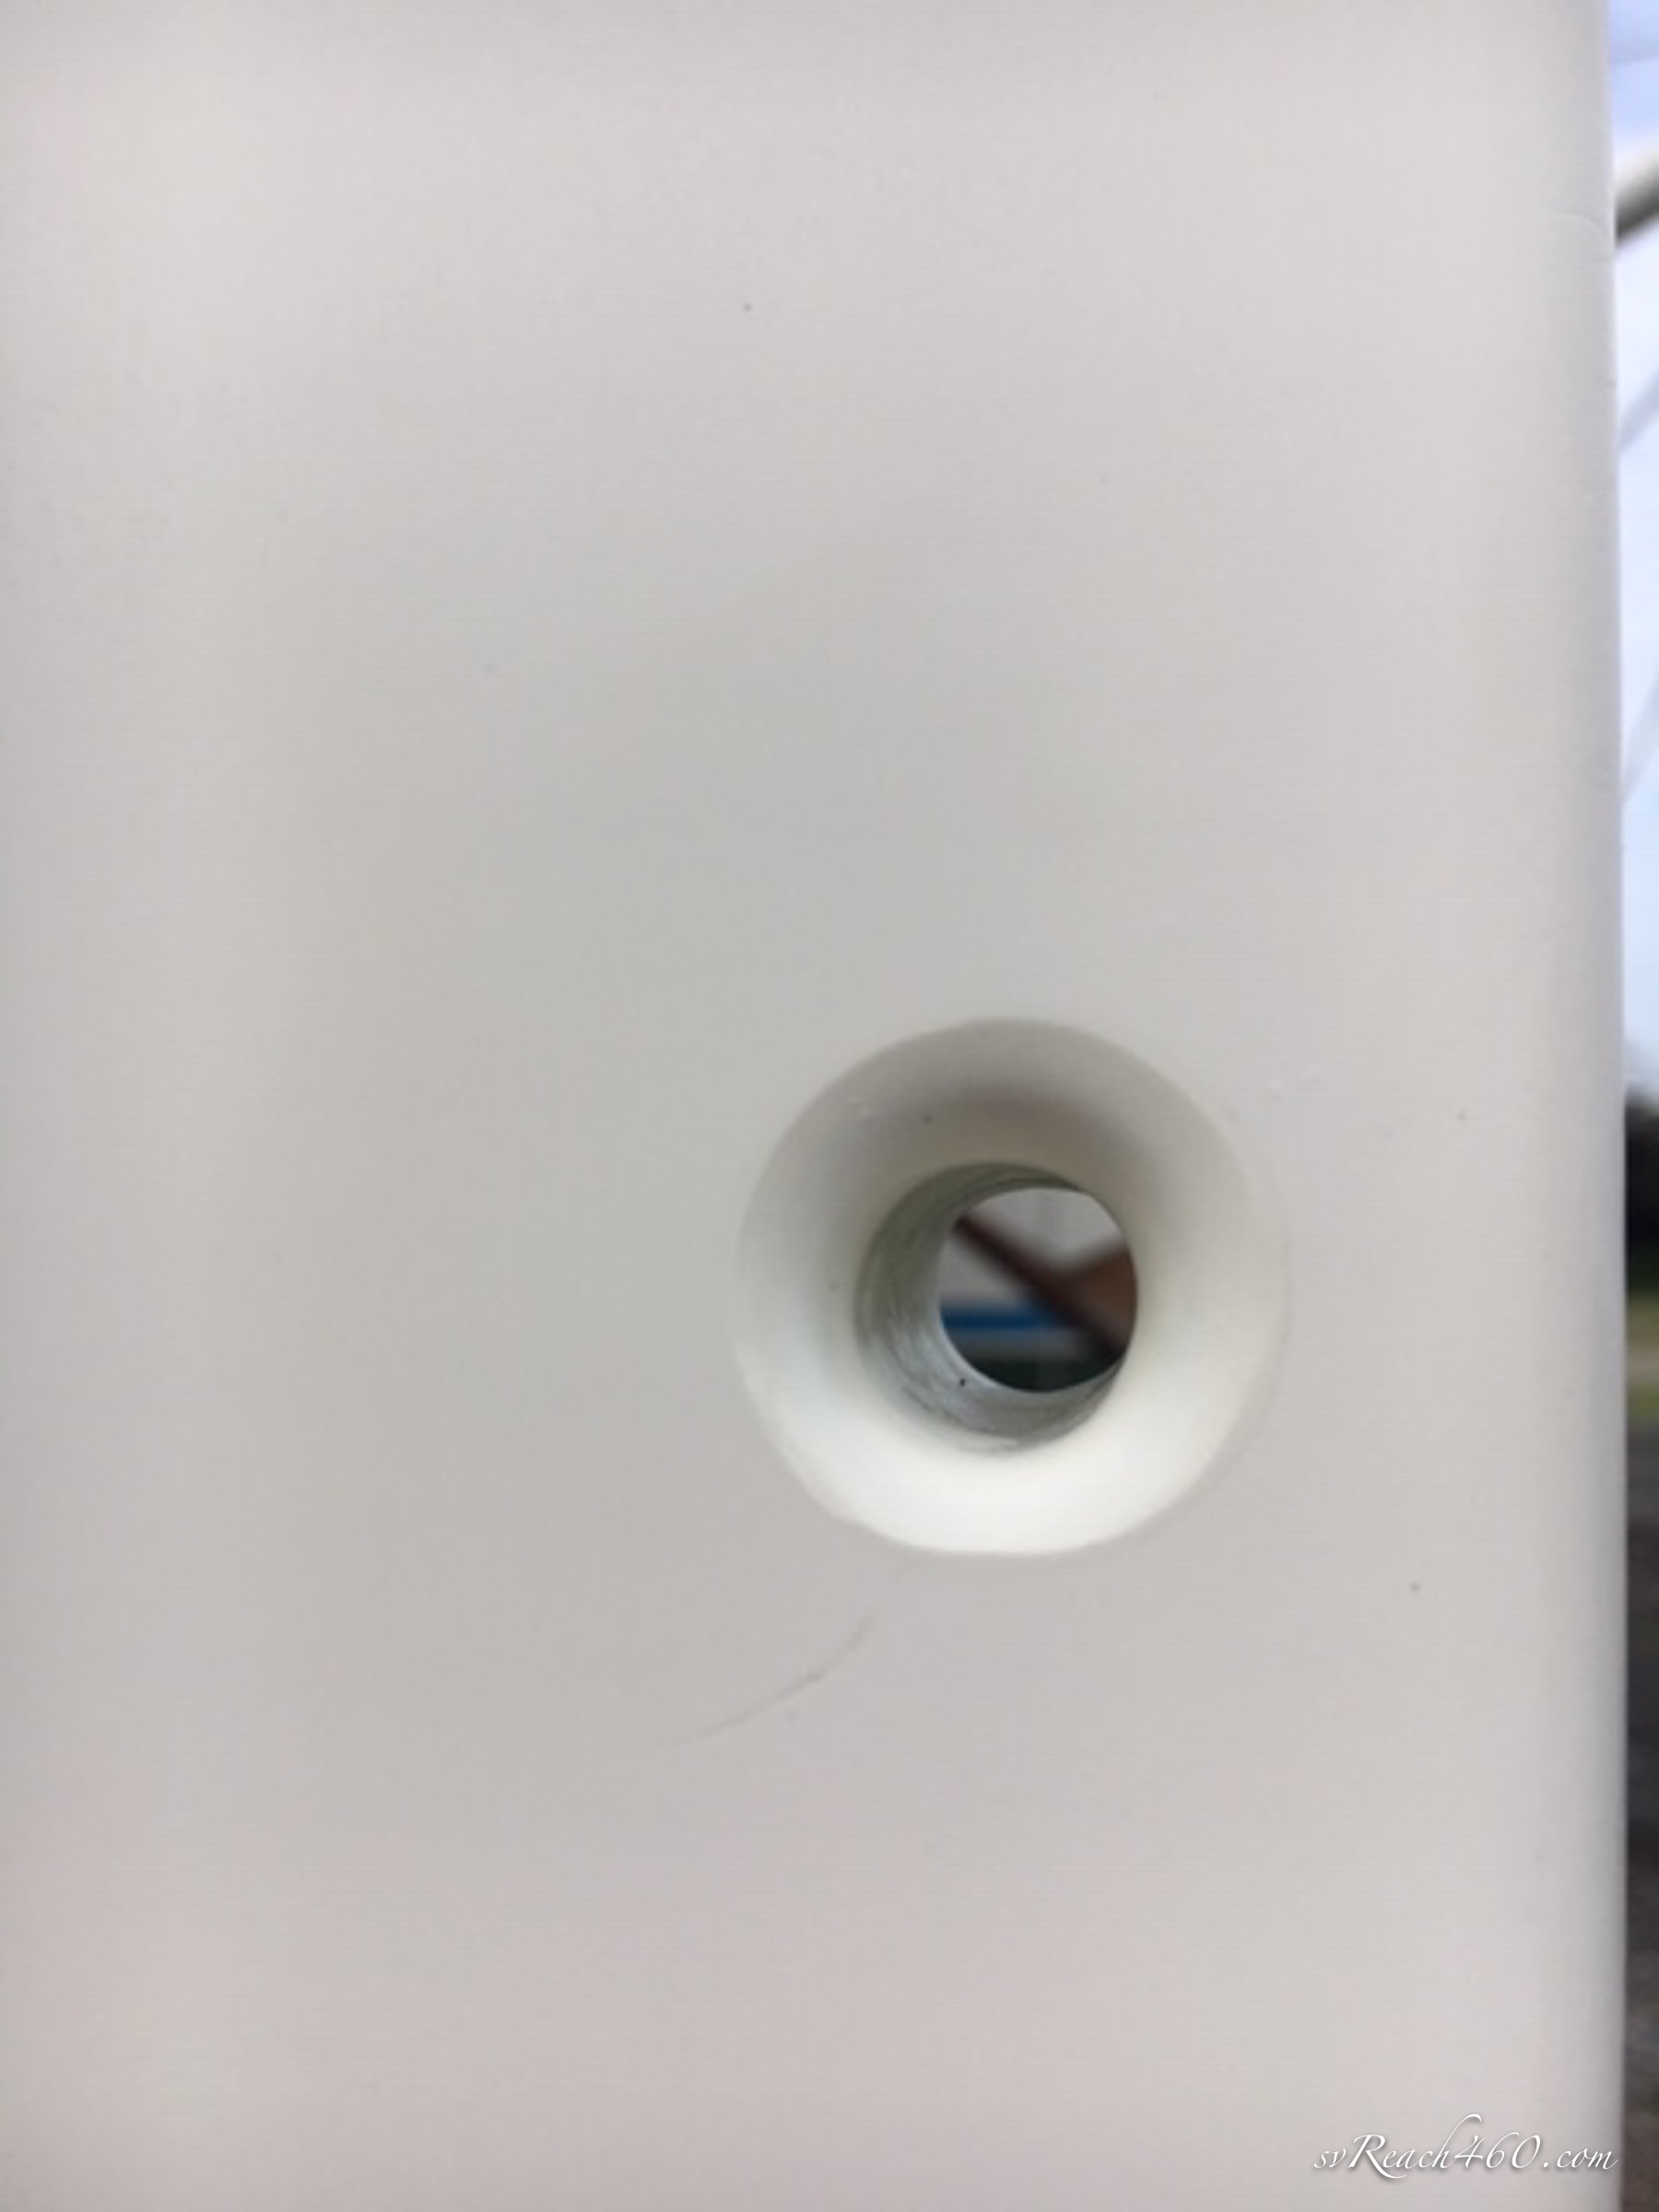
New hole in the bow
Another idea we got from Charlie was to drill holes directly through the bows themselves, using fiberglass tubing for the hole. Mark took lots of measurements (and drilled a pilot hole) and determined that our bows were solid glass to 2” back, even better.
In the end, we raised the connection points for the sprit stays about 1’, keeping the angles reasonable at around 120˚, and drilled holes 1” back from the bow straight through the hulls. The hulls turned out to be about 1” thick here. Solid.
Finally, Mark made dyneema stays with eye splices on each end, carefully measured to be in tension when the bowsprit is installed and sail deployed (accounting for stretch).
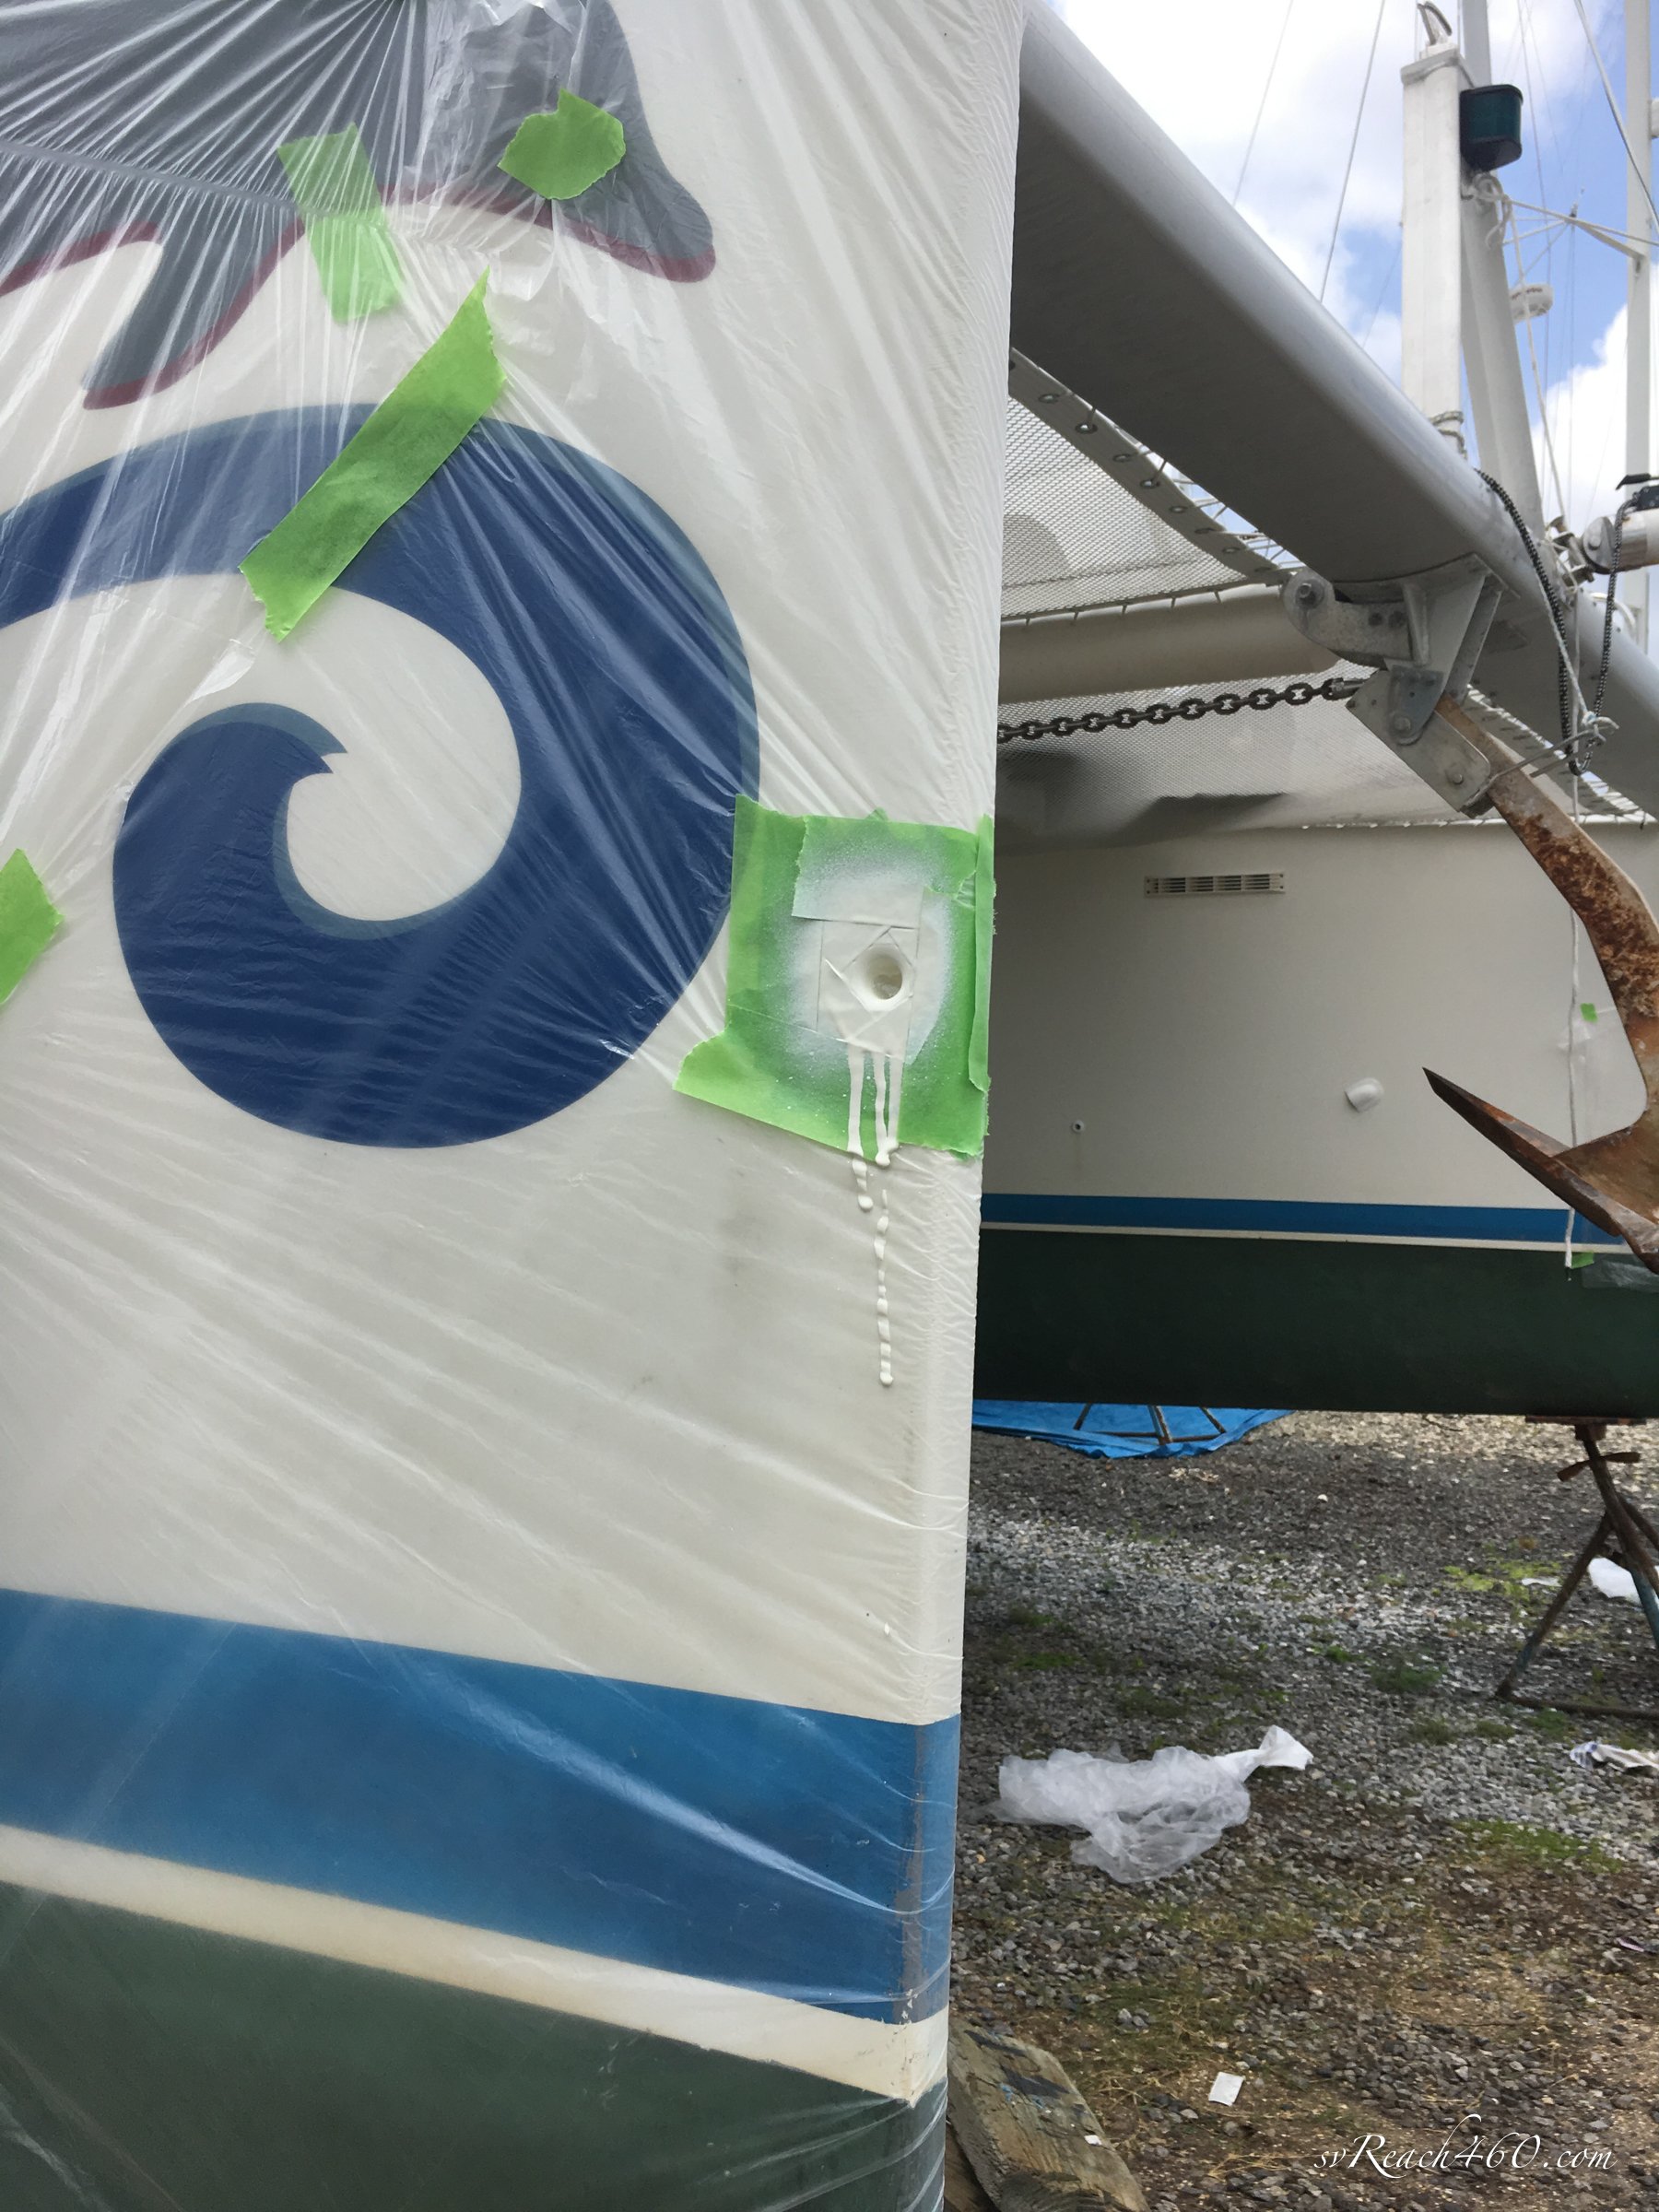
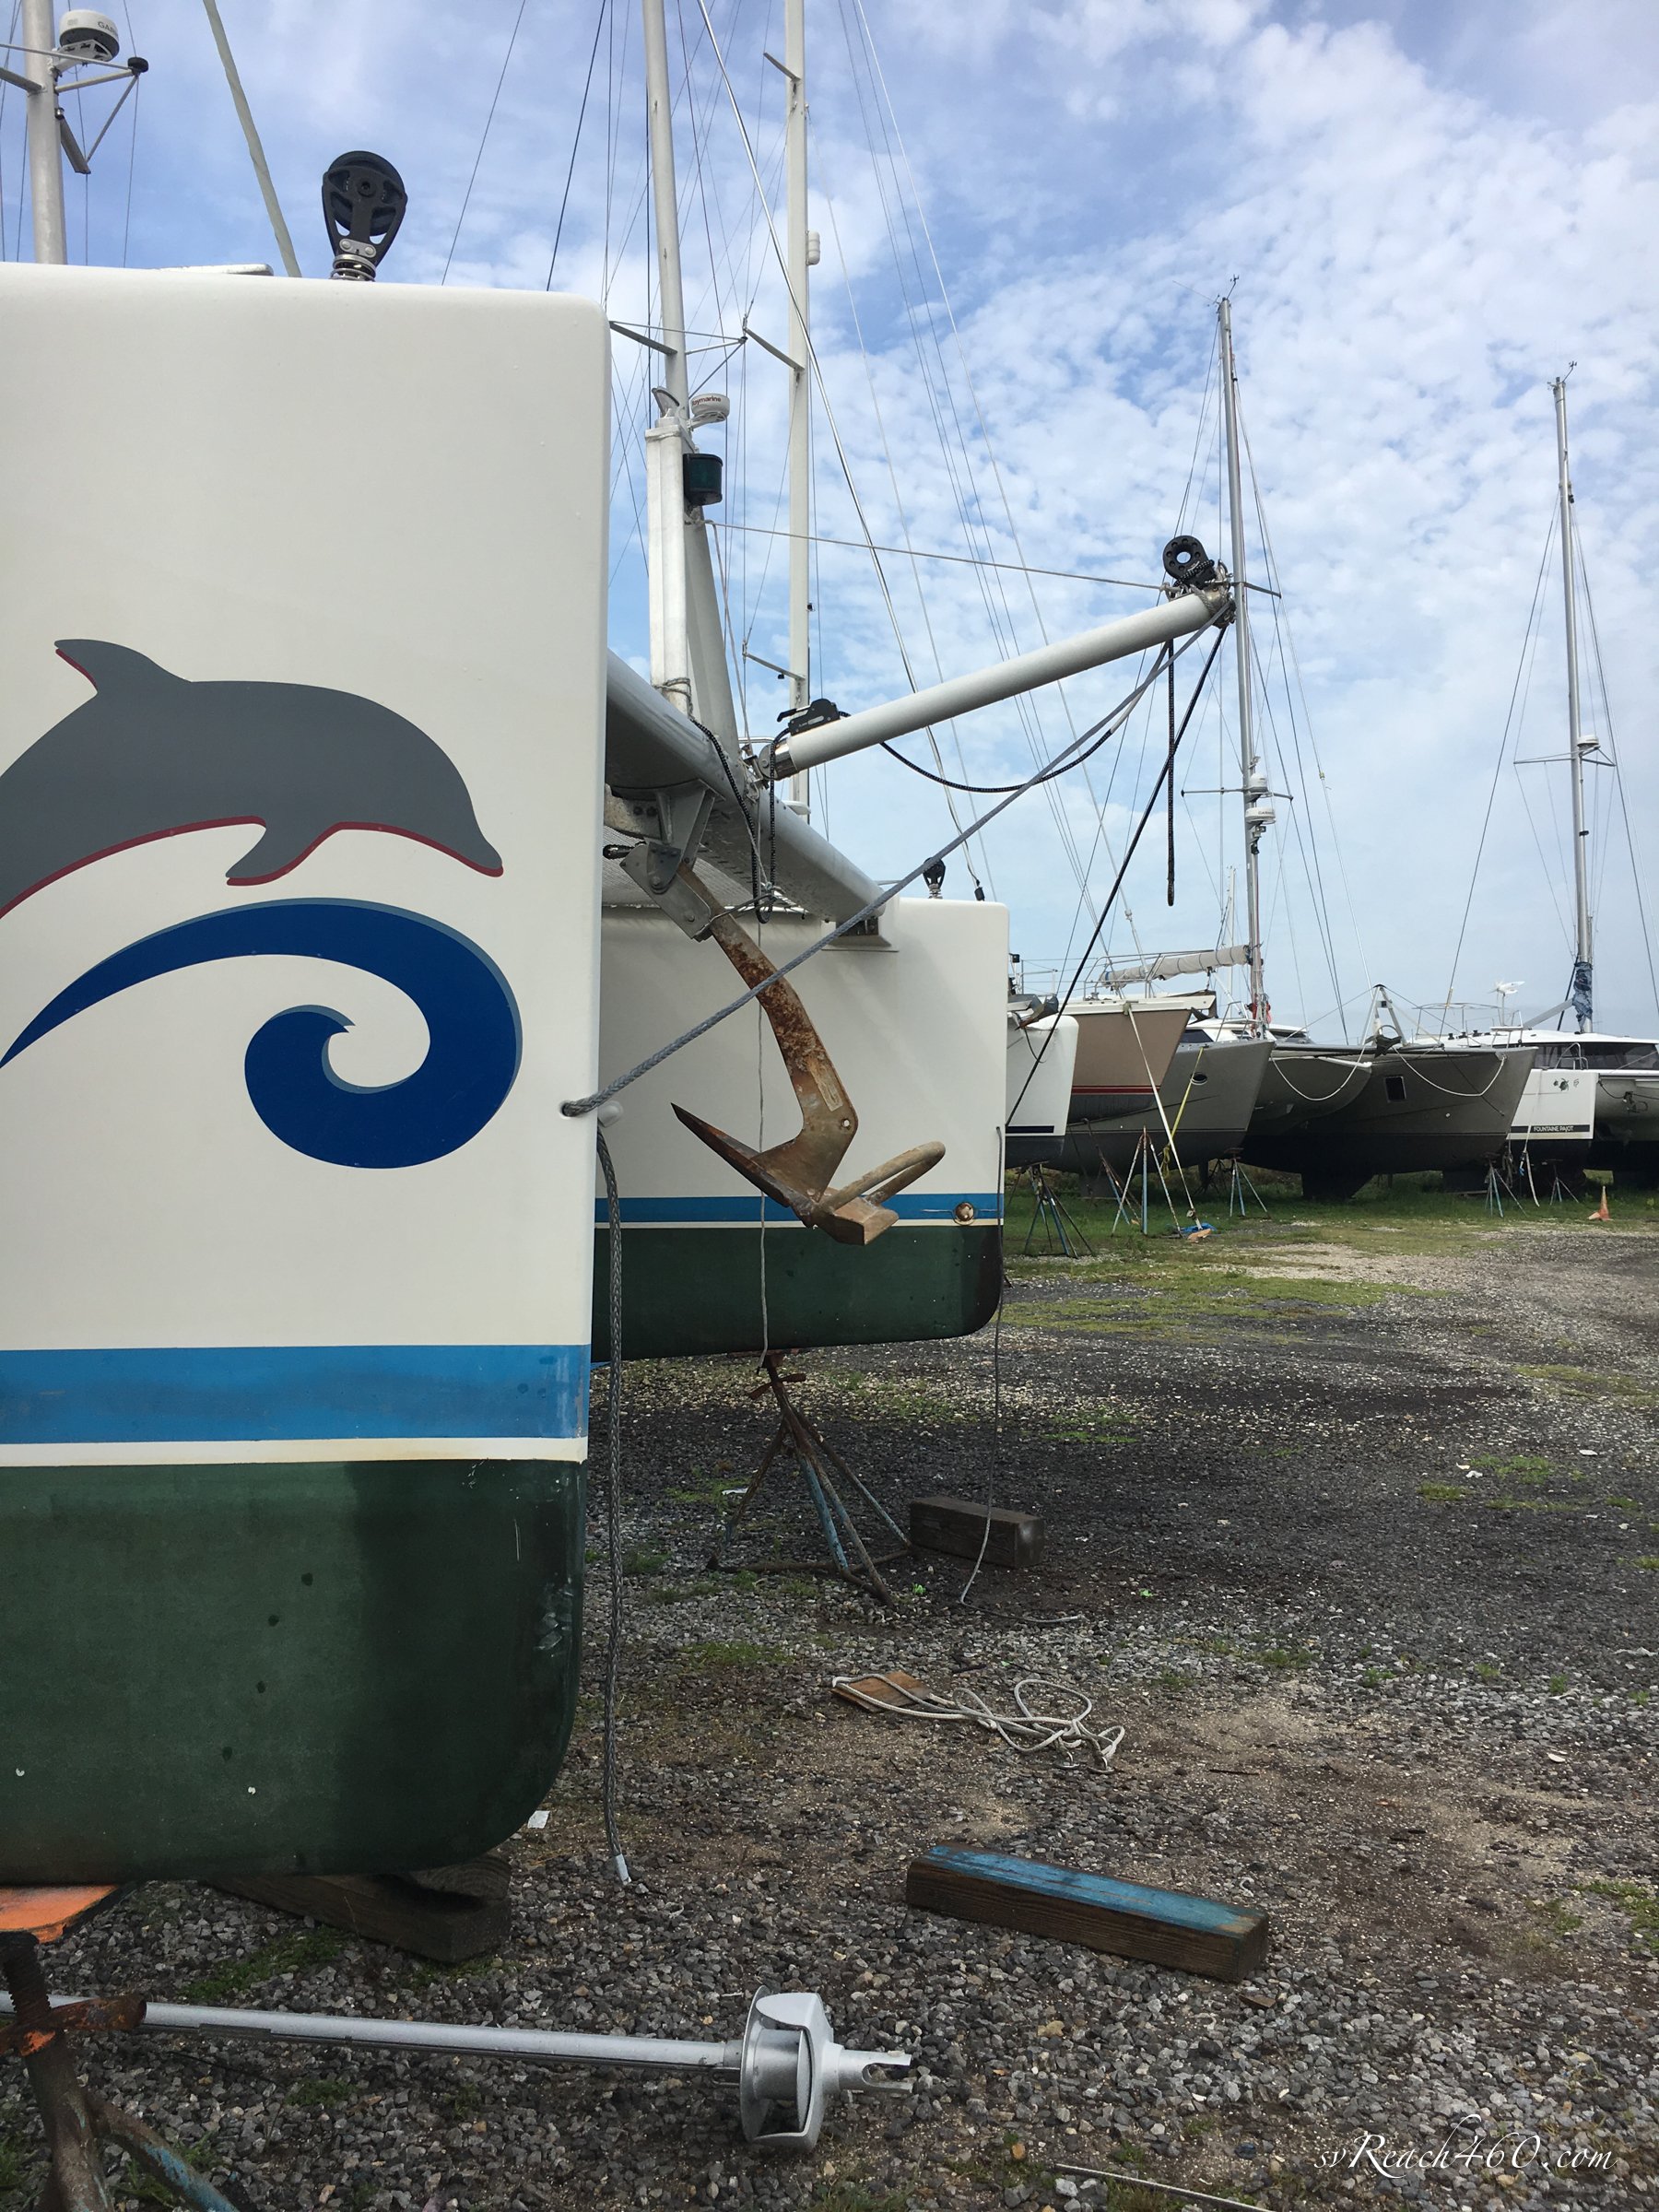
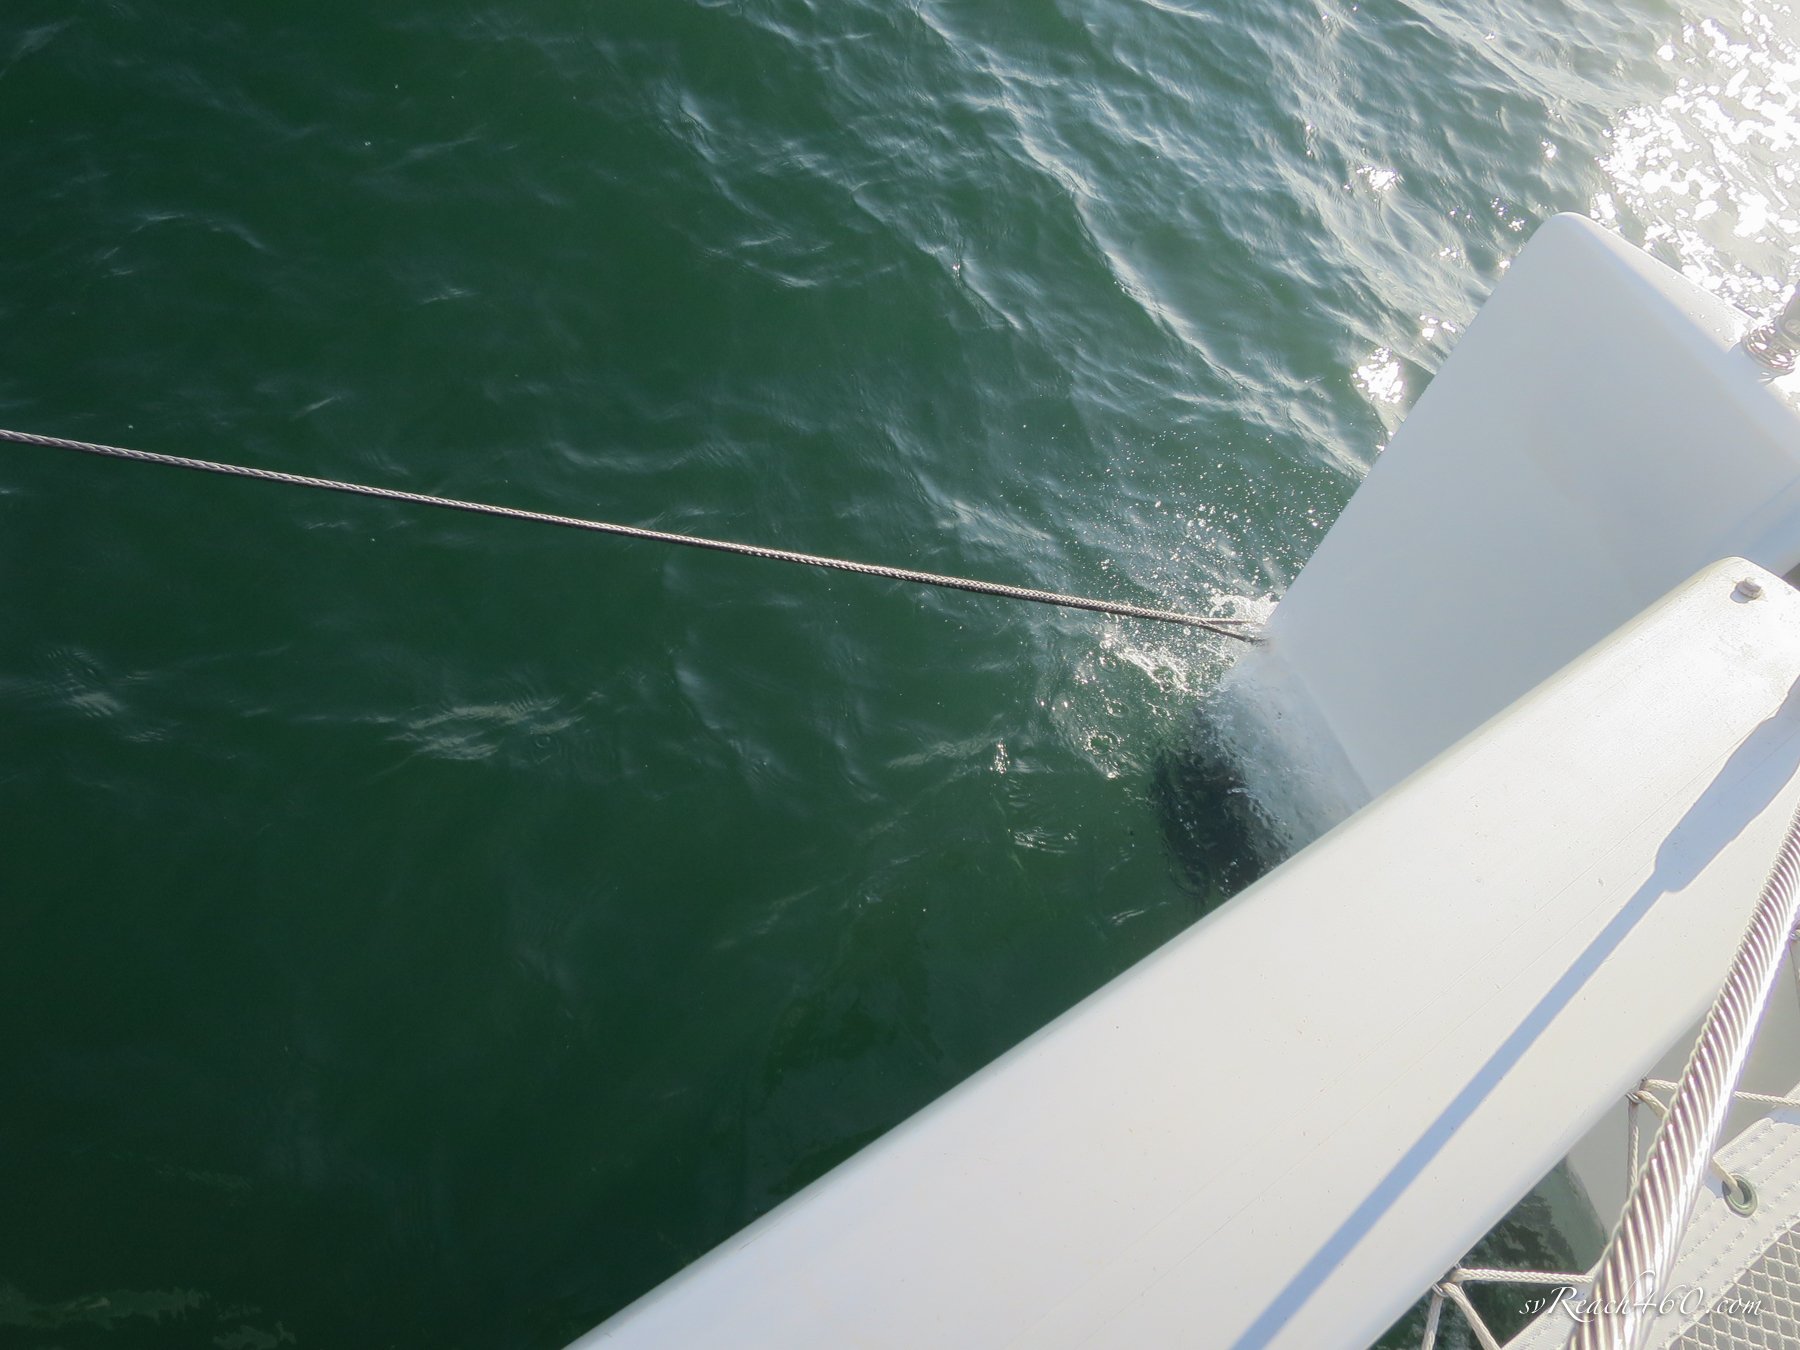

It all works great in practice. For now, we left the old padeyes in the bow. The actually came in handy when back out at anchor at Cumberland Island in a typical wind/current situation. We deployed a bridle line through the unused padeye to counteract that strange action when bridles slip under the bows.


We had perfect weather for the beginning weeks of the haulout and were on track to finishing up in 3 weeks… until the afternoon rains started. That put a damper on the last projects and painting of the boot stripe, which we barely got finished at the same time that the polishing was taking place.
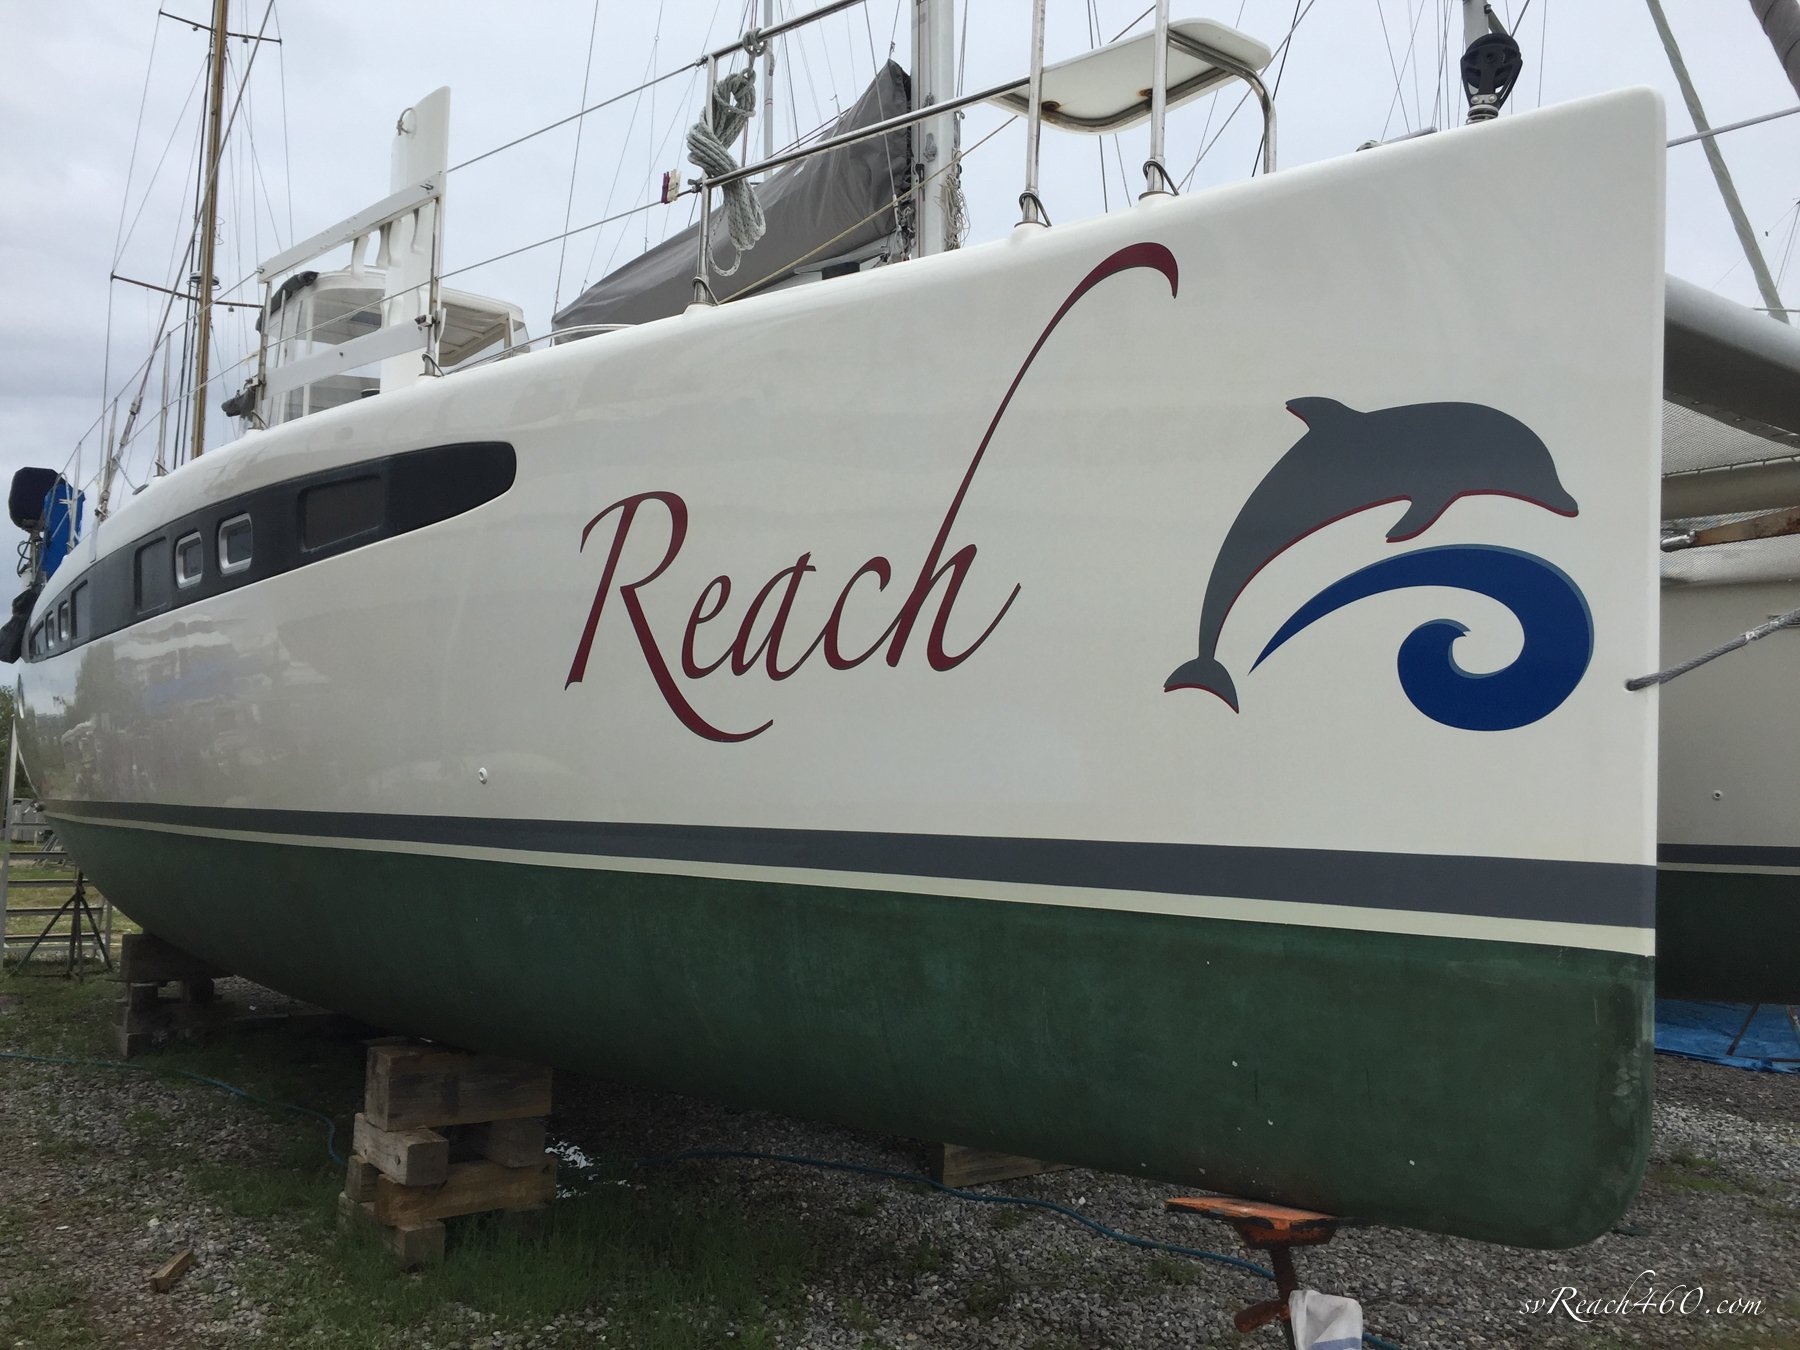
We wanted the boot stripe and white spacer to be antifouling, to try and avoid that nasty waterline muck. Mark mixed black and white bottom paint to make it gray, matching our sails and shades and replacing the last vestige of the light blue paint on boat. We’d like to eventually add a red, vinyl pin-stripe above the gray to tie it in with the Reach graphic.
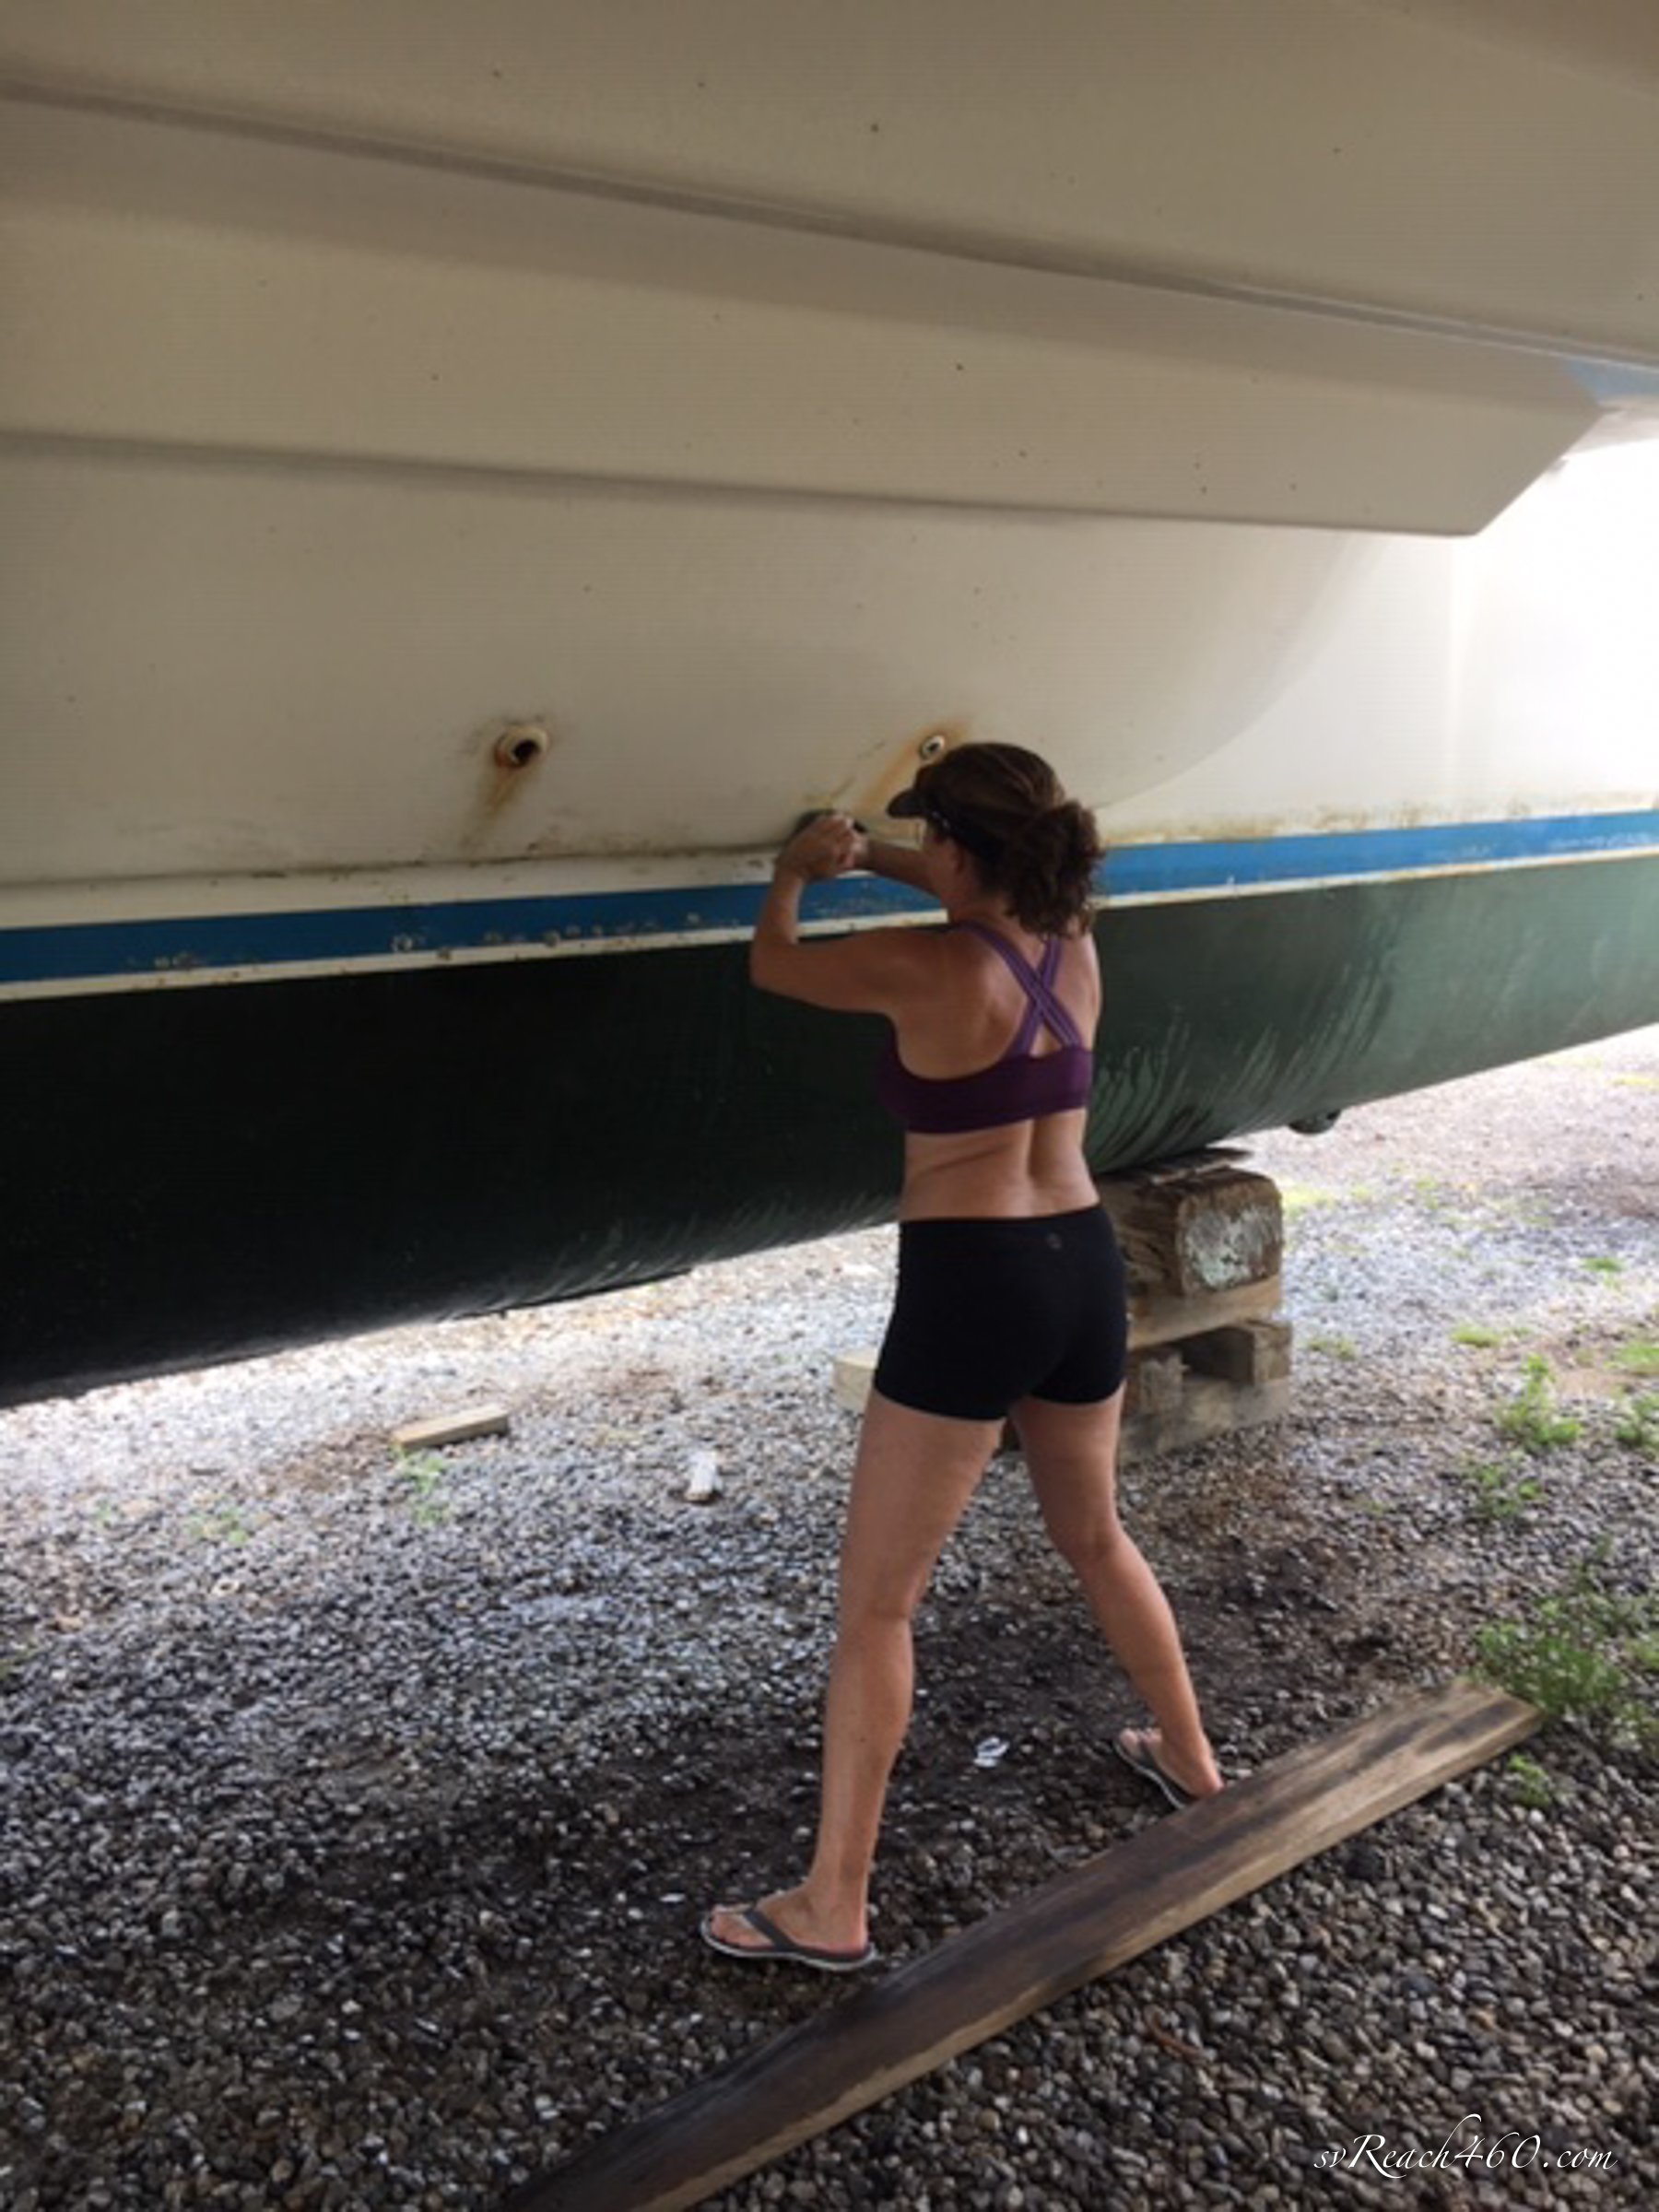
We were again raised on the hydraulic trailer lift and replaced the rudders with the new seals, taking care of the slow leak that had developed. The new props that were purchased and treated last year were finally installed.


We even went onboard for the final splash from the trailer into the water which was fun, so we could inspect and leave from there without jumping on from the well.
Mark worked his butt off as usual and the results were fantastic. In all, the haulout took 4 weeks.